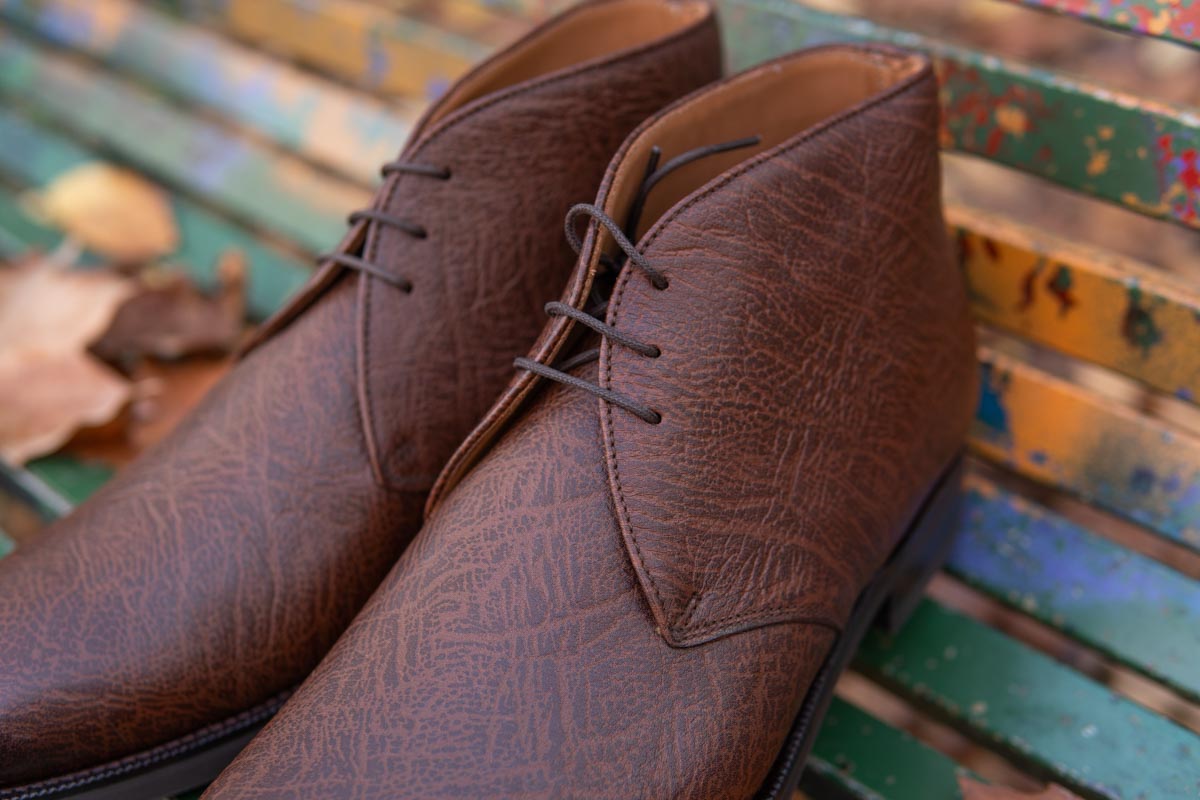
![Tools for Leatherworking]()
 i made a thing!
Typing the words “My First Leather Project” filled me with surreal excitement.
My leatherworking and shoemaking journey began last week and I wanted to share it with you.
In this article, I will show you the 2-3 basic leather items I created with my own hands!
Hopefully, I will also show you some tips and tricks that might help you if you are looking to begin yourselves.
Let’s go!
Leatherworking 101
To begin with, you will from now on notice a small shift in the direction of the blog.
Instead of just reviews and guides, there will be a documentation of my shoemaking journey in the form of articles.

And what better way to begin than with discussing leatherworking and the tools or skills you might need.
Essentially, leatherworking is a term you can use to describe anything you can do with leather.
You can create an endless amount of items and leather goods limited only by your imagination (and budget).
Passport holders, cases, satchels, shoes, bags or jackets to name a few.
1. tools for leatherworking
To begin with leatherworking is actually not that expensive as you can get away with a few tools.
There are tons of there out there but there are a few essential components that you will need.
I will not cover them in great detail here, but it should give you an idea.
Personally I bought my tools in Europe from Leather House in Denmark and my high end skiving knife from Chartermade.
1.1 ruler
If you don’t have a ruler, you will not create the most aesthetically pleasing items.
Actually, even if you do have them if you do not master the technique you will still make a mess.

But a ruler is mandatory and one of the first things to work with.
It allows you to measure, cut straight, create shapes and is a very flexible tool.
I recommend starting with those metal ones that are at least 30 cm (11.8 inches) long.
1.2 craft/pattern paper
I am still not sure of the correct term for this, but I would call it craft/pattern paper.
It is essentially some form of tissue paper that you cut your patterns on initially.

Afterwards you use them to transfer that pattern onto the leather, rather than cutting directly and risking it.
A bit of a thicker, less pliable paper might be good as it stays in the same place easier.
Alternatively, you could simply find the patterns online and print them onto paper.
1.3 Patterns
Since you are just starting, it is unlikely you will know what to design or create.
For that reason alone I recommend searching online on Google or YouTube for free patterns.
There are many free ones out there and you should search for simple words.
Passport Holder, Card Holder or Bifold Wallet is a good start.
1.4 Cutting knife
A leather cutting knife (pattern or craft knife) has many forms and shapes but serves the same main function: to cut leather.
Additionally, you can use the straight ones with the curved edge to skive the edges.

What you get depends on your budget but it is generally cheap.
You can even start with a Stanley knife actually.
1.5 Awl
This little thing serves a multitude of functions as you can use it for marking, folding edges, keepings things in place or punching holes.

You will need one.
1.6 Hammer
You will use a hammer to hammer nails, make sure the leather layers stick together and much more.
1.7 Leather
Can’t make leather goods without leather can you?
I got a massive guide on the types of leather that you can read about.
Leather comes in varying quality, texture and from different animals.
My advice is to start with cheaper leather just to practice and be comfortable.
1.8 Salpa & lining
Leather items usually have some lining to give structure and reinforcement or other qualities you might want.
Salpa is just cheap leather scraps bonded together.
You will use it as an inner layer between the leather and the lining.
As for the lining itself you can use leather or synthetic material of your choice.
1.9 Needles/threads or sewing machine
A sewing machine is more expensive but obviously makes things easier and faster.
Regardless, you will need threads, bee wax and needles anyways.
The latter is more for those that want to do a truly handmade item.
1.10 Cutting board
I recommend grabbing a cutting board and some sort of resistant glass.
The former is for obviously cutting things while the latter for skiving edges.
1.11 edge finishing supplies
I am still not proficient with the actual items, but you will need two of them.
A basic color and a white denser residue that we call “preparator”.
You alternate those to create a smooth edge finishing.
1.12 Glue/adhesive
Can’t sew or stitch if you can’t glue the pieces together first.
1.13 mischellaneous
Scissors, an apron, sandpaper (320-400) and a whetstone for sharpening are a few more items you should have.
Some markers and silver pens are also useful.
basic shapes & skills
Before embarking on our first solo project, our teacher (Ted) taught us the basics.
You have a pattern, which you need to cut onto the pattern paper.

Then you cut out your leather pieces. the lining and reinforcement.
It seemed like a very simple job at first but it actually took the whole day.
Me and the other students created 6 shapes in different materials that included corners, curves and straights.
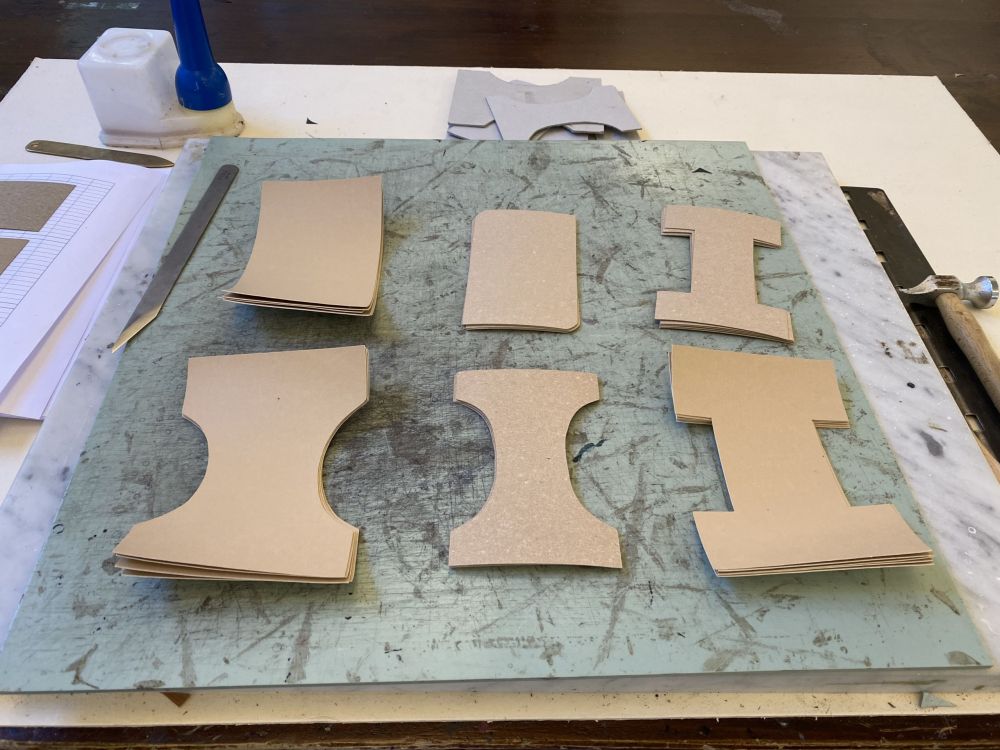
The idea was that we would then glue and combine the similar pieces together, skive the edges and wrap them together.
This would create a nice strong canvas that we would subsequently sew together.

Skiving was not that hard, but it becomes much harder if you have a dull blade.
There is also a lot of precision involved into pattern making and it is actually quite challenging at first.

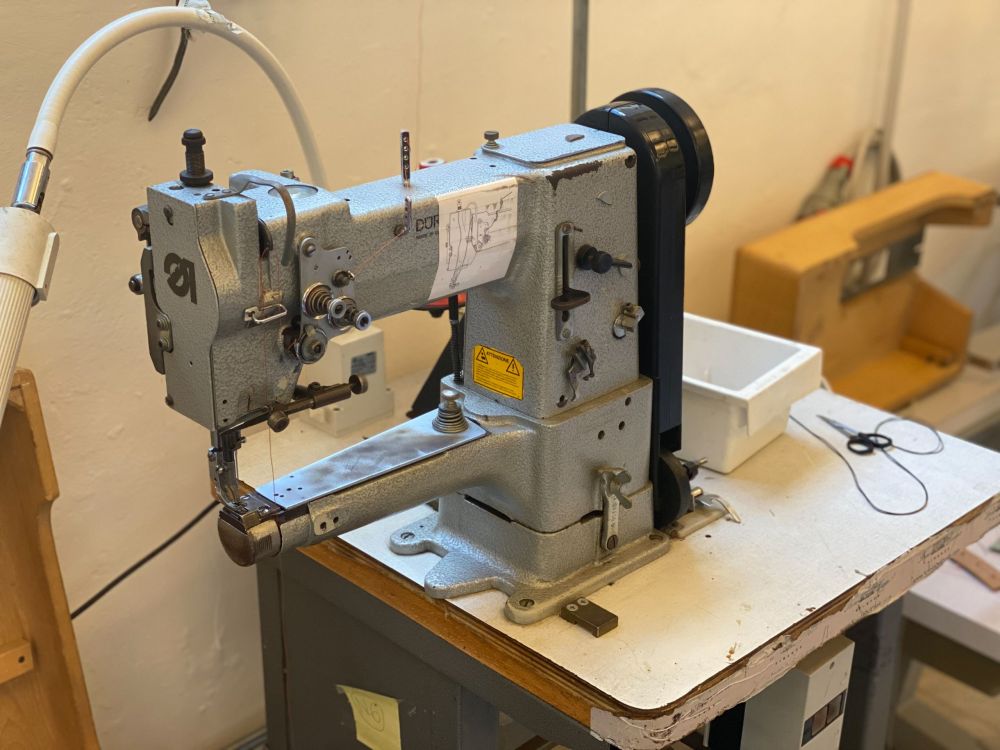
However, the most difficult part was the sewing machine for me.
my new worst enemy
That’s right, until I master it the sewing machine is my biggest enemy and the source of all evil.
There are manual and automatic ones (they are a bit easier) but both have a pressurized pedal.
You have to find the right balance because if you mispress your stitching will go to Africa and you will be in Antarctica.
Then you have to manually adjust the corners while trying not to fry your last remaining brain cells.
Not only that, you also have to do backstitching where the needle goes backwards.

I said some very nasty words in many languages that day.
making a simple leather case for glasses
The second day the fun began.
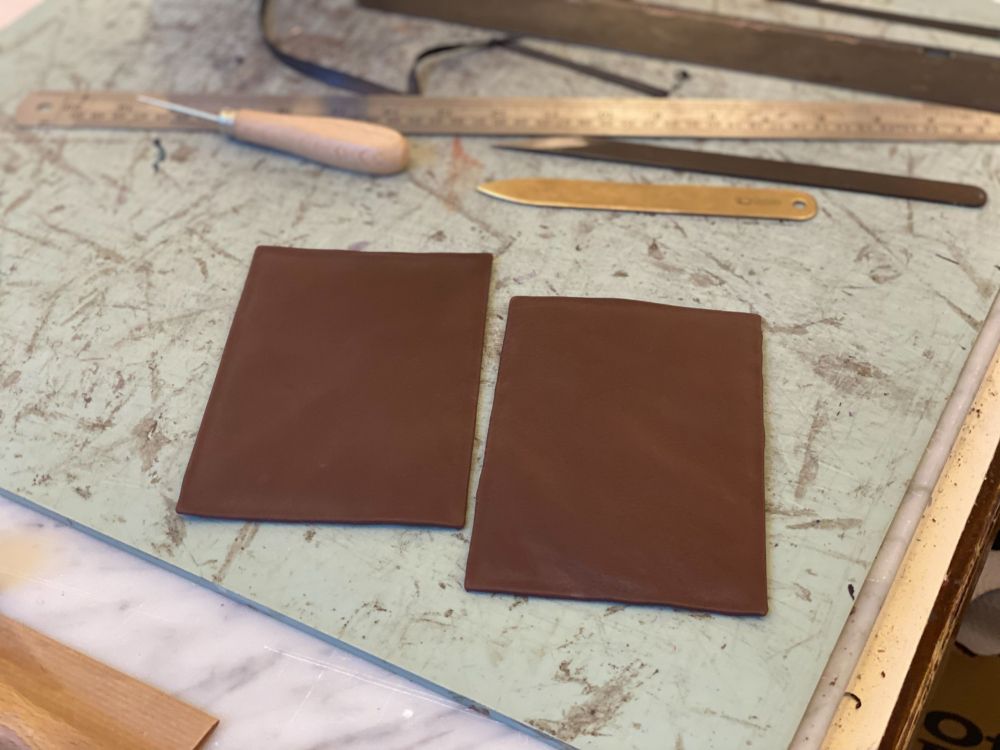
We would learn a few new skills and create our first leather item: a leather case for glasses.
After finishing the case it looks like Hobbit glasses could fit it.

Luckily the project involved making two, so it was a great chance to work on pattern alteration skills.
You see, a pattern has specific proportions for each piece.
Let’s say that a rectangular case pattern has dimensions of 10cm x 10cm.
You would need an allowance of 0.8 cm on each side for the actual leather piece since you need to fold the edges.

Additionally you would also need to subtract 0.3 cm on each side of the reinforced materials.
You will learn, my advice is to follow the patterns and name each piece so that you know their purpose.
cutting the pattern
It took me days to figure out how to cut the patterns.
You have to fold the pattern paper, straighten one side and then make dots with your knife.

Using the ruler, you take care of one dimension at the time.
It’s all about experience and finding a groove.
As soon as the patterns are cut you can move onto the pieces you need.
cutting the materials
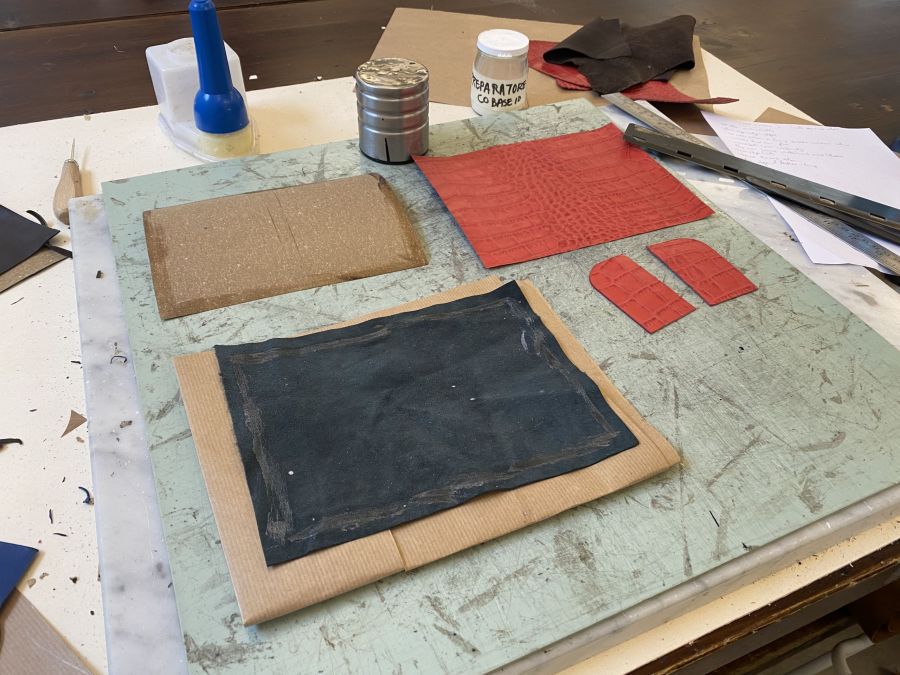
Now that you have your patterns, you need to cut the actual materials.
For this case we needed two pieces of leather, two pieces of Salpa, two pieces of foam and two pieces of synthetic lining.

The Salpa would create a frame in between the lining and the leather with the addition of the foam.
Its purpose is to give this spongy feeling that wallets have in-between.
putting it all together
We use a machine to trim the leather to a desired thickness (0.8cm) and skived the edges.
The skiving machine is handy but expensive.
It uses a rotary blade and wheel to pass the leather through and cut only what you specify.
I think ours was a 1 cm skive with a 0.5 cm thickness.
However you also have to prepare the lining.
That involves gluing the Salpa to the lining, trimming it so it is clean and then attaching the foam.

The next step is to place all those on the middle of the leather and begin the folding.
Folding the leather is simple and difficult at the same time especially with so much glue going on.
You skive the edges at the corner so you can get a clean fold.
To fold the edge, you use glue and a folding stick with the help of an awl.
Now let’s bring it all together!
The sewing begins
And there begins my sewing nightmare!
Glue is not enough to keep things together. That is why cemented shoes from Zara are rubbish.
You need some stitching which you can do by hand or with a machine.
The initial step was to take each of the two pieces and stitch an arch at the top until the opening lip.
Stitching on a straight line is not that tough but you have to think of the proportions and the manual stitches.
Especially when you get to a corner you have to be really diligent.

Your first attempt will be catastrophic but worry not, that’s the idea of practicing.
As soon as you stitch that, you can proceed and glue the two big pieces together and that’s where the “fun” begins.
You have to start at the end of the first stitches, create two/three empty ones with out thread and then backstitch.
Backstitching is simply the machine going backward instead of forward.
This helps to “lock” the stitch so it doesn’t come undone.
You have to be extremely careful with the pedal, the levels and on top of that going through the exact same holes.
Afterwards you stitch all the way round the item and backstitch again at the finish line.
my first leather project: Results
As you can see my first items are far from perfect.
The edges are not entirely flat, the pattern cutting was slightly off and the stitching was underwhelming.
There was a marked improvement on my second attempt, where I managed to do better stitching and increased the pattern dimensions.
However at some point I ran out of thread so I had to use another color.
It was also much easier working with stiffer leather than with pliable smoother one.

I hate the foam inside the lining that makes this horrible creaking noise so I will find alternatives.
Overall I think this was a great result for the first ever things I made.
What do you think?
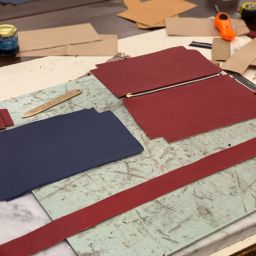
the passport holder
Our second project was a simple leather passport holder with leather flaps.
A much bigger piece and our teacher told us we can be creative with the design of the flaps.
I chose a croc embossed leather and a simpler navy one for each creation.
The idea was almost entirely the same so I will not go through it again.
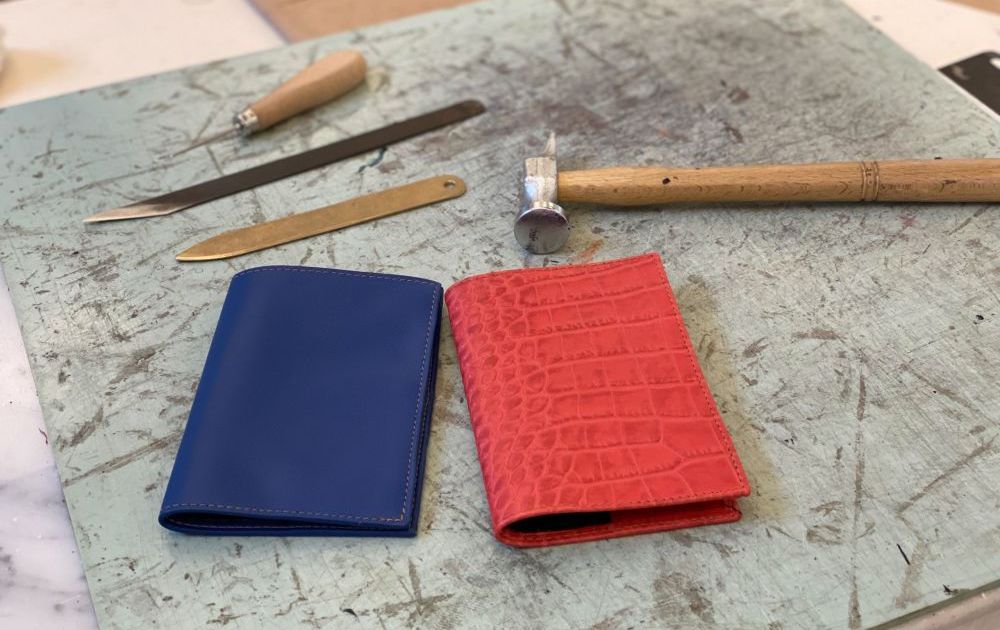
You have to reinforce your pieces with lining (this time I used leather) and stitch them together.
There was an additional extra step however and that was doing the edge dressing.
You can simply use the awl to apply the dye and the other solvent.
The tricky part is that you have to sand them down in-between and then buff them as they dry.

Another interesting part was cutting the round corner.
One of the other students who is proficient showed me a nice way but it is really up for you to discover.
Lessons learned from project 2
The Passport Holder was not that difficult now that we know and understand the procedure.
There were some new things, such as trimming the edges and practicing sewing more.
However my most important takeaways from this project were about precision and preparation.
In more than one case, the thread for the sewing finished so I had to restart which requires extra precision.

Putting too much glue, sanding the edges too hard, being impatient was also important.
Lastly, the most important thing for me was to get the pattern cutting right.
One small mistake where you shouldn’t and then your whole model might be off.
So exercise patience, take your time and practice as much as possible.
Afterthoughts
I have a newfound respect for leatherworkers and people that work with their hands.
The items you saw above, took me approximately 40 hours to make, which might sound ridiculous.
But imagine taking someone that has absolutely no idea of how to work with leather and teaching him in a few hours how to do this.
The amount of brain power, thoughtfulness, preparation and precision required is astonishing.
It is also very challenging, mentally and physically exhausting but simultaneously extremely rewarding and fun.
Every time I create something, I want to share it with my friends and family.
It is an absolutely amazing hobby to take, or a career path to forge.
conclusions
And that concludes my first week and first ever leather project at Schola Academy.
It was a very interesting and different article for me to write.
I finally start to have more insight about leather, how to work it and it will expand my shoe knowledge.
Did you enjoy it? I certainly hope so because I will try to document most of my journey.
There might be repetition, there might be something not so interesting but it will be a collective journey for all of us.
I will see you next week and thank you for sticking with me for so long!
Thank you for reading,
Kostas Mandilaris,
Misiu Academy


Well done Kostas! After reading this article it amazes me how much skill and effort must go into one pair of shoes. It will be fascinating to watch your journey. Will we ever see a pair of Mandalaris for sale?
Next year hopefully! Thanks for reading!
Very interesting article glad you are recording your life and journey in Florence and look forward to reading more
Thanks David! I will try to have more articles like this!
Sir:
Great job effort for the 1st attempt. You performed the patternmaking, cutout, and assembly components of the job well. Don’t stop what you are doing–you are bound to achieve the level of success you seek! Congratulations, and keep up the good work!
Thanks Miguel, this week I have improved even more.