 Sewing Soles By Hand
Welcome to Part 4 of my “Becoming a Bespoke Shoemaker” Series.
In this article we will continue where we left of from Hand-Welting and prepare for sewing the sole.
A difficult, laborious step that will take dozens of hours to master.
Let’s begin!
Recap From Part 3
If you want to follow the journey from the beginning here are the other articles:
- Learning How To Last (Part 1)
- Preparing & Lasting The Toe Puff (Part 2)
- Learning To Hand-Welt (Part 3)
During the last part we learned how to use a piece of leather (welt) to attach the leather and insole all together.

In the above example there are already some steps I did not cover in the previous article.
So this time we will pick up directly after attaching the welt and finishing the sewing.
Flattening, Straightening & Trimming
After hand-welting, the goal is to fill the shoe bottom with cork and other materials and attach the sole.
Since we are currently only working on the toe box, we only need to worry about the cork though.
In order to prepare for that however there are many mini-steps that will allow us to do it correctly.
Due to all the tension, sewing and pulling the welt will be bent or curved in most parts.
So grab your trusty hammer and begin by flattening the stitch part and not the exterior of the welt.
You can also use pliers with a protective piece of leather to level it on the outside after.
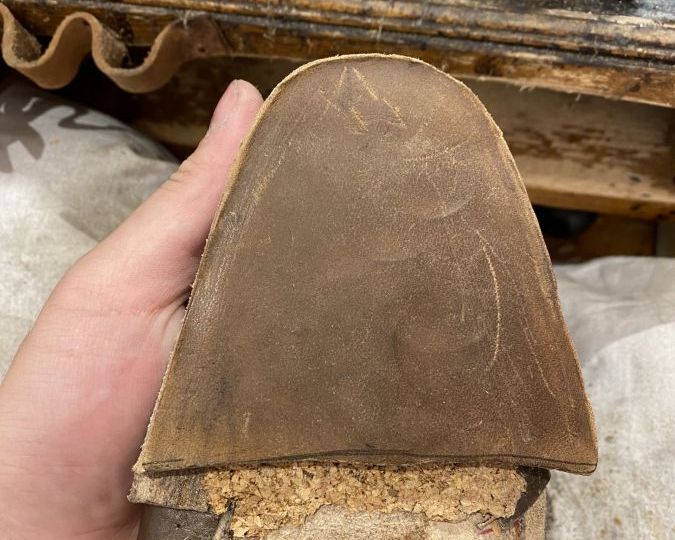
The tip of the toe usually curves the most and you need to figure out where the tension comes from and slightly trim it with your knife.
It is probably a good idea to also trim the welt a bit or make some markings with the silver pen at least 5mm from the inside.
After you hammer the living daylights out of everything flat then you need to trim some part of the inside.

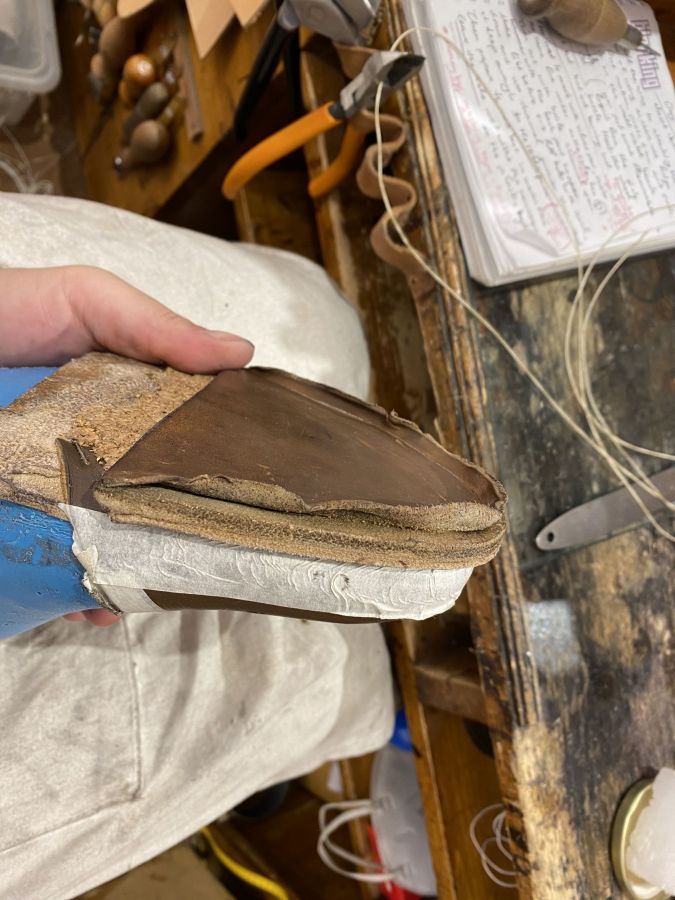
Here you see the second hand-welting I did which was much, much better than the first one.
In the red quick drawing you also see the part that you need to trim.
Between the top and bottom welt stitch with extreme care not to cut the stitches.
Essentially you skive that part and if you can you should do this on one go as you can use it as a filler afterwards.
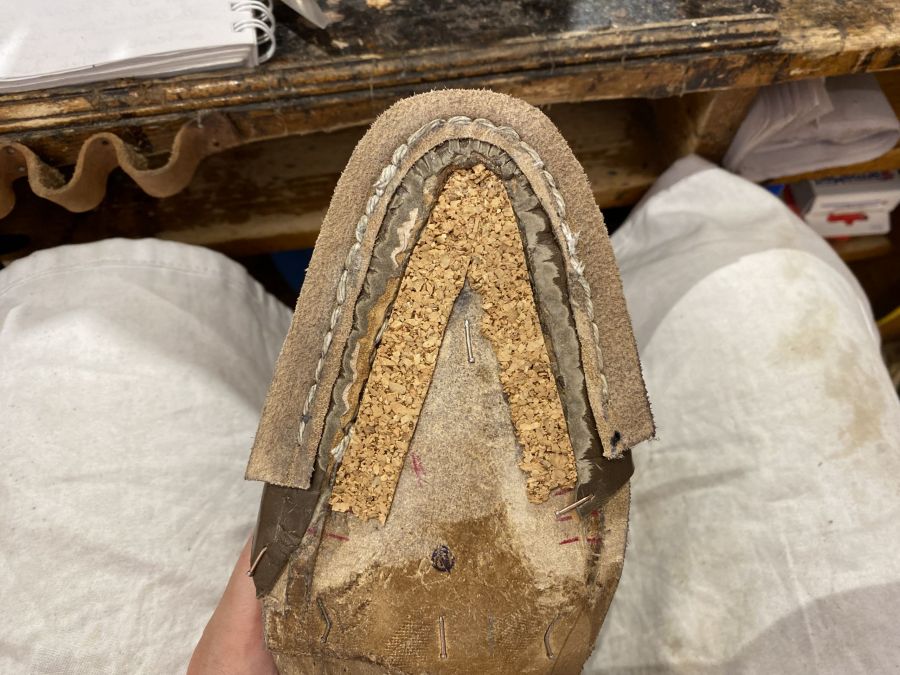
Cork Filling The Insole
This is the time where you should already have traced your outsole, cut it and put it in water for at least 3-4 hours.
Since this is a smaller piece it’s ok and faster but for a full sole you can even leave it overnight.
Before we attach anything however we need to fill the extra space in the middle of the shoe.
Use a scratcher and scratch the inside part of the insole.
If you saved the pieces from the last skiving you can glue them alongside the walls alternatively you can use cork.
Cork is a natural material and has tons of uses for mankind for the past 5000 years.
The idea behind using the cork is to fill the space and make it even at the front of the shoe all the way to the ball.
After the ball until the end of the shoe where you need more strength and stiffness you will eventually use compressed shoulder leather.
Cut your cork resembling the shape of the space you will fill and apply glue deeply and let it dry.
Attach it and hammer to ensure it sticks together.
IMPORTANT! Remove the nails where you will put the cork or filler before you glue them!
Generally at the top you will need some extra filler so you can simply attach a second cork layer.
This is totally fine since after you glue and hammer everything together you will skive the edge of the cork and rasp it flat.

Well, as flat as possible at least but you want a nice smooth, seamless transition between the welt, stitches and the cork.
It makes sense because you wouldn’t want to attach your sole on something that is not flat or is bumpy right?
Preparing The Sole
It’s time to take that wet leather sole out of the water and prepare it for attachment.
This sounded too sexual in my mind but still funny enough to include.
You should already have a trace (or make one) with a waterproof pencil of the outline of your shoe.
Those markings will be your ancho points for correct attachment later.
I also recommend marking the center point on the toe box.
One thing to keep in mind is that you should already have trimmed the welt to a more appropriate width.
Because if you do it after the tracing your sole markings will be obsolete already.
Dry the excess water off the sole with newspaper and trim the excess leather closer to the markings you made.
We now need to use a heat gun to dry only the top (inside) part of the insole.
Not the sides, not the bottom as we want those to remain wet.
Water and glue don’t mix well together so nothing would stick properly.
Scratch the top as well as the welt exterior and apply glue deeply before allowing it to dry for 20-30 mins.
This is when the glue is dry and at it’s most potent but remember that your glue should be fresh and less viscous.
Attaching The Leather Sole
After the 20-30 minutes pass find a nice flat surface and using your tracing attach the sole.
Make sure there are no holes on the side and use a combination of pliers and very soft hammering to ensure all sticks together.
When everything is ready you will use your knife to trim the outsole to the same level as the welt.
You want a nice flat, even, vertical surface that you will proceed to glass and rasp in order to make seamless.

Always take a look from the top since you want to have a shape that follows the last.
Generally the inside part of the shoe should have a bit of a narrower width since it expands when you walk and appears wider.
There are too many notes, tips and information for me to explain in mere words.
I hope later on I will be able to take videos of all these!
Open & Closed Channel Stitching
Here you generally have an option.
There are differences whether you want an open channel stich or a closed one.
On the former you can see the channel and the actual stitches whereas in the latter you cut a thin piece of leather and stitch underneath.
Then you fold the leather making it appear clean and smooth.
The first time we used dividers at 0.4mm to mark the stitches all over the shoe.
In further projects you will use a fudge wheel which makes ridges and stitch marks that bespoke shoemakers follow.
Think of it as a mountain, valley, mountain kind of thing.
In ready to wear shoes a lot of companies use a fudge wheel but it’s decorative.
Here however it has a real purpose and in fact it is something that needs patience, technique and experience.
I am absolutely terrible at it as for now but I do think that the fudge wheel they provide me with is rubbish.
Preparing THe Thread
For the sole stitching we use a similar but thinner thread to the welt.
However a key difference is that this is already pre-twisted and you must untwist the ends.

Then make them thinner and fluffier and pass the resin and paraffin in the same way as before.
Since the stitches are spaced out closer (0.4mm) compared to the welt (0.5-0.9mm) you will need more thread.
The first time I think I used either 1.5 or 2 armlengths just in case for the toe.
Open Channel Stitching
In order to do the stitching you need a guide and a channel to hide them in.
By using your eyes, experience or just properly measuring it you will use your silver pen to make some markings under the sole.
Connect them all around the toe evenly and smoothly as this will be where the groove will be.
Using a channel groover carefully make a channel deep enough that the stitches won’t protrude afterwards.
Then you proceed to stitch all the way around.
But this also means making holes with your sole awl (not welt awl).
Make sure this one is super sharp as it needs to go through multiple layers.
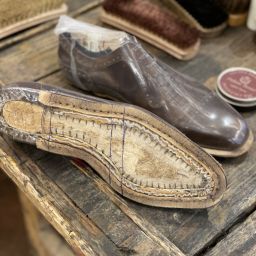
Here is my first attempt at sole stitching and it was understandably dreadful.
You can see that if your awl goes in the wrong way or the length is uneven the stitches will be like that.
Also check at the top where my awl and thread broke and I had to patch it up.

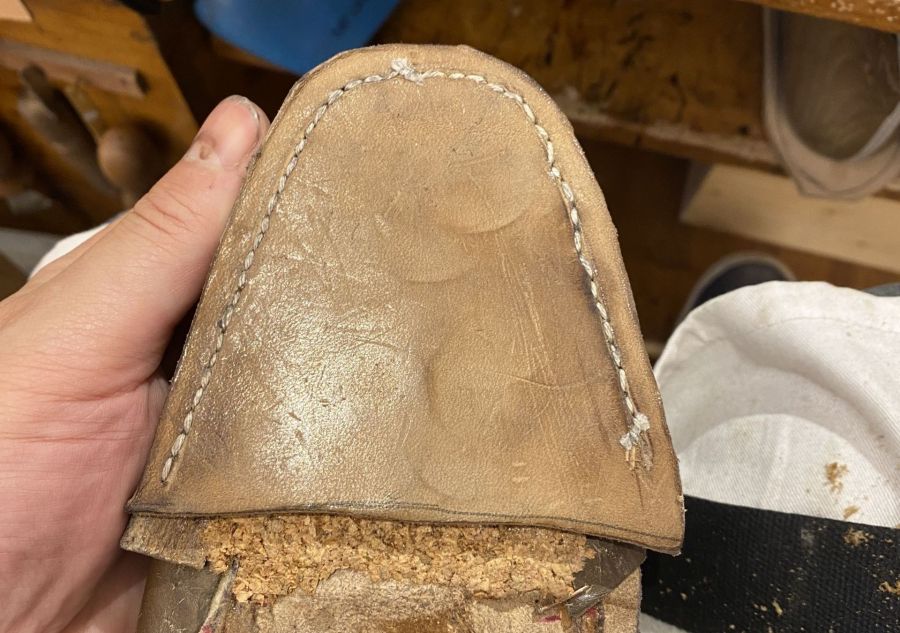
And here you go with a more recent proper attempt!
Closed Channel Stitching
Now, let’s retrace our steps back to the dividers and manually marking the stitches.
Instead, now we are going to wet the top of the welt and pass it with a hot fudge wheel.
Be very careful as you shouldn’t wet the sides as the glue can separate.
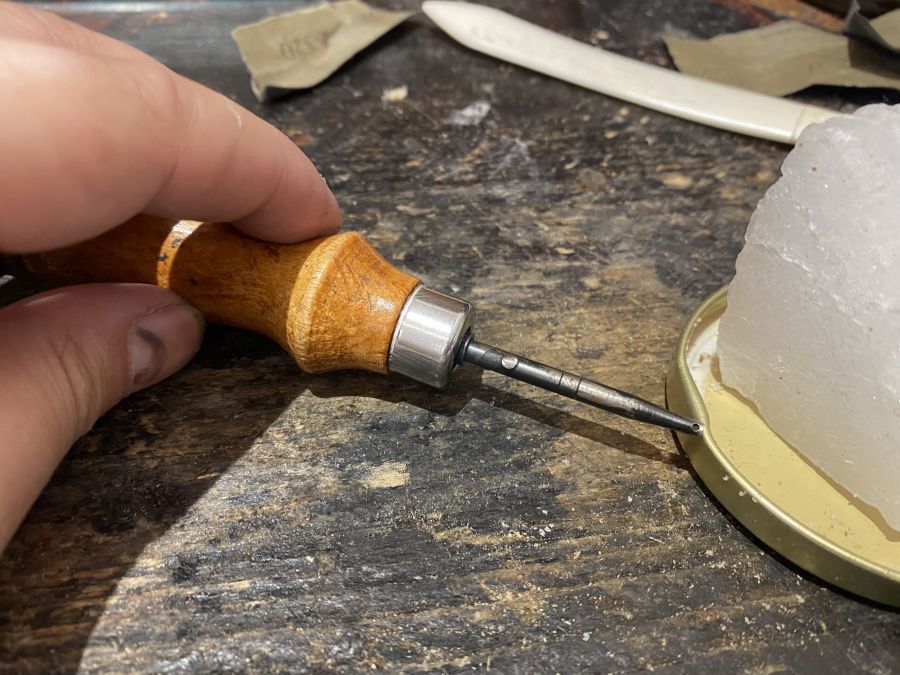
You heat the fudge wheel (and other tools) on what’s known as a spirit burner.

You want to heat the rolling part of the fudge wheel enough that it’s hot to the touch but not going to burn the leather.
Impossible for me to explain in mere words but you need to pass the wheel on essentially one go all around the shoe.
You have to be firm and use the correct angle so the ridges form deep inside the welt evenly.
After that you will use your silver pen to mark where the sole awl will go through around the shoe.
But we first need to prepare the channel and cut the leather piece which will hide our stitches.
Once more find out on the bottom of the sole where the stitches will be and give an extra 2mm allowance as you want space for your stitches and groove.
Clip a diagonal small part of the edge of the sole and using your knife you open a layer of leather.
This should be all in one go to look the best it can and it will take a lot of practice before that.
Once you open it, gentle push it with the back part of your shoemaking hammer to lift the lip.
Mark the parts where the awl and stitches will come through with your pen.
Then use your channel groover to make your stitch holes as usual.
Doing the stitching is similar to before but at the end you don’t need to make a knot as it’s hidden already.
It is very important to keep the bottom of the sole wet during sewing by the way.
There are many more micro-steps in between such as using your folding bone or re-flattening the channel to give it shape.
Closing The Channel
As soon as you are done, you want to gently rasp and use sandpaper (80-120 grit) inside the channel before applying glue.
Let it dry for 10 minutes and close in the opposite way you cut it open.
At the end you will use your hammer to flatten all the stitches and give a nice uniform flat shape to the outsole.
Don’t hammer too hard and remember to have your hammerhead flat without marks.
Otherwise you will risk damaging or leaving marks on the actual sole.
This was my first attempt which was not that bad all things considering.
Wrapping Things Up
This brings us to the end of Part 4 of my “Becoming a Bespoke Shoemaker” Series.
It’s pretty cool to document all this and hopefully it gives you some insight and value.
Being a true shoemaker is tough and a long process but very rewarding.
Thinking about the next part of the series, I should probably touch upon refining the outsole first.
This means we will apply dye, polish and wax to make it look more like a proper shoe.
And after that article we will go to a more advanced rendition and work at the waist!
Working with 3/4th of a shoe is the last step before going to a fully fledged shoe!
I hope you are as excited as me and I hope to see you next week!
Thank you for reading,
Kostas Mandilaris,
Misiu Academy


I would love to learn how to make perfect footwear’s
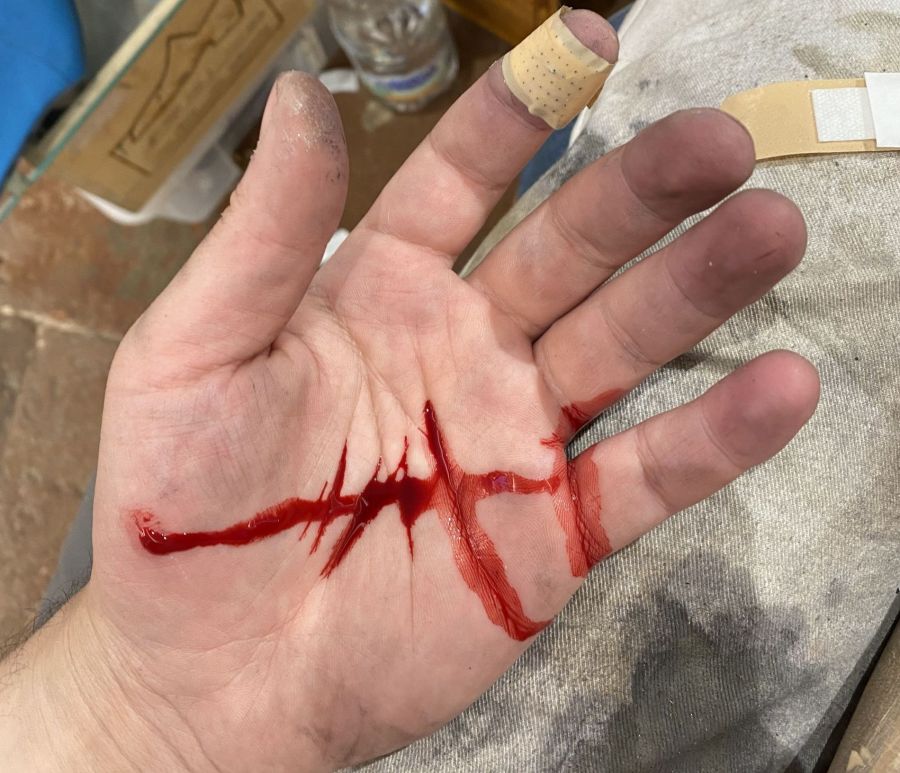
be careful with your hands!
There’s always the joy of cuts and hammering your own fingers!