![Florence]()
 Bags, bags, more bags
Welcome to Part 4 of my ongoing Bespoke Leatherworking Bags & Shoes Diaries.
As you probably guessed from the title, this article will focus heavily on bags I am making.
It also features reflections, tips, suggestions and a discussion on struggles and victories.
Thank you for being a part of my journey!
status update
Today was the first time in a while that I felt I had no other meaningful content, guide or review to share.
It actually felt a little strange, but hopefully you enjoy watching me walk the path to handmade greatness.
While there is no shortage of content available, there is a shortage of time.
Some of the topics I would like to cover are:
- Suitsupply’s Price Increase Discussion
- Stop Wearing STUPID HATS
- Worst Shoe Brands
And many, many more.
I was considering doing an updated guide on the Worst Shoe Brands, or even had the unsettling thought of buying Paul Parkman or Allen Edmonds shoes so I can review them for you perverts.
As for Suitsupply, with a third price increase in the last 6-8 months they torpedoed their little value left.
Then again I see people wearing Bowler Hats or Top Hats and my blood boils with anger.
What a shitload of fuck.
Let me know if there’s something you would like me to review or cover in the comments!
And now it’s time to get on with the show!
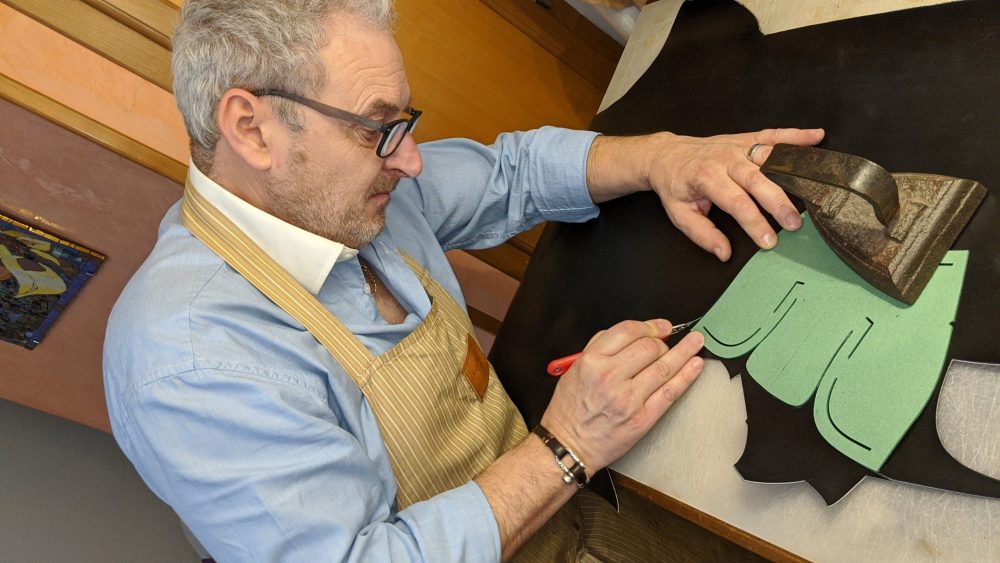
handsewing is extremely difficult
The concept of handsewing, or saddle stitching is really easy.
However applying it to real life projects can be extremely hard for a multitude of reasons.
If you are a beginner like me, you probably started watching a lot of YouTube Videos.
Those YouTubers use vegetable tanned leather and make it look really easy, however there are a few traps.
For example, if you punch a single hole with your chisels even a millimeter wrong, it can ruin the hole thing.
Imagine having to punch through 3 different panels that you have to sew together and matching both sides exactly with inch perfect precision.
Then, these videos rarely include the use of inner lining, using the natural fleshy side of the leather.
If you want to add your own lining (and you should in most cases) it ups the complexity greatly.
Lastly, if you misalign the holes or don’t use the proper tools, it becomes tedious and slow to get your needle and thread through.
Did you miscalculate your thread length? Did your needle break? Or maybe the thread is too thin or too thick.
You get the point.
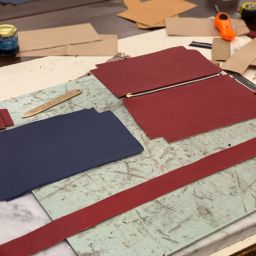
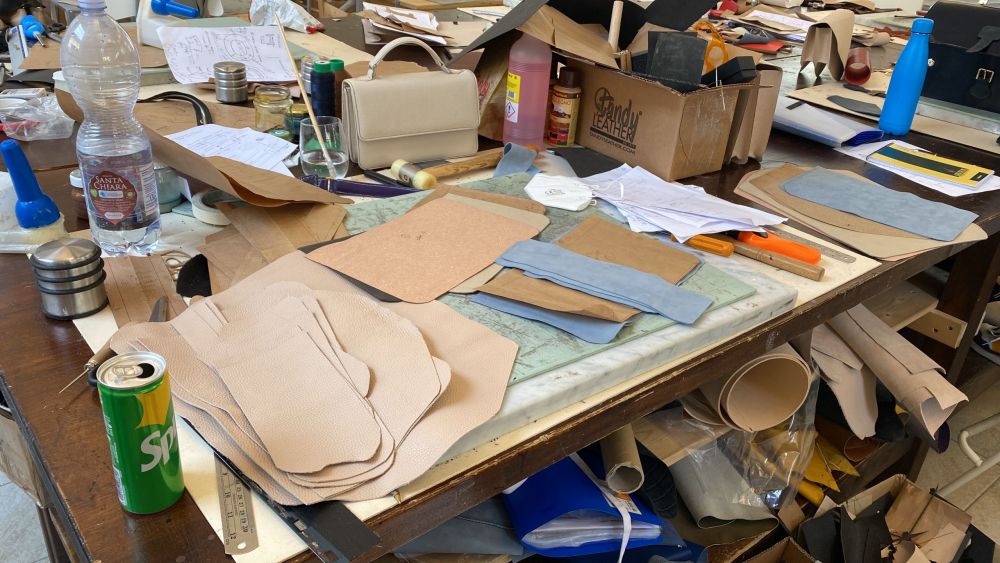
Oh and as you see in the picture above, you should get a big workbench or it looks like a jungle.
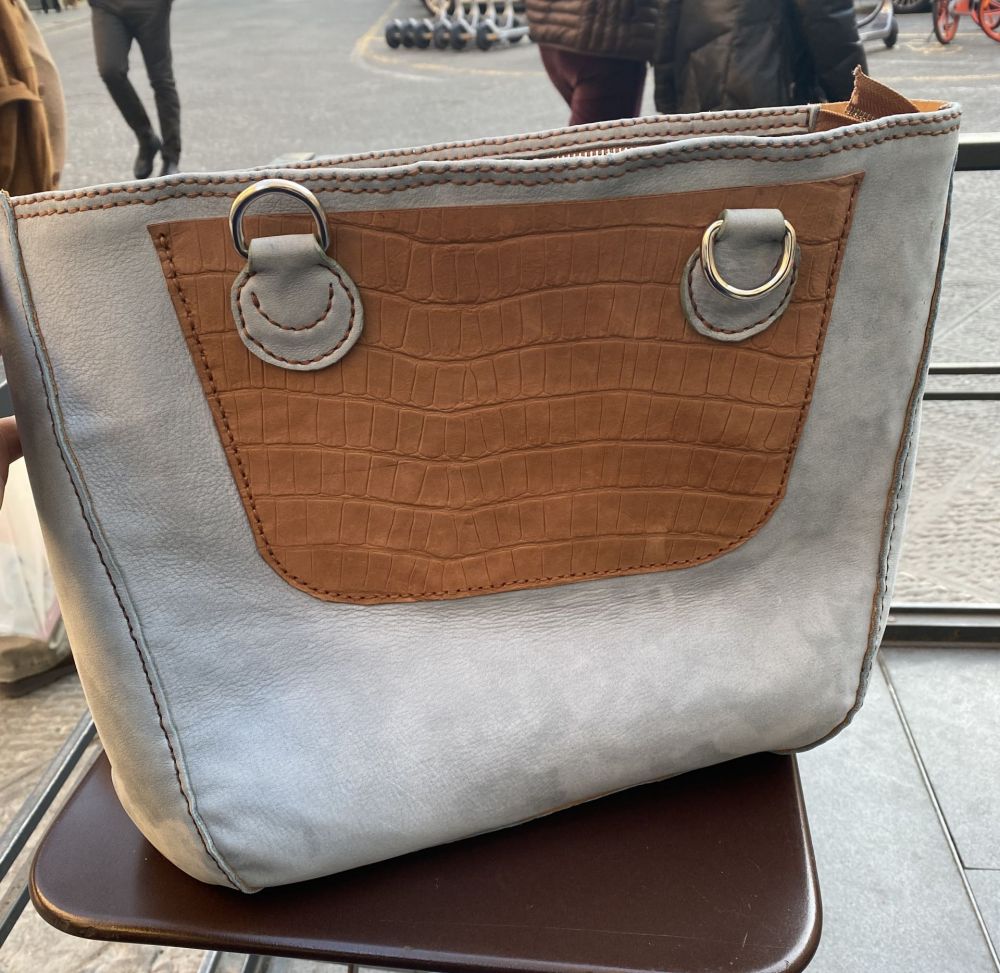
The tote bag of the devil
With this being said, I had the “marvelous” idea to create a Tote Shopping bag fully by hand.
I used some beautiful brown nubuck croco suede and light blue nubuck I bought from Leather Online.
I shit you not, it took me about 73 hours to cut all the patterns, punch all the holes, sew everything together and do the zipper.
However this drained me so much, I didn’t bother to finish the handles yet.
I am not telling you all this to discourage your from handsewing, but to give you advice instead.
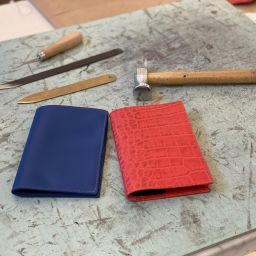
If you are a beginner in leatherworking start with smaller projects such as wallets and slowly progress to bigger bags.
Or simply hand-sew smartly only certain parts of the bags.
If I had to do this particular bag again, with this type of leather I would definitely machine stitch almost all of it.
Pattern making takes time
The previous experience taught me that stubbornness doesn’t lead anywhere but also how important mastering the sewing machine is.
But to even get there, you need to create the patterns first.
Honestly, after you make them a few times it becomes quite easy, if not tedious.
You have to cut separate patterns for the exterior, lining as well as reinforcements all depending on the type of technique you use.
For example, a folded edge construction generally requires an extra 8mm on the edges you fold, which require their own separate patterns.
Bear in mind you haven’t even cut the leather pieces yet.
Add all of these together and this is what your table might look like.
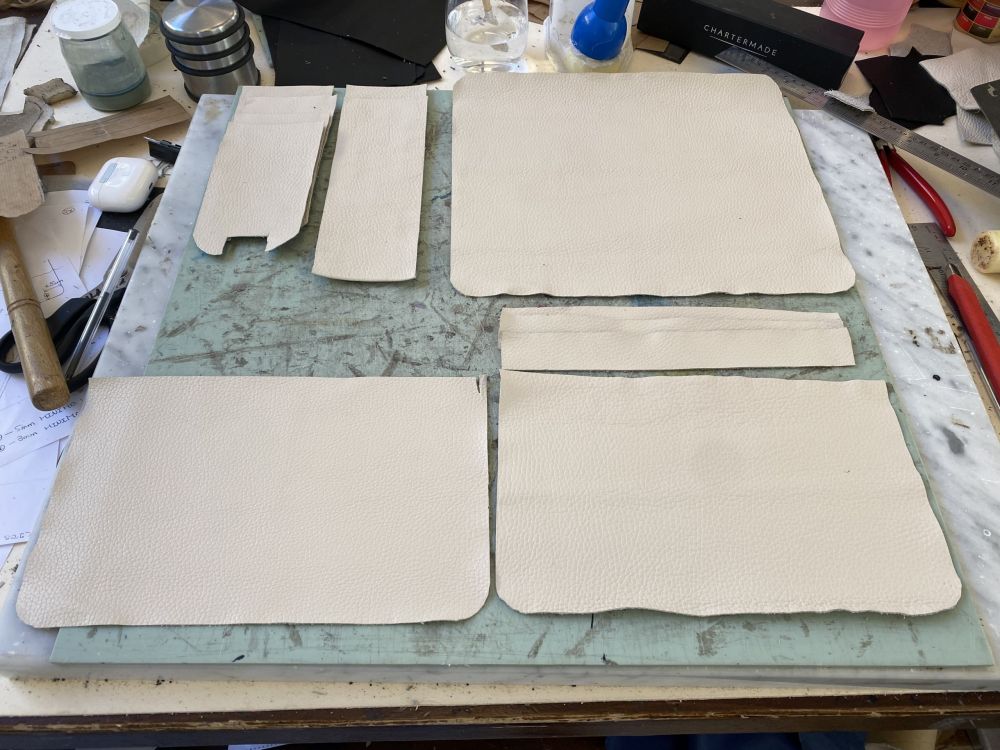
Once you are ready with all your pieces, then the fun really begins.
It is extremely satisfying to finish this step and begin the actual assembly!
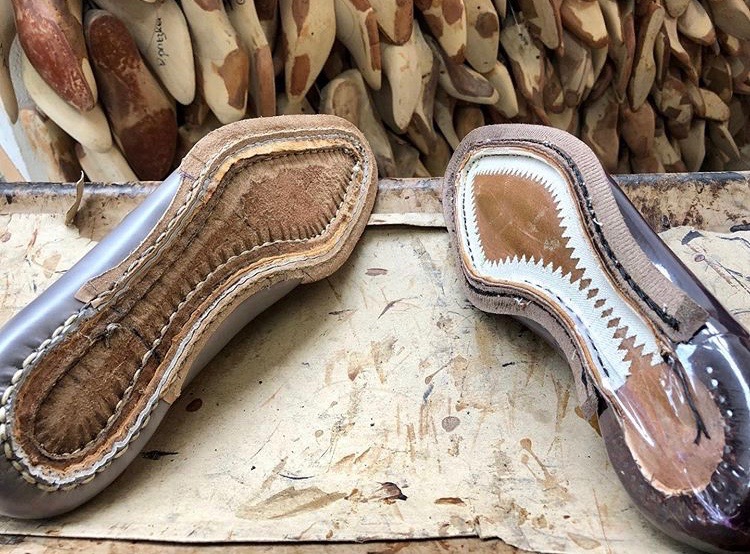
making gussets & Reinforcements
Most of the bags you will make will have some form of gusset.
Essentially a piece that connects the bottom, front and back panels of your bag.
To create a gusset depends on the construction but the difficulty lies into understanding the pattern requirements.
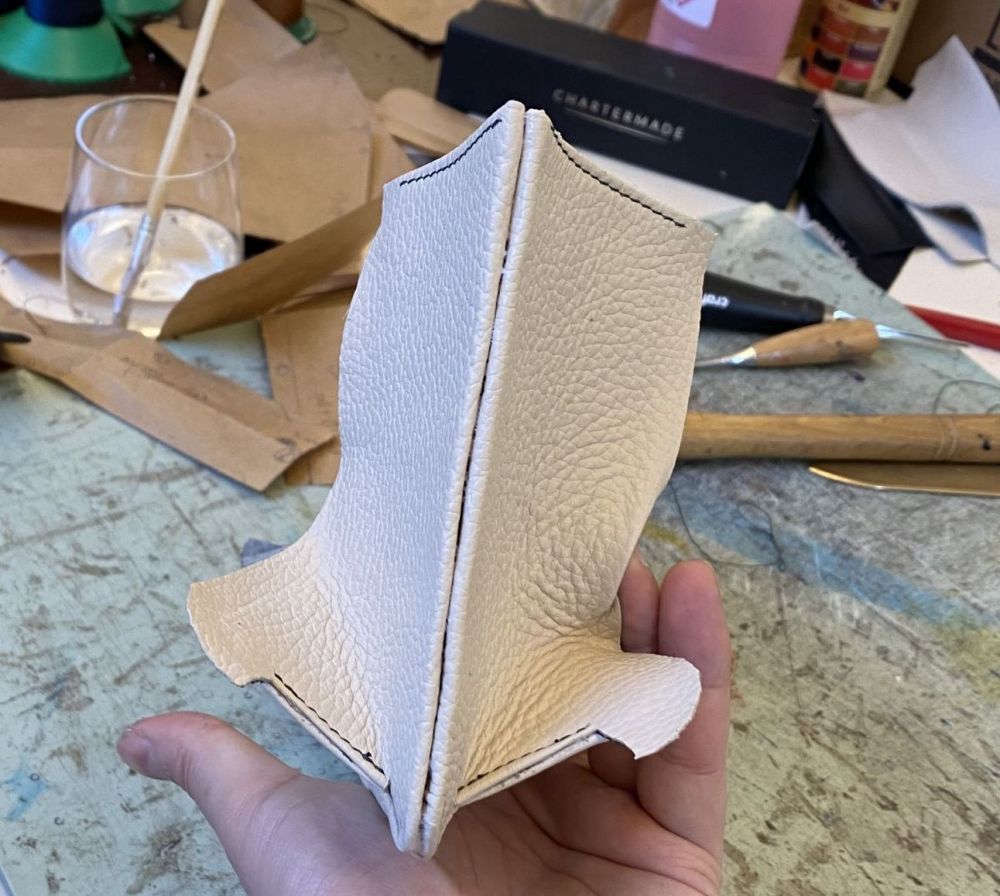
The gusset you see in the picture is connected to the bottom piece as well as the middle panel that separates the two compartments.
Depending on the compartments you want, you will have different numbers of gussets.
The bag I made had only two, so I only needed 4 gusset pieces.
Afterwards, when you connect most of the main pieces together it is time to attach the reinforcements and closure system.
Reinforcement does exactly what the name suggests!
You use Texon, which seems to be a form of cellulose paper, synthetic leather (eco leather or micro-suede) and foam to give volume or durability.
In certain cases you can also add a metal bar, which you also need to sand down to round corners.
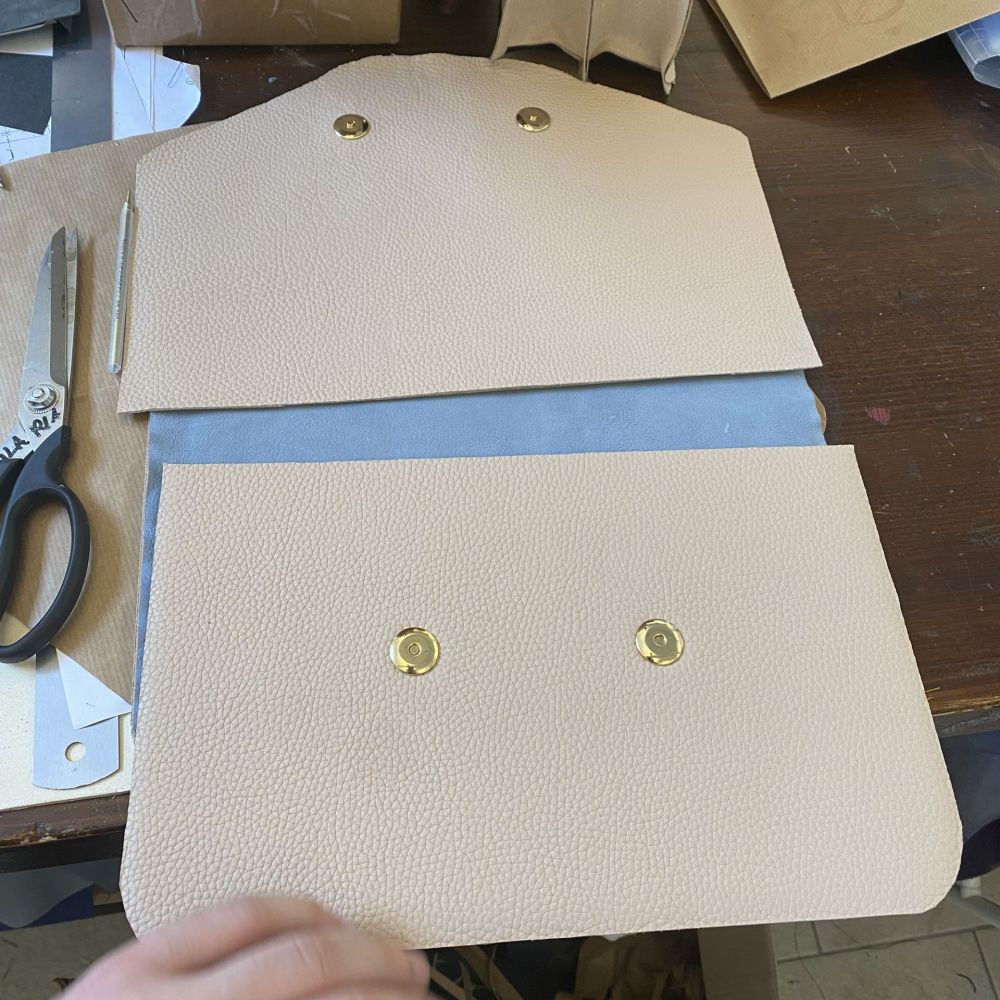
You can also attach the closure system that often includes magnets with male and female parts.
I advise you to add some tape before you punch the holes and then cover them with Texon.

don’t forget you need to make a handle
If that wasn’t enough, if you make a larger back it needs to have a handle or a strap.
This requires its own patternmaking that depends on the bag and your taste.
So each time, you have to make a new thing and test drive it before the real thing.

After I was happy and cut my pieces, I assembled everything and attached it to the panel.

Not bad and what a sense of satisfaction!
Final assembly & Stitching
Right now, all is set for the final push.
All the panels of the main frame are in place and stitched, leaving only the back panel with the handle.

What you need to be careful with, is that leather can really stretch if you push it.

Here for example, I had to hand-sew the last top stitch, but I pushed it so hard it stretched outwards.
The moral of the story is: don’t give your leather a war it won’t forget.
The last step is to sew everything together and you really have to be careful.
One small mistake in the assembly and your stitches go all over the place.
One wrong movement or lapse of concentration while operating the machine and your stitch goes to North Korea.

It’s not noticeable where it is, however it still bothers me and I need more practice.
Does it matter however when the bag actually looks good?!

All in all, I am very happy with the result however and could try to improve it next time.
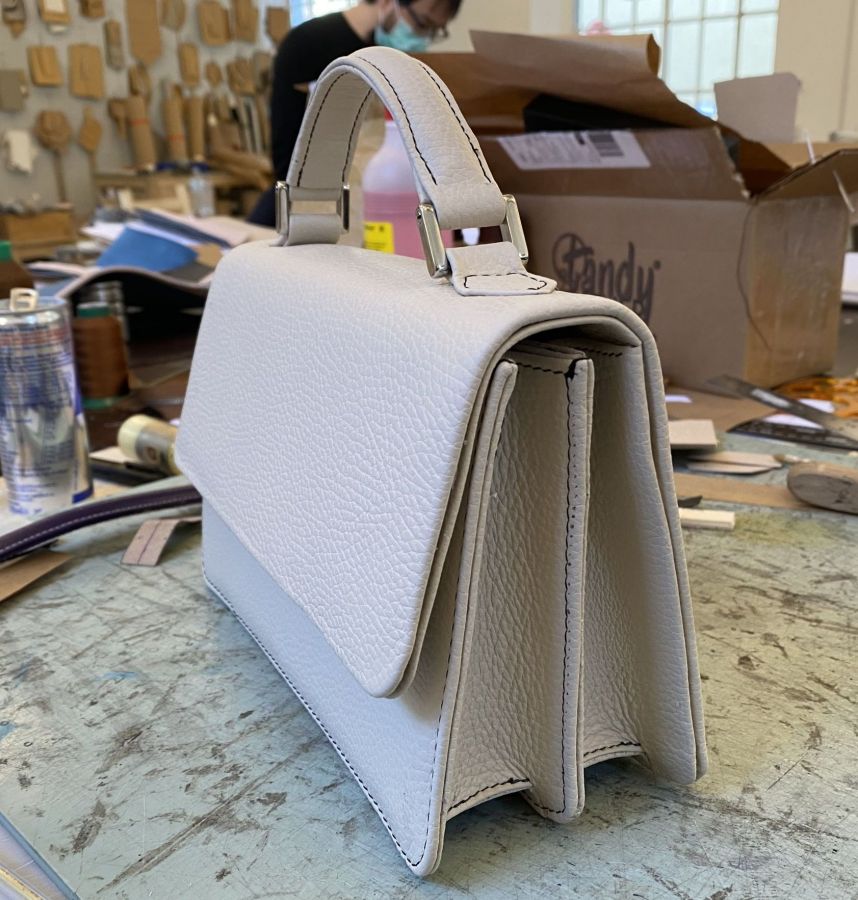
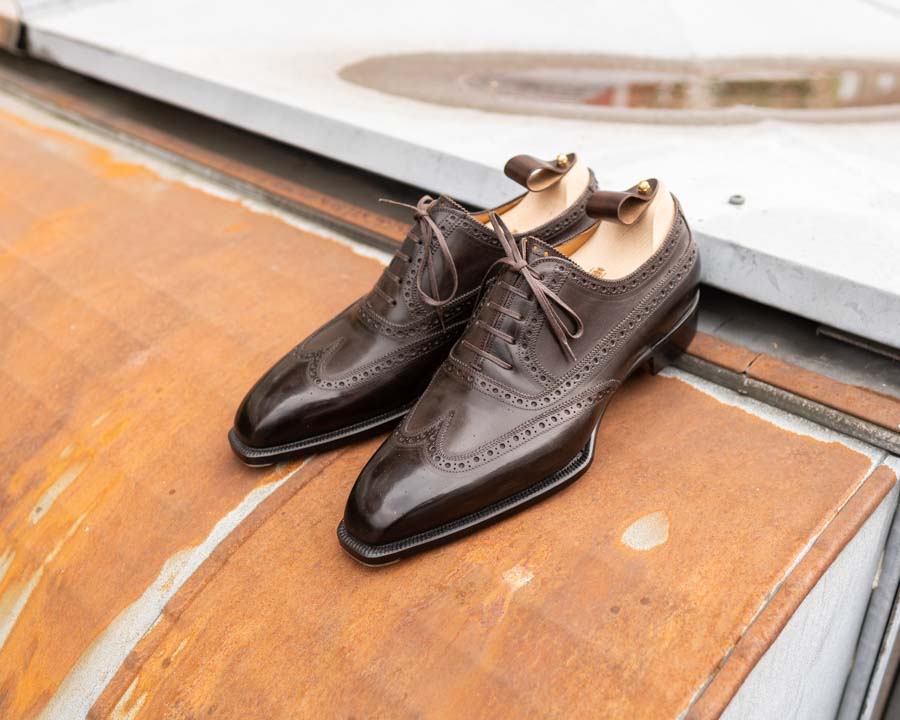
Let’s wrap this one up with a picture of the finished product.

what’s next?
So what’s the current leatherworking project I am working on?
Make a wild guess, it’s another bag!
It is essentially the same one as above, however much bigger and that means a total redesign.
New patterns, new cutting and a new idea for a front flap closure.
First I made a mockup, to see that everything works or find out where I need to make adjustments.
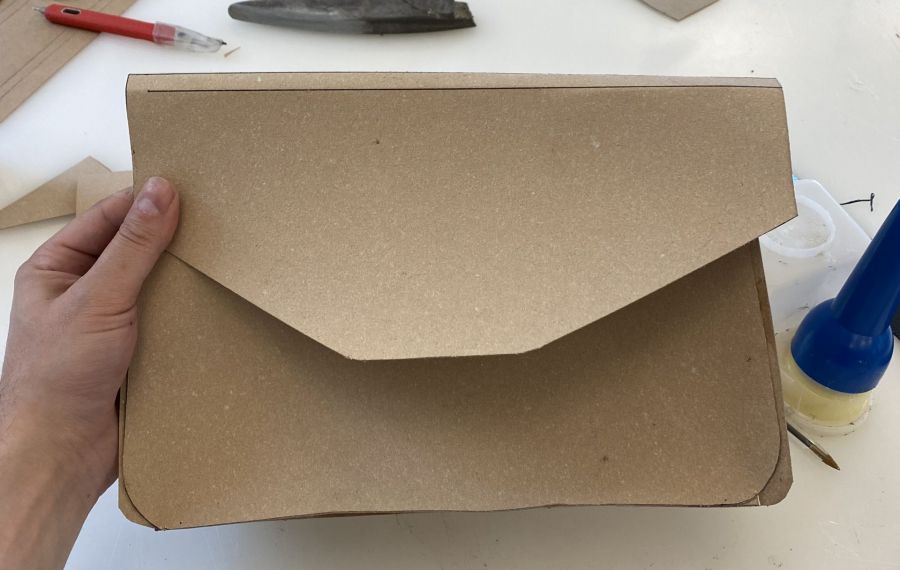
I swear cutting and starting to prepare everything took me 3 full days in school.
We will see how that goes…maybe in the next episode.
wraping things up
As you see, leatherworking projects, bags, wallets and (soon) shoes are challenging.
They take a lot of time, precision, skill and require experience to get it right.
It’s certainly not a craft for everyone and sometimes the frustration gets to me.
However, when I finally get something right, or something goes well, or the final result is good and your friends congratulate you it’s such a great feeling.
I enjoy it very much and if you have a passion for leather and handmade goods, so will you.
Hopefully you enjoyed my rambling about my leatherworking journey!
I’d love to hear your thoughts about this article and the series in general down in the comments!
Take care, be safe, healthy and I’ll see you next week.
Thank you for reading,
Kostas Mandilaris,
Misiu Academy