i made more stuff!
Well I didn’t make Florence but I did continue my Leatherworking Projects & Studies!
This time I will discuss my favorite new leather, first attempt at hand stitching and a ton of wallets!
Join me in this journey!
is this bag making or nuclear science?
I am in my 4th week of the Leatherworking Course at Scuola del Cuoio in Florence.
If you are new or want to catch up with my projects so far here they are:
Over the past week, things got really serious.
This course is not so simple any more and I apply math and geometry more than I ever did as an engineer.
Small miscalculations, the wrong cut, the wrong pattern or being a millimeter off and you will be cursing in French.
Additionally, the patterns are so complicated now even for simple bags that I feel like a Nuclear Scientist.
What baffles me the most is when I check professional leatherworkers on YouTube.
The process is so much simpler in many ways and makes me curious.
Are the ways they are teaching us too complex, or are they required to become the best?
The truth lies somewhere in the middle and shows that you need experience, patience and determination as well as good guidance.
I still cannot believe how understanding and helpful our teacher (Ted) is with my million questions.
What are we gonna talk about?
Back to the topic!
The past week I worked on making more bags, using leather and perfecting my zippers.
I also got the chance for the first time to work with Nubuck Leather.
Nubuck is a type of leather that has a soft velvety touch like suede.
It is really nice to work with, aesthetically pleasing but as you will see can also stain easily.
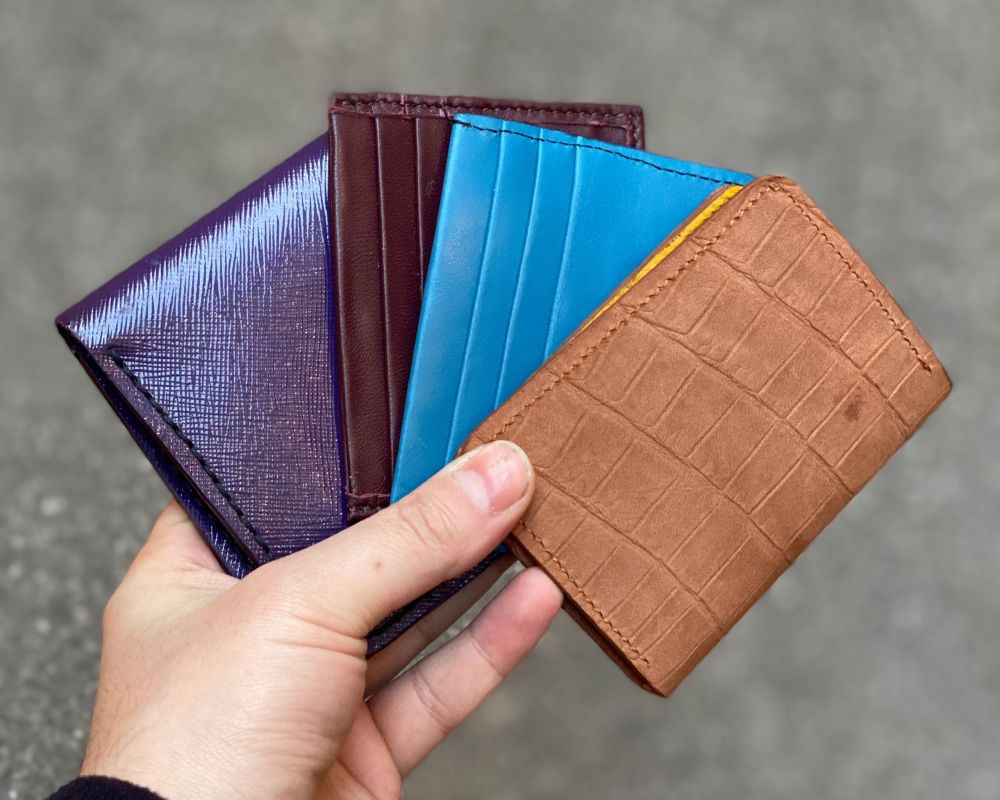
Once more I practiced on making wallets and specifically hand-sewing them.
It was my first and second attempt at saddle stitching and I learned a lot!
Now let’s go through the things I made and learned one by one.
nubuck leather is awesome
After practicing the week before with the zipper shoulder bag, I had another crack at it.
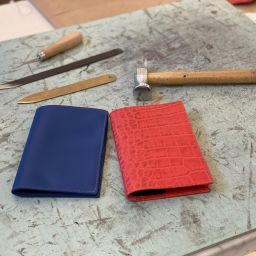
I found some nubuck leather hide in a nice mid brown color with an embossed croc print.
Funnily enough it was my first hands on experience with nubuck and it makes it more exciting for me since my current dream pair is nubuck alligator shoes.
Really nice texture, soft, easy to work with and giving a gorgeous result.
The only negatives I can think of are that we only had one hide and color and that it can stain pretty easily!
the nubuck bag
I wanted to make this bag for someone special to me so there was no room for error.
Luckily the bag ended up really nice with only minor things that nobody would really notice.
The pattern was already in my head, so all I had to do was be precise.

Not only that but I am slowly become better at cutting leather consistently, corners and matching panels.
My arch nemesis (the sewing machine) and I are also working on our relationship and it is going better.
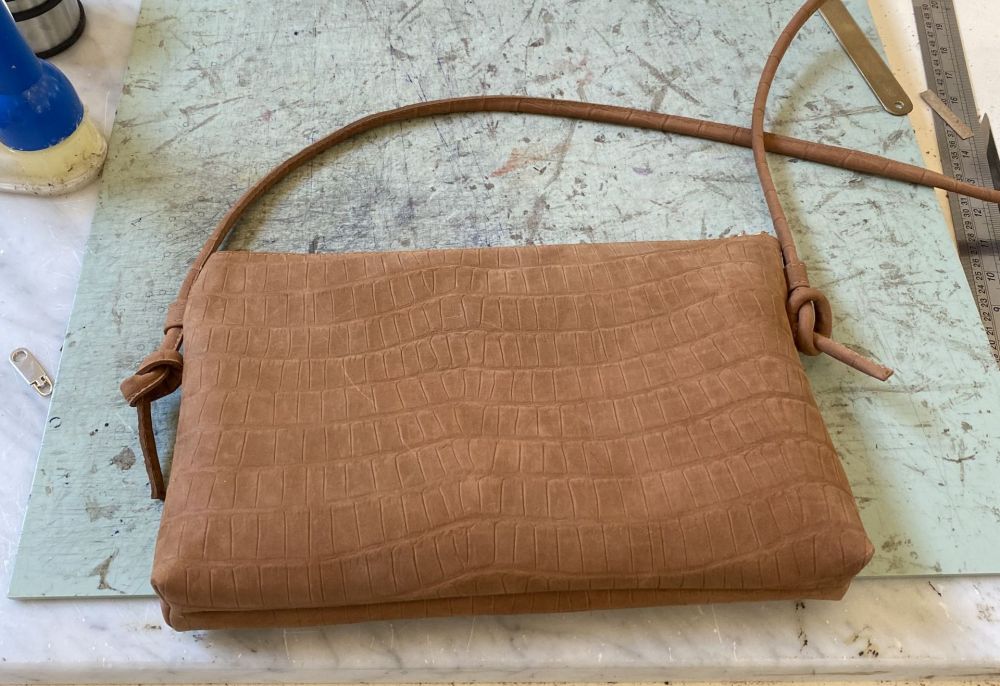
The most nerve-racking moment was when I flipped the bag inside out as any flaw would show up.
But as you can see it turned out really well.
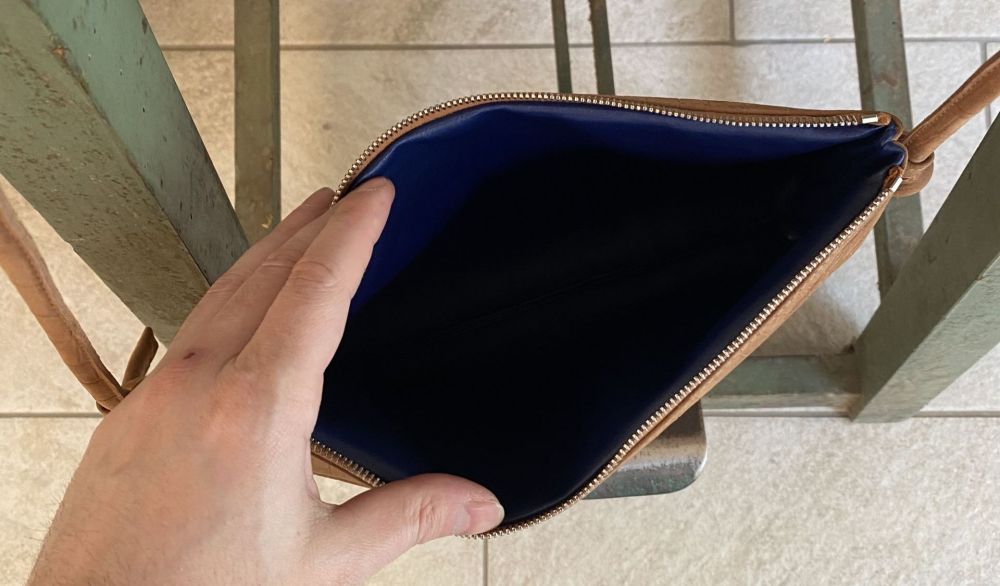
You can also see how the zipper is now cleaner and the blue lining interior matched beautifully.
To adjust the shoulder strap, I put it on my shoulder to try it out of course.

But hey, I wasn’t done yet!
Thickness is important
My next project was ambitious.
To make a nice simple card wallet and take the opportunity to explore various thicknesses and hand stitch for the first time.
After creating my pattern which included even a thumb pull hole I put everything together.
I used a mix of the nubuck leather from above with some yellow grain supple leather.
I tested various thicknesses for the panels and body of the wallet so I have a good idea for the future.
Depending on how hard or soft the leather is you might need or not need reinforcement for the body.

Generally I found that 1.5 mm thick leather (4oz or so) works well for the panel.
I also checked how thin is too thin for the inside pockets.
Let me tell you that 0.5 mm is way too thin and flimsy, although I knew that in advance.
Depending on how many pockets you want, anywhere between 0.8-1.2mm can work just fine.
Of course it also depends on the leather you use.
Lastly, an important lesson learned is to use the right tools and color in advance the edges that become less accessible later.
saddle stitching
Then it was time to hand stitch with the method of Saddle Stitching.
Quite a simplistic process which you can watch on YouTube but it takes real skill and effort to do.
My first attempt wasn’t that bad all things considered.
The worst part was that I didn’t have proper thread so the thin one from the school kept breaking.
It took me 2.5 hours to stitch that little bugger like that!
However, my second attempt was much, much better.
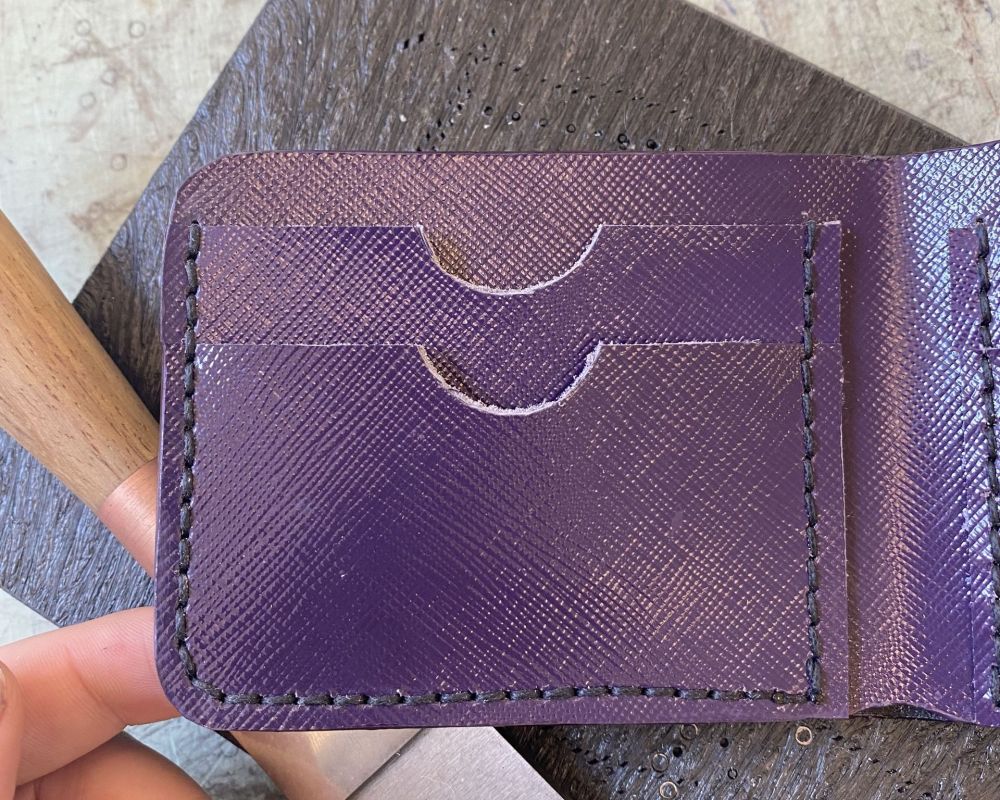
I used a purple, shinier leather that I ended up hating, but it did make a nice wallet.

This time around I even had new tools which I ordered from a shop in Denmark.
The wallet had regular pockets, a money slot and I stitched it by hand.
Other than a small corner where I messed up, I am very happy with the result.
By the way you can get that awesome Japanese Skiving Knife at Chartermade.
Handles galore
We also spent almost a week making handles for our bags.
It was not enjoyable to be honest and way more complicated than I wanted it to be.

I won’t spend energy to tell you about this, but it needs way too much math for me.
There are simpler ways to make handles and certainly aesthetically nicer.
I did make a simple one to support Ukraine for whatever it’s worth.
It wasn’t my finest work, but oh well!
future projects
Right now we are working on a small women’s clutch bag, which is the spawn of Satan.
I absolutely hate it and I sincerely hope the result tomorrow is good.

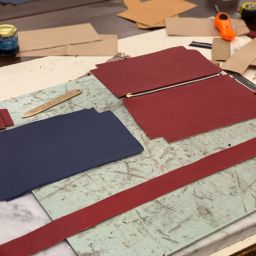
Here’s a mockup with some leatherboard of what the design will be like.
I always recommend using some cheap leather or fake material to make sure your pattern matches up.
For example, I am also working on my own side project which is a small backpack satchel.
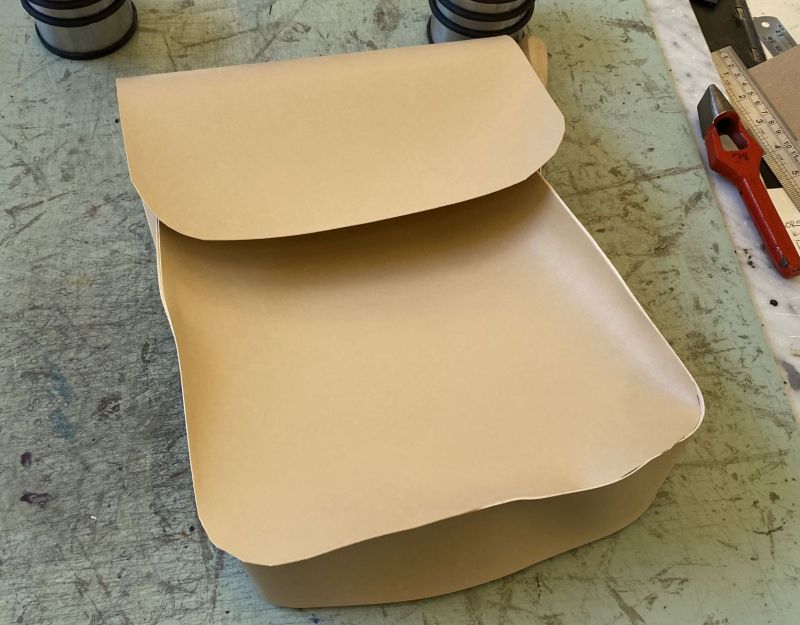
It was a great idea to see that my pattern was ok and the proportions fine.
Just some glue and rough shape to hold it together and that’s all.
I am working on it and I will slowly finish it and show it to you soon!
Conclusions: Leatherworking is tough
My 3rd and 4th weeks of Leatherworking taught me a lot.
It is really an exhausting but fulfilling experience and there are definitely parts of it you will not love.
There are so many little things to master, but that comes with experience and understanding the why and the process is more important initially.
Overall I would say I am improving and I am very excited for future projects and of course shoe school.
Let me know what you think of this series in the comments!
Is there something you would like to see me make?!
Thank you for reading,
Kostas Mandilaris,
Misiu Academy


