![leather toe]()
 The Journey Continues
Welcome to Part 5 of my “Becoming a Bespoke Shoemaker” Series.
This week we are continuing the journey by reaching the final step before moving to more advanced techniques.
Specifically, we will follow up from the leather sole stitching all the way to edge coating it.
We want it to look nice after all don’t we?
Previous Weeks Recap
If you want to follow the journey from the beginning here are the other articles:
- Learning How To Last (Part 1)
- Preparing & Lasting The Toe Puff (Part 2)
- Learning To Hand-Welt (Part 3)
- Cork Filling & Hand-Sewing A Leather Sole (Part 4)
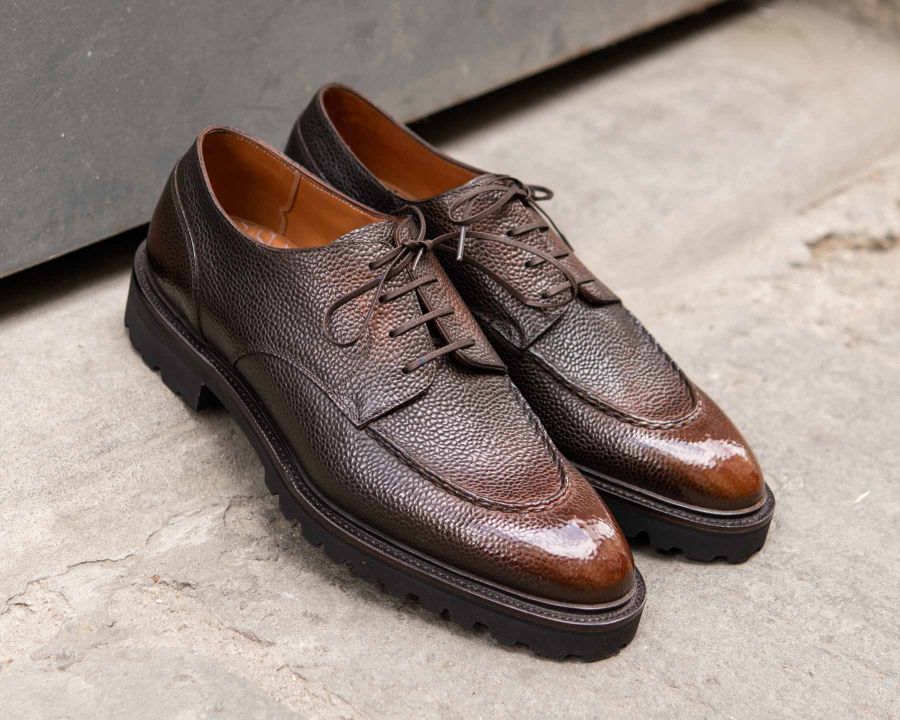
As aforementioned this week we will make the sole and edges look nicer.
Refining THe Sole
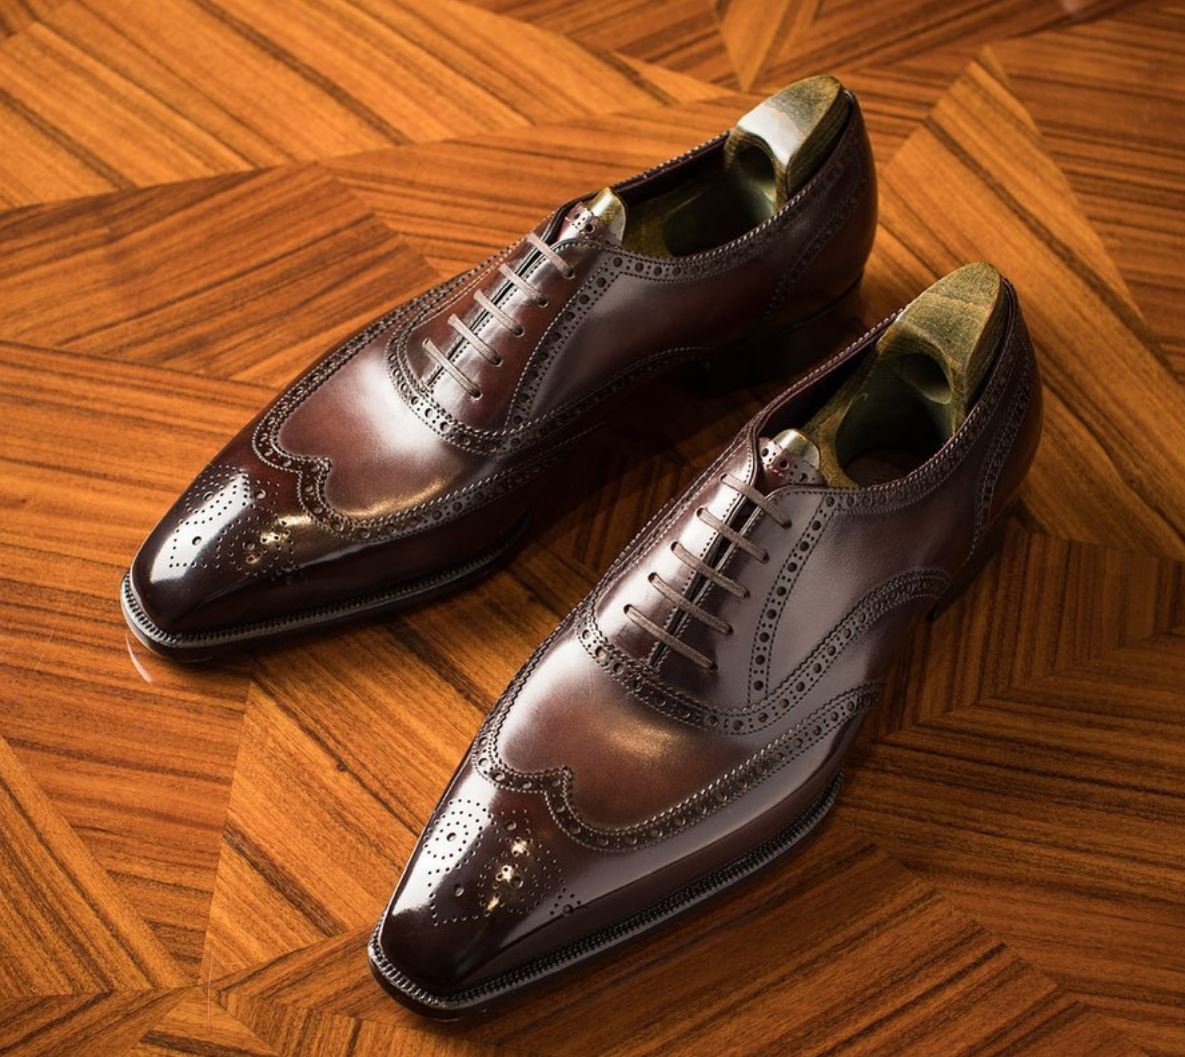
Now while on paper the whole thing (as far as toes go) is assembled, it is time to finish and polish it.
An integral part of shoemaking is making sure the end product looks aesthetically pleasing.
In order to do that, the sole should look shiny and nice, colored and uniform while following the last.
However there is still a lot of preparation to do before calling it ready.
It’s not just a matter of “glue the channel and put some dye on the sole”.
Today we will take a brief look at what it takes to make the sole look a little nicer.
Prerequisites
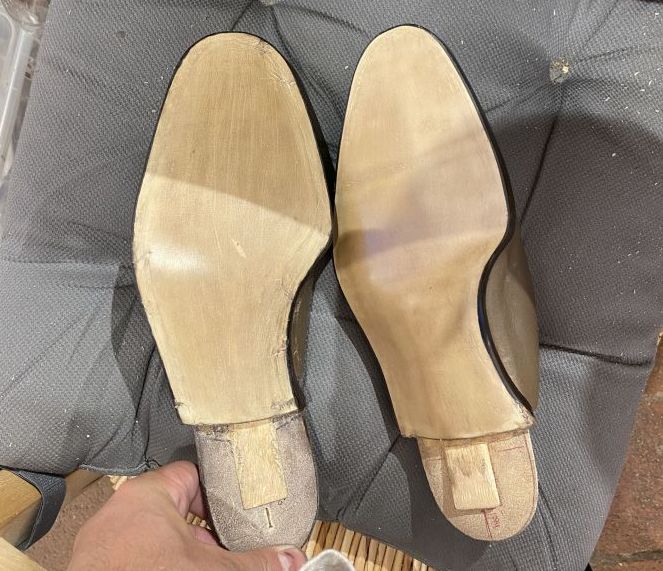
While not a rule (maybe) you should be at the point where you have a flat even outsole side.
And at a point where you lightly sanded and glued the cut leather stitch channel shut.
At this point it is very important after closing the sole to even it out with your hammer but very carefully.

Hit too hard or have bumps on your hammerhead and the sole will be uneven.
Additionally by hammering too hard the edge of the sole will also be uneven unless you use a flat counterweight while hammering.
Having a flat outsole will help you apply the dye and get a great even result but also shine it correctly and water seal it.
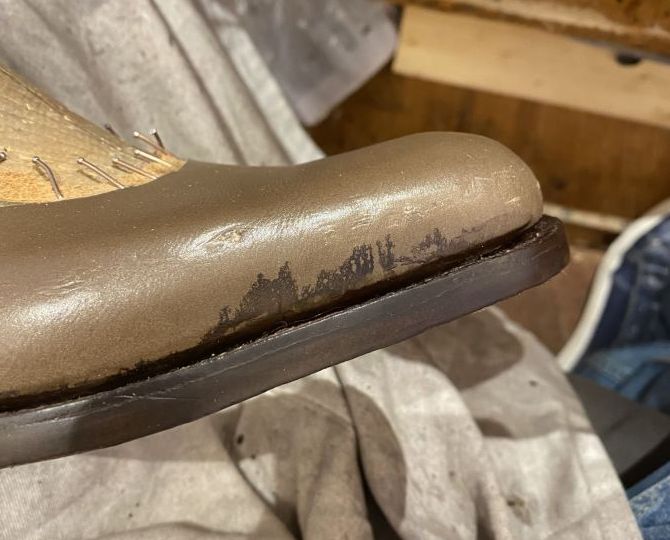
Dying the sides & Welt
At this point we want to focus on the side of the shoe for a more aesthetically pleasing result.
Other than a couple of times where you will be passing the fudge wheel (see previous article) to reinforce the look and ridges you have a specific process of dying.
To begin with, make sure to use your glass to smoothen out any bumps or shapes that created during the sole sewing.
You can even begin with a very coarse sandpaper grit like 80 or 120.
Grab some appropriate dye (oil based) and lightly pass the welt and then the side of the shoes.

It’s super important to know at this point that you should have masking tape on the sides of the shoe to protect it.
The way you hold the shoe is also important as applying dye with the brush can go anywhere.
But this is something that you should use your intelligence to find out the appropriate method of brushing.
After applying the dye you need to use ammonia to help open the pores and prepare for future applications.
Ammonia smells really potent and you only need as much so make sure to have plastic surgical style gloves.
You also need a small piece of cloth which you wrap around your fingers.
Make a small dab in the ammonia and pass fast over the sides of the sole you just dyed.
Afterwards you will use a cobbler’s glazing iron all over the sole as well.
Multiple Layers Of Dying
At this stage you want to repeat most of the process above just using higher grits.
You are refining the sole and each time preparing it for a better, deeper application of dye.

After using the iron, all you have to do is use the higher grit sandpaper to pass the sides.
From 80/120 you can go to 220, then 320, then 400 and then 1000/2000 to finish up.
There are some additional steps that you will learn as you progress more but at the moment this is enough information.
Every time you do this process, you will see how the surface smoothens out.
The pores open, absorb the dye and at the end look more uniform.
Liquid Wax & Polish
The last step at this point will be to grab some liquid wax in the same color as the dye.

You only need a little and you apply it with a small brush very carefully.
Apply a gentle amount on the welt and make sure it reaches inside.
Then proceed to do the same for the sides being careful not to stain the rest.
At the end of this you will use the iron once more to buff it all in.
We also passed the fudge wheel one last time but this time not heated!
After you finish all of this and let it dry for a little, it’s time to polish it.
Grab a similar colored polish, a nice simple cloth and buff that side fiercely!
And that’s pretty much it for now!
Extra Steps For Future Articles
I will not go into much detail here since I will talk about it in the future but there’s more you can do to the sole.
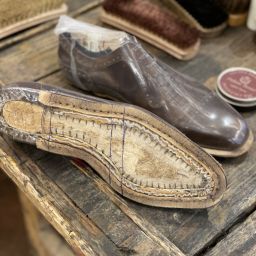
You can make a nice outline with a sharpie at the edges to give a clean look but most importantly shine the sole.
It’s a more complicated step that requires you to use glass and smoothen the sole.
After doing all that you need to use a special mixture (looks like fat) to glaze and seal the sole.
You buff this very quickly all over the sole, remove the excess and use a plaster to roll it even everywhere.
The result is very pleasing when done well, as you see from the first and second rendition.
I should also remind you here that you need to be extremely careful with the masking tape and your awl or you will leave markings!
And that should be a wrap for today!
Conclusions
We finally reached the end of Part 5 of my “Becoming a Bespoke Shoemaker” Series!
Since the articles come at least a week after the teachings, I am way far ahead but it’s important to show how everything goes.
Essentially what I showed you until this point is the core about how to make a shoe.
More advanced techniques and refinement will follow up and hopefully more in-depth looks at certain elements of shoemaking.
I hope you enjoy this series and look forward to seeing more!
Let me know what you think of my progress in the comments!
Thank you for reading,
Kostas Mandilaris,
Misiu Academy