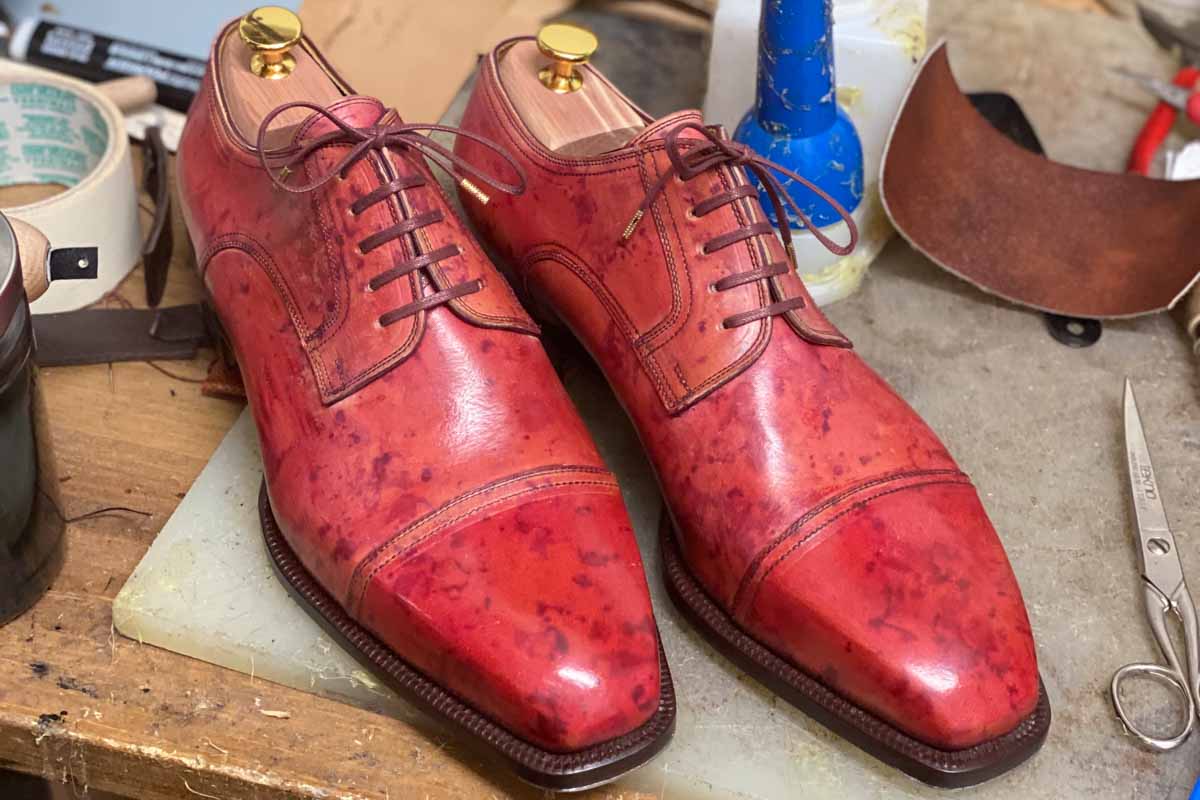
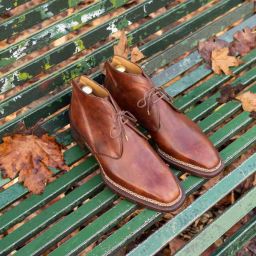
![Hand-welted pair of shoes]()
 Bespoke Mode On
Welcome to Part 8 of my “Becoming a Bespoke Shoemaker” Series.
In this article we pick right where we left of last time and continue making my first Bespoke Shoes!
Specifically, we will talk about cork filling, the fiddleback waist and sole sewing.
Let’s go!
Previous Weeks Recap
If you want to follow the journey from the beginning here are the other articles:
- Learning How To Last (Part 1)
- Preparing & Lasting The Toe Puff (Part 2)
- Learning To Hand-Welt (Part 3)
- Cork Filling & Hand-Sewing A Leather Sole (Part 4)
- Edge Coloring Leather Soles (Part 5)
- Making A Blind Waist (Part 6)
- Starting My First Bespoke Pair (Part 7)
Today we are picking up from Part 7 and continuing towards the final steps of my Bespoke Pair!
Where Did We Stop Last Time?
Last time, I only had enough time to hand-welt one shoe.
So naturally the next day I went back to the store to finish what I started.
During welting, you can use either linen threads or a waxed polyester twisted thread.
It’s up to you which one you use, but the linen takes much more preparation and labor.
One of the things that will make you struggle especially during sole stitching is not breaking the thread.
Pull too hard, ruin your bristles, cross the threads or anything else and it can go south and you lose time.
Your precision during the attachment of the thread to the bristle needs to be perfect as well.
If you make the end of your thread too thick you will have serious issues getting through the holes.
I am also going to invest in a welting stitching “pony” because sitting is terrible for the back.
Like, seriously soon I will be making Spider-Man “My Back!” memes.
In any case, it takes me about 1.5 hours to properly hand-welt a shoe now.
That is actually not that bad and I am aiming for consistency.
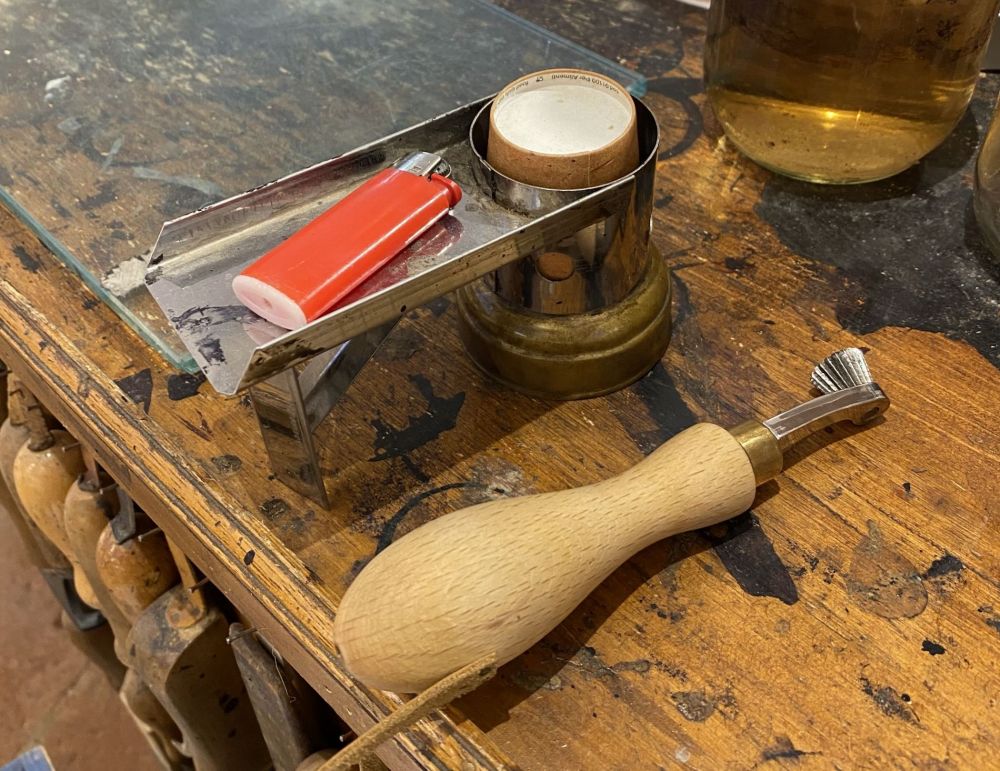
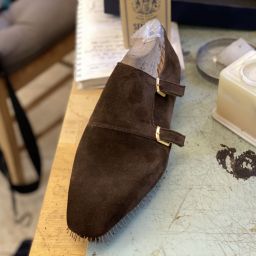
Proceeding To Cork Filling
Just like the Greek Recipe “Gemista” (Stuffed Vegetables) after we remove the interiors, we have to refill them!
When you are cutting the inner part of the holdfast (wall), it is ideal if you do it in one go and save the piece.
Because after the welting and skiving, you can use those pieces to perfectly fill the space.
If you can’t or don’t want to there’s no problem as you can just use cork.
Before the cork, it is of utmost importance to remove the inner nails and redraw any lines.
The upper and lower ball line serve as indicators of your cork and shoulder piece for example.
The procedure is similar as before, where you add your wooden shank and fill the surrounding space with cork.
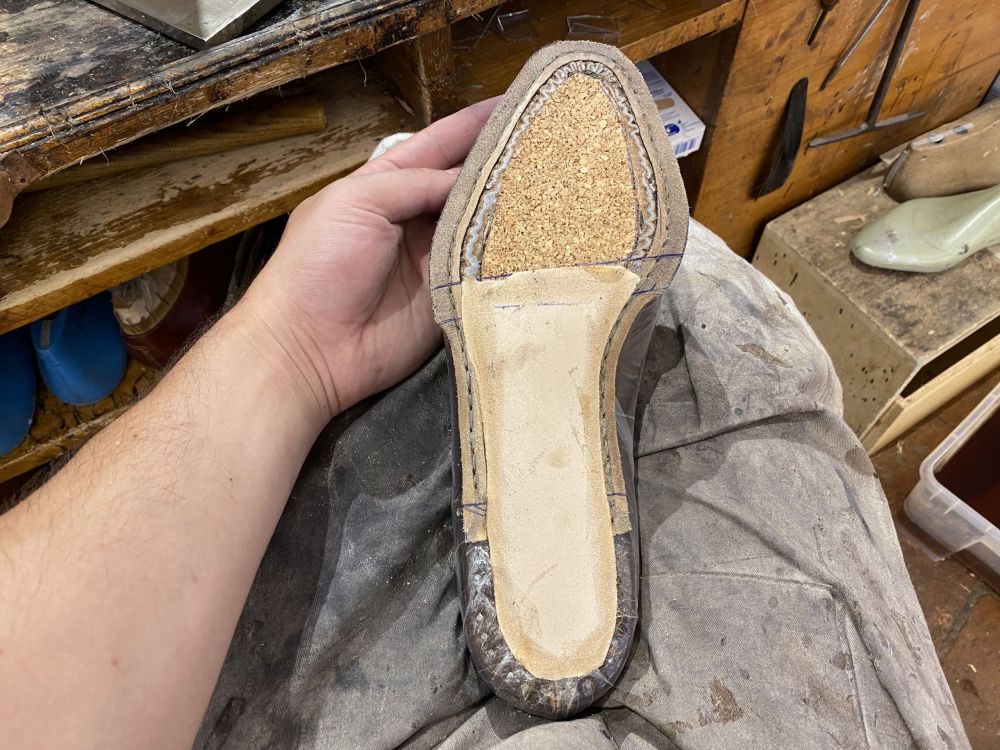
You need three main components for this part: The cork, a piece of shoulder leather and the shank.
I already touched upon these previously, but here’s a quick mention.
The shoulder leather is more compact and gives strength and structure and helps shape the fiddleback waist.
You need to skive the edges all around, as well as 1.5 cm on the top part, covering the ball lines.
The top (and anything that needs filling) is covered by as many layers of cork as you need.
In the image above I only have a base layer of cork and will proceed with more.
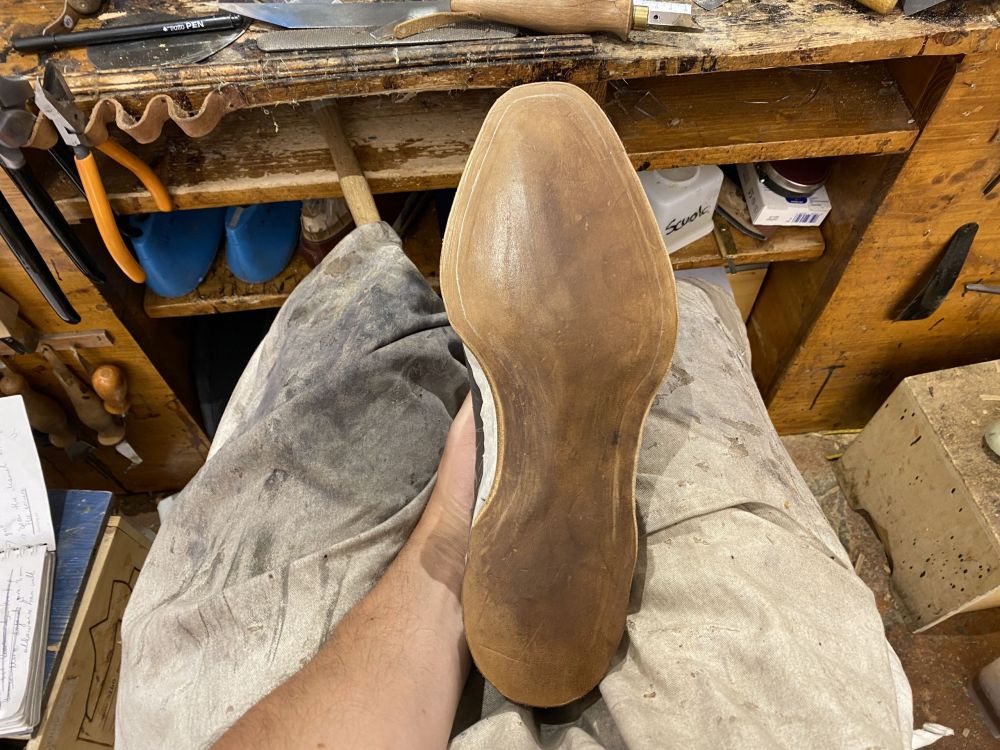
Shaping The Fiddleback Waist
People love fiddleback waists and I can see why.
Let’s learn how to make one.
After you put the cork on top you will skive the edges and rasp it flat and flush.
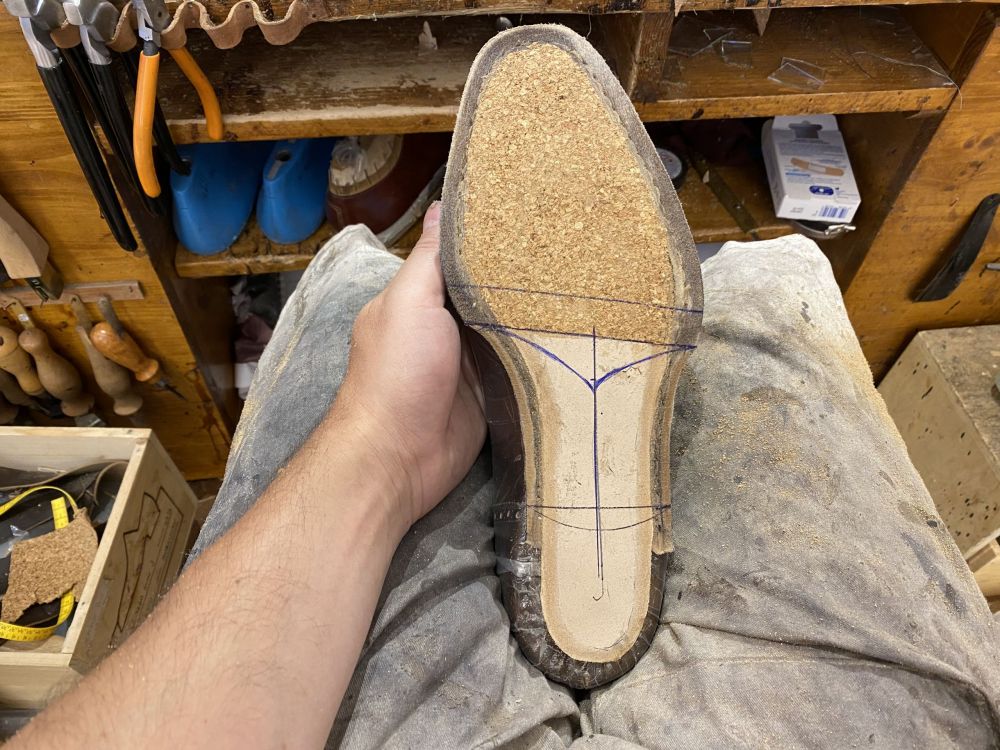
As you can see in the image, it is level in the sides and seamless with the shoulder piece.
You can also notice that I redrew the original lines but also some new ones.
I found the center point and made a line and free-handed the shape of the fiddleback.
You then proceed to skive the edges and glass it to a nice curve.

This helps build the base of your fiddleback waist and will mold your outsole later.
Depending on the angle you make, the fiddleback will be more pronounced.

For more advanced users you can even put two pieces of shoulder pieces.
This is something I will try in the future but not now.
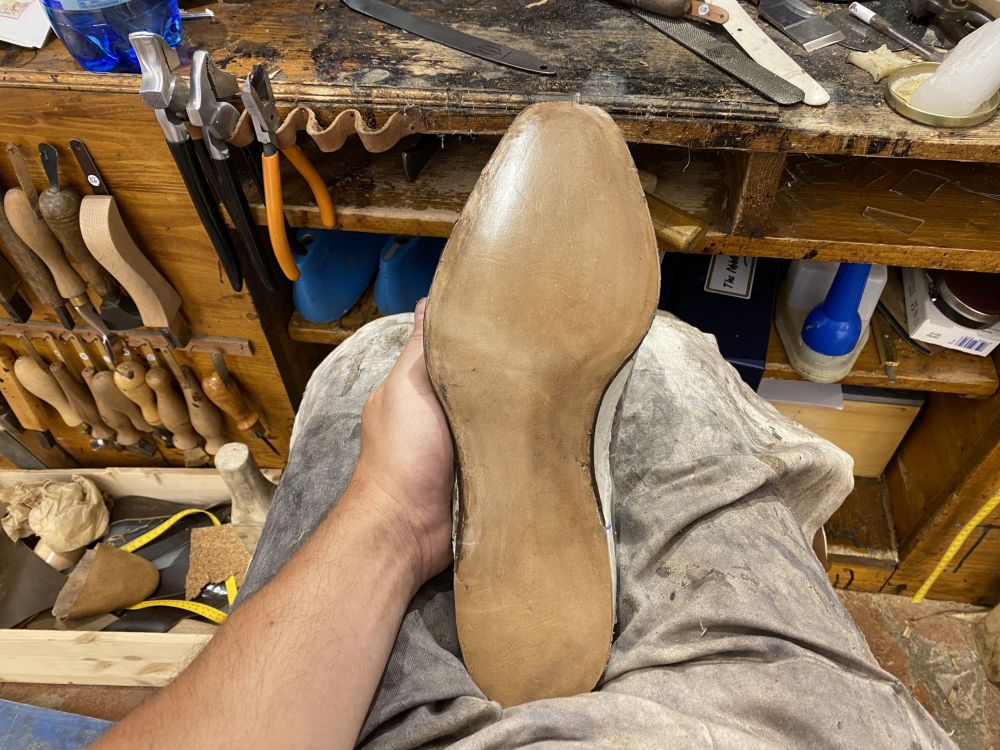
I recommend flattening the heel as well since it will make your life easier later.
Preparing The Outsole
Since we chose to do a fiddleback waist, we need to prepare our outsole first.
I forgot to mention that after doing the welting, the blind waist needs to be trimmed, skived and glassed.
It is an essential part because we will do a similar thing to the outsole in order to hide those stitches.

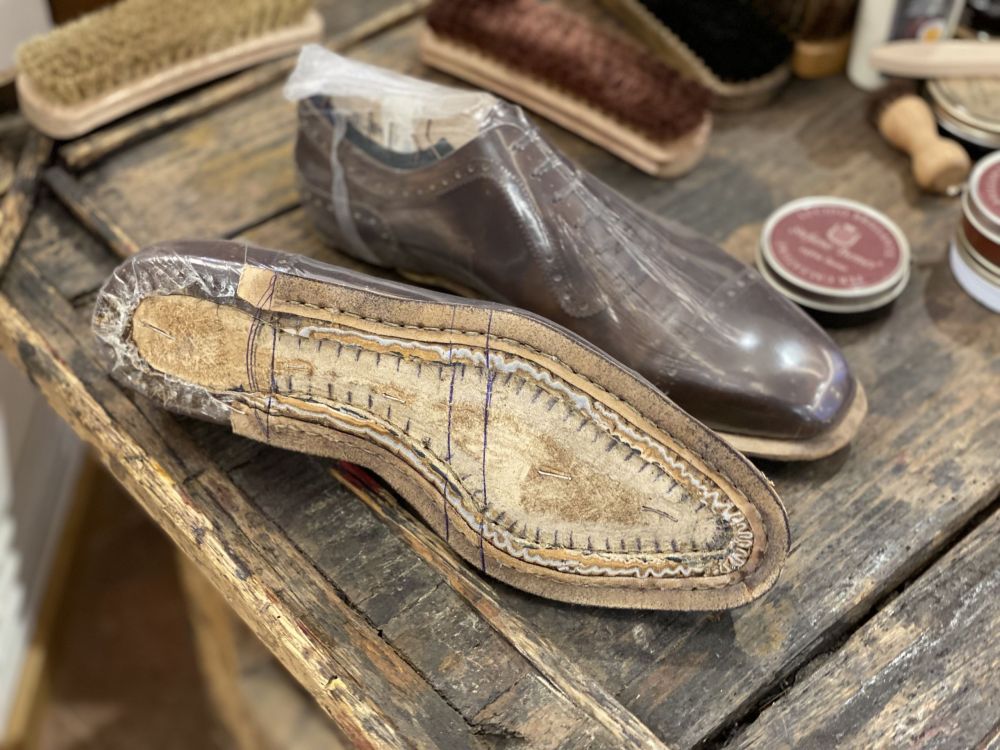
Our soles were in water for around a day and now we trace our shoe on them.
I trace the center front and back point, but also the various lines including the fiddleback.
How you continue from here is up to you as there are different techniques.
In essence however you skive the edge of the fiddleback shape and glass it to a curve, resembling the final shape.
But also it serves as a base towards folding them and hiding the stitches of the blind waist.
It becomes way too complicated to explain with a few words, so I will simply continue.
Sole Attachment
Before attaching the sole, you need to dry with a heat gun only the inside part of the sole.
This allows it to absorb the glue and after scratching it, stick better.
Your sole and shoe interior has to stay around 20-30 minutes with the glue as a general rule.
Remember to push hard and hammer all the spots when you attach them together.
After you do it you should trim the sole to the welt length.
Trim it, rasp it to get the last shape and glass it for smoothness.
When you finish this step, it’s time to heat that fudge wheel and prepare your stitching lines.
Lightly wet the top of the welt and pass your hot fudge wheel over.
It will leave the markings on the welt if you did it correctly but it takes practice to do this.

Once you do all these steps and mark the stitch line with a silver pen we can move on to the bottom.
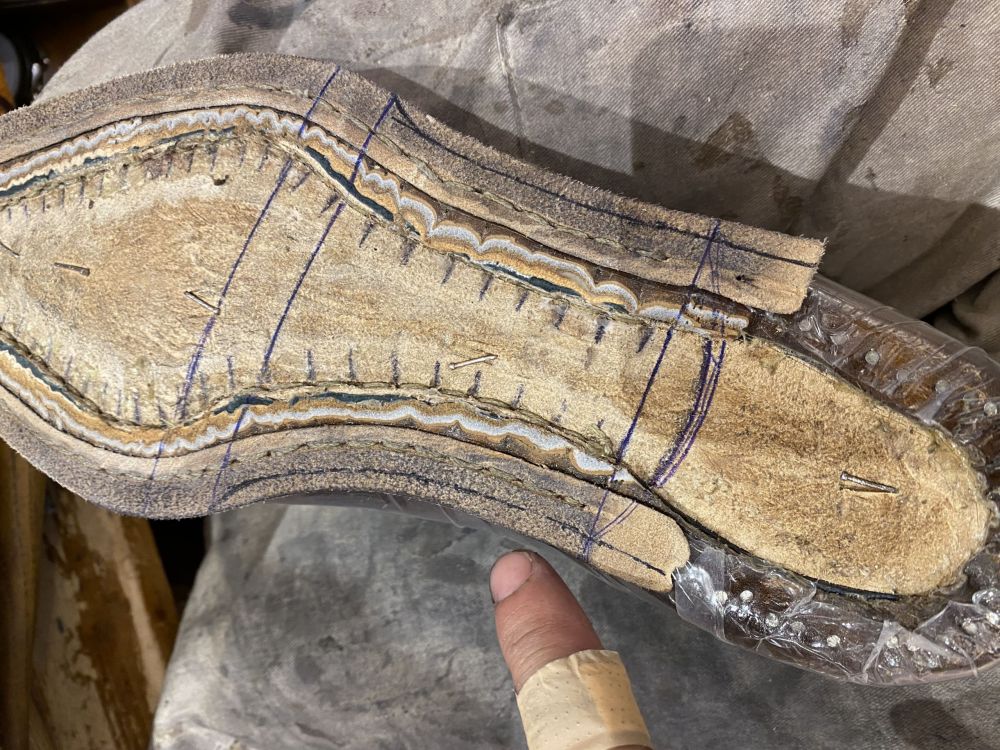
Outsole Channeling
The goal here is to prepare the outsole for stitching.
Specifically, to make a closed channel stitch by cutting a thin flap of leather and creating a groove to hide the stitches.
In the meantime, we also skive the edge of the waist and give it a nice shape.
Skiving at an angle and glassing it smooth gives our sole a lovely curve.

You might notice that our heel doesn’t have the nicest shape yet, but this is normal.
We will deal with the heel after the sole stitching.
For now, I used my dividers or silver pen to mark my channel width.
Using a very sharp knife and correct angles you cut that leather and open it up.
Punch a few holes with your awl to find your stitching line and mark it all around the shoe.
Finally, we use a channel groover to create a trench where our stitching will reside and hide itself in.

Here I had no other picture so you can see I already performed the sole stitching.
You might notice the markings on the masking tape around the waist.
I set my dividers to 0.9 cm and mark the distance on the masking tape.
This allows me to know where to use my welting awl for the blind waist stitching.
Make sure to keep the bottom of your sole moist and wet during these times.
Closing The Channel
It’s time to close the channel before we get to finish the shoes.
Actually stitching the sole is laborious and involves making your own linen thread.
This one is extremely delicate and one small mistake can break it.
It takes me about 2 hours to stitch at a 10-12 SPI density right now per shoe.
I do recommend doing this in one go and making sure you have enough time.
This helps you remain consistent and focused, plus you need to keep your sole wet.
Once you finish, you rasp and scratch the channel (careful with the stitches) and apply glue.
Leave for 10 minutes to dry then gently close the channel and use your hammer to ensure everything is flush.
The next steps will be to make the fiddleback nicer and of course shape the heel and add the heel stacks.
But this will be the topic of Part 9!
Wrapping Up
This brings us to the end of Part 8 of my “Becoming a Bespoke Shoemaker” Series.
I cannot believe the progress I make every day but also that the course is ending soon.
My focus now shifts to finishing these shoes this week and focusing on the future.
After all, there are some exciting news at The Noble Shoe.
Stay tuned, there’s some amazing content coming from Lanieri, Acme Shoemaker, Bridlen & More.
Thank you for reading,
Kostas Mandilaris,
Misiu Academy


Very well explained, any advice on learning how to get started on shoe repair? What’s best ? Join a shoe repair shop to get some knowledge? Or take classes at a college or shoe school? I have no idea how to start.
Hello,
in such case if you cannot attend a proper shoemaking course it is best to work with an experience cobbler and learn from them!