![Becoming A Shoemaker Part 11: Lasting & Welting Bespoke Monks]()
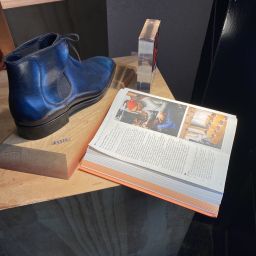
 Excitement Is In The Air
Welcome to Part 11 of my “Becoming a Bespoke Shoemaker” Series.
In this article I continue my beautiful Bespoke Stefano Bemer Double Monks in Suede.
Let’s turn those uppers into a real shoe!
Previous Weeks Recap
If you want to follow the journey from the beginning here are the other articles:
- Learning How To Last (Part 1)
- Preparing & Lasting The Toe Puff (Part 2)
- Learning To Hand-Welt (Part 3)
- Cork Filling & Hand-Sewing A Leather Sole (Part 4)
- Edge Coloring Leather Soles (Part 5)
- Making A Blind Waist (Part 6)
- Starting My First Bespoke Pair (Part 7)
- Cork, Fiddleback & Sole (Part 8)
- Bespoke Adelaide Oxfords (Part 9)
- Cutting, Sewing, Closing Uppers (Part 10)
Picking up from Part 10, I had already cut, sewn and assembled the uppers for the first time.
This time around we are on more familiar territory.
I will show you the complete lasting and welting.
I do hope that aspiring shoemakers will find this helpful.
Hand-Lasting Improvements
Every time just before I begin a new project, I spend some time with the last shoes I made.
I make a list or try to remember which parts were challenging, what I did wrong, right and what to improve.
This was the first time I lasted suede leather so it was a bit uncharted territory.
However, I did know that I can do so much better when shaping the toe puff.
A vital part of shoemaking that essentially determines the toe shape of the shoes.
And if you know me, constant improvement and quality is how I run The Noble Shoe!
Pre-Lasting
This one also went well.
Less messing around and less stains or residue on the leather.
It helps a lot now that I know what to do and don’t have to think twice.
As always, I do the front part, followed by the heel and ensure everything is smooth.

I nail my waist and heel, the front and leave it for 15 minutes to retain the shape.
This makes it so much easier when you perform the actual lasting.
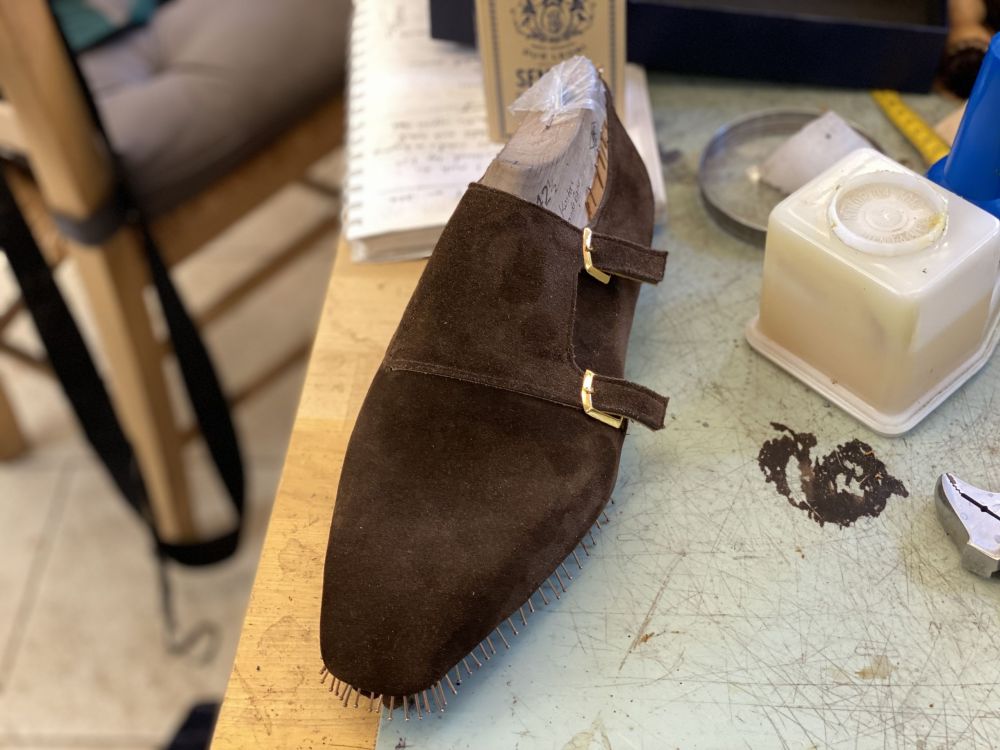
The Lining
Lasting suede is an absolute delight.
It is stretchy, forgiving and soft to work with.
In fact this is so true that some times, you might overpull so always make sure to check the balance and middle point of your uppers.

The lining is already so easy that I don’t even think about it anymore.
I started using less nails and more glue and it makes for an aesthetically pleasing shape.
You can also see that my nailing is better.
While not consistently straight yet, they all have the same distance from the edge more or less.
Toe-Puff & Side Stiffeners
And now we get to the toe puff.
Last time, I did not spend as much time as I wanted there and on the side reinforcements.
The result was a curvier front and side stiffeners that required more skiving.
While I don’t have a picture of the lasted toe puff, you can clearly see how better is the shape than before.
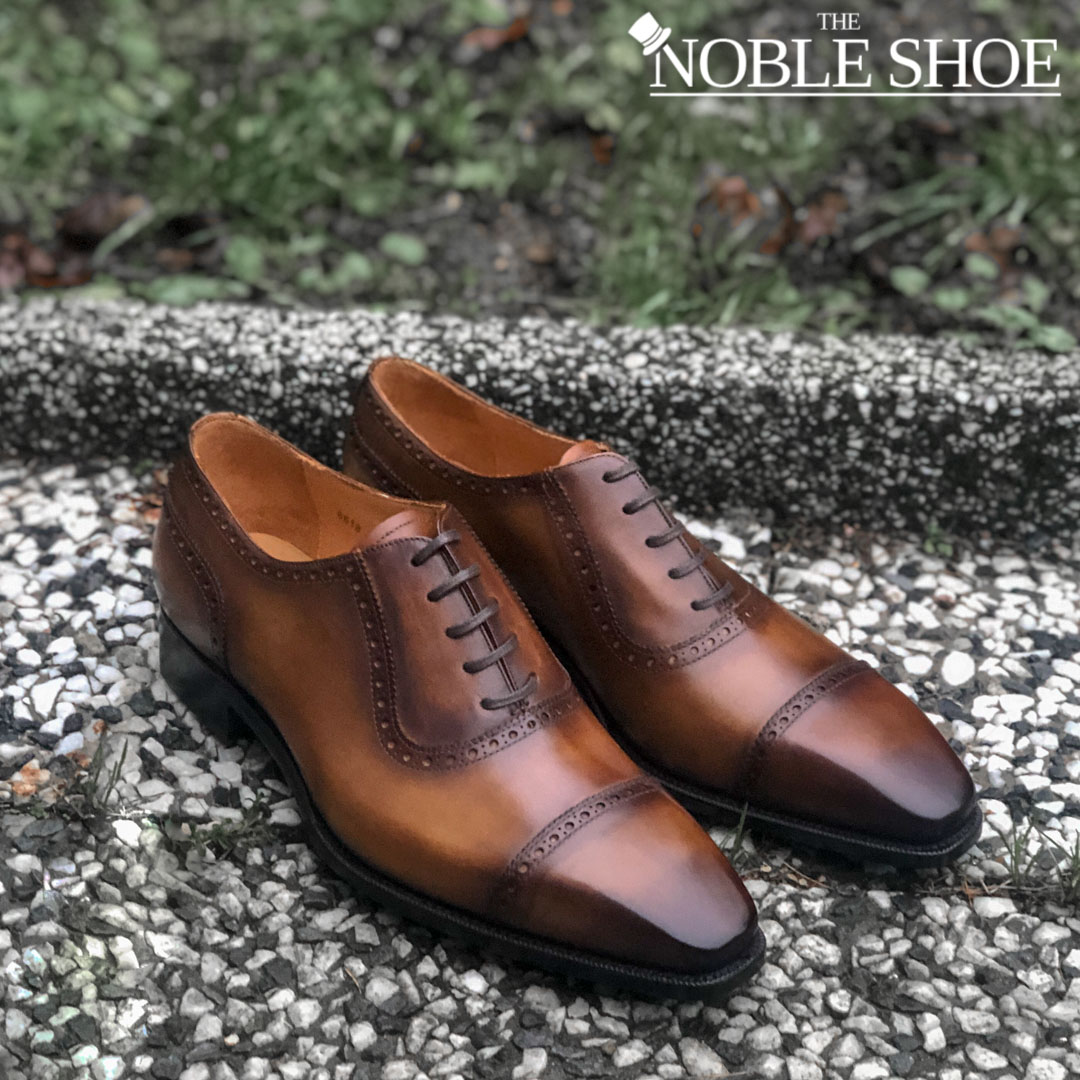
 Check out my previous pair which is exactly on the same last for example.
The toe is fatter, less square and you can clearly notice on the side that it has curves instead of corners.
However, there was a small issue that I did not think about.
When adding the side stiffeners, the ones from the side of the buckle could not go as high.
I did not want to risk cutting the lining piece used and it would serve as a good tip for the future.
It is not bad, but that side has a bit less structure in the end.
A great improvement overall.
Lasting THe Heel & Waist
I was actually doing pretty good with the heel, which has a nice round shape without creases or wrinkles.
The waist is traditionally a bit of a challenge, as you really need to pull correctly and remove any air bubbles.

My consistency with the heel tacks was better which was an improvement.
However I feel that I need to hammer the nails in a nicer way in the waist.
It doesn’t make any difference, just looks more aesthetically pleasing!
Lasting THe Toe
When you finish lasting the lining, toe puff and side stiffeners there’s only one thing left.
The uppers of course!
As you can see my nailing certainly improved and became much more consistent in space and visuals.
And the difference is once more visible from the top.
A pair of much cleaner, properly stretched uppers!

During this stage, I am already ready to begin welting but not before one last thing.
Wrapping the uppers in plastic protection is imperative to not stain them later.
It’s something I really need to get better at as you will see in a following section.
In general, I would call this lasting a success and a 75% improvement over last time.
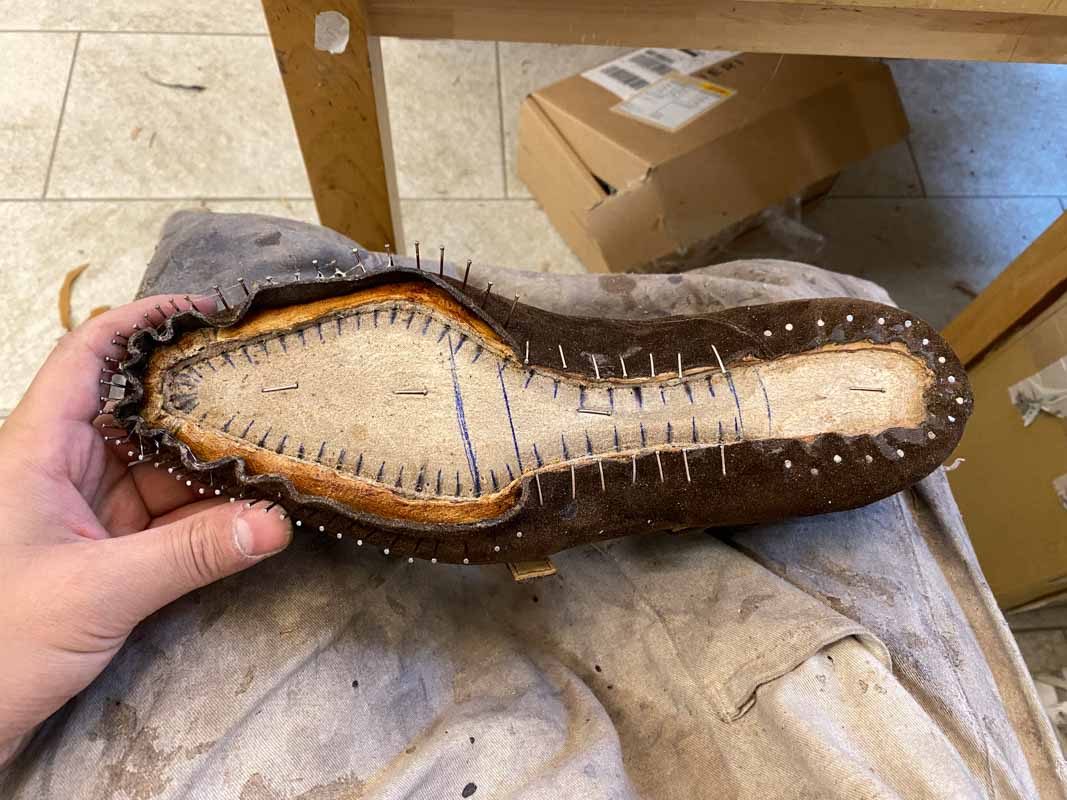
Hand-Welting Time
Ah, we are down to everyone’s favorite looking part: the hand-welting.
I mean, everybody knows the word “Goodyear Welt” but when do they think about lasting?
A clean, good welt is a basis for everything you do later.
My goal was to be quick, clean, consistent this time and for the most part I managed it.

The problem was that I used a new welt from the school that for some reason appeared less wide.
Add to that trimming it a bit to much afterwards and I was in a really tight spot with sole stitching and fudging.

It really came back to bite me later.
Lastly, before we move on to the filling of the shoes I had to trim the welt at the waist and skive the edges.
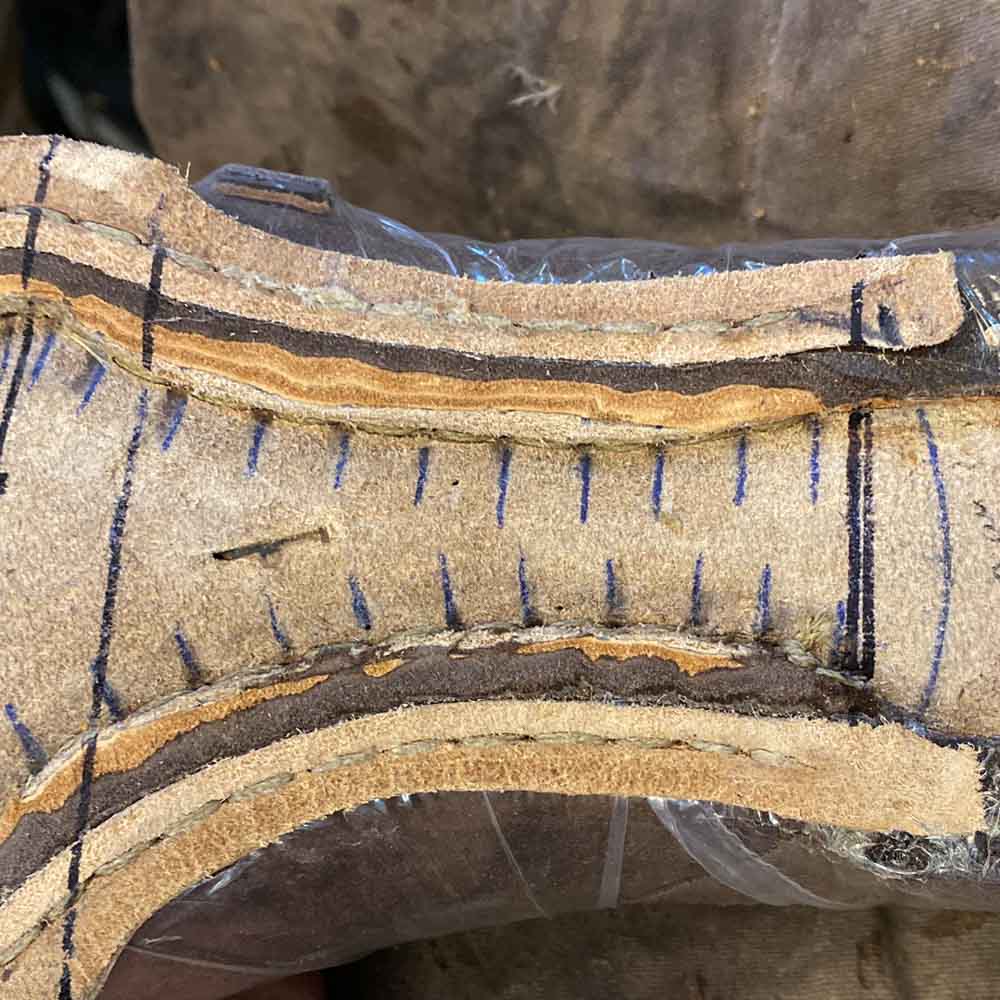
This is to ensure the blind waist will be covered later by the outsole.
Not bad overall!
Final Remarks
This brings us to the end of Part 11 of my “Becoming a Bespoke Shoemaker” Series.
While there are a ton of things to improve with time, the improvement is already tremendous.
I put a lot of emphasis on lasting and shaping the toe puff correctly for example.
My welting technique improved, though I learned a lesson not to trim the outside so much as you will see in the next article.
Overall, an excellent experience on the road to greatness and consistency.
Next time, we will fill the shoes and stitch the outsole!
I will see you all next time!
Thank you for reading,
Kostas Mandilaris,
Misiu Academy