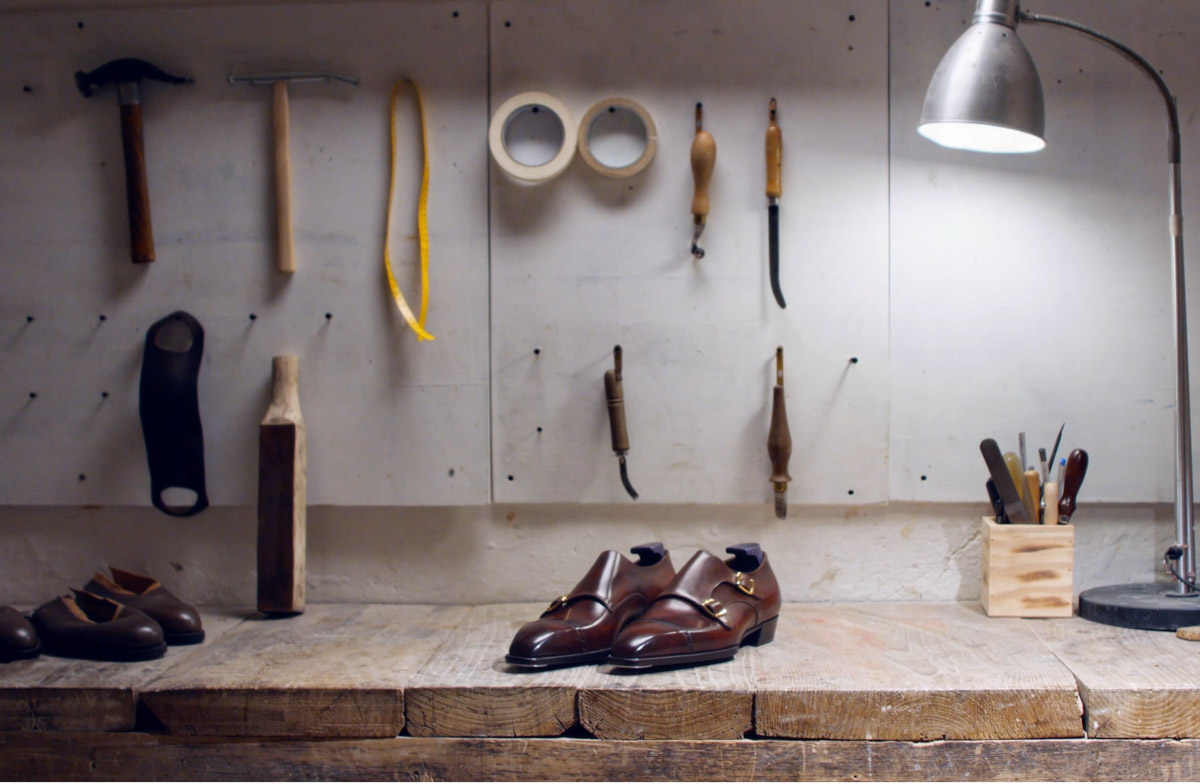
![Mandilaris Bespoke Shoemaker Workshop]()
 Not Only For Beginners
Welcome to the “Shoemaking Tools & Materials” Guide.
A Guide that is helpful not only for Beginners but also more advanced shoemakers.
It focuses both on the basic tools you need to begin your shoemaking journey, but also to refine your work later.
Let’s begin!
There Are So Many Shoemaking Tools
Do you dream of becoming a Bespoke Shoemaker?
Maybe you want to simply be able to make your own shoes.
It all begins with educating yourself and there are plenty of options (Read Here).
In fact, there are quite a few successful, self-taught hobbyists out there!
However, in order to make shoes you need to have the proper quality tools for each job.
Due to the sheer amount of tools that exist for every small detail, it can be a very expensive hobby or job.
Not all tools are necessary to start with, but there are certain indispensable ones that we will talk about today.
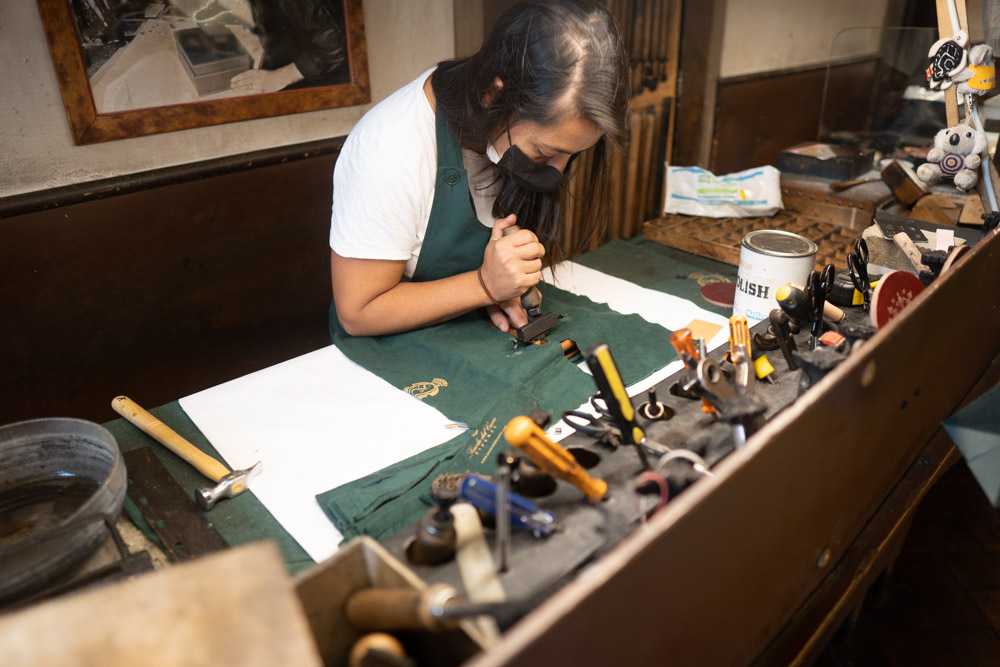
I will mostly use pictures from my own workshop, plus some images of things I am yet to obtain.
I do hope you will enjoy this article!
1. Leathers
There is no definitive choice when it comes to leather.
With tons of options to choose from, it can be a bit daunting for the aspiring leatherworker.
Nonetheless, I would recommend you to begin with some simple smooth calfskin for the uppers and goat leather for the lining.
Each leather has different properties, but when you begin try to work with a softer, stretchier leather until you get comfortable.
When it comes to the rest of the leathers for the actual construction there are three options.
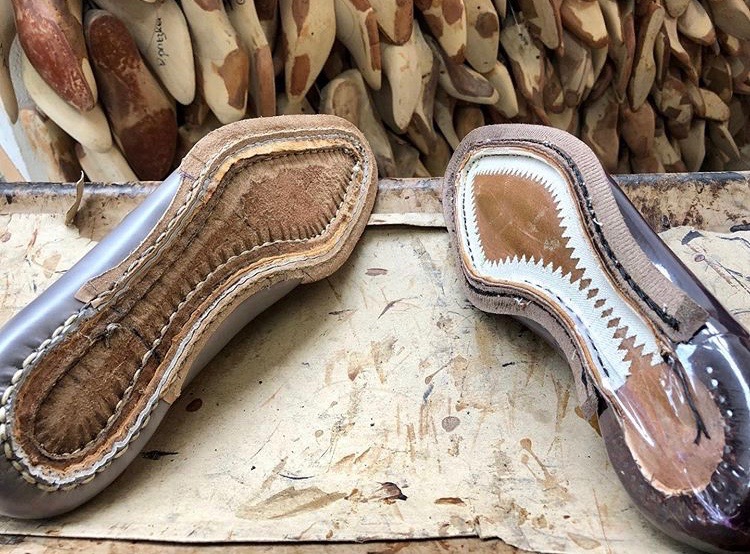
For insoles you are looking for a stronger, firmer vegetable tanned leather with a thickness of about 5 mm.
This leather often comes from the bend, shoulder or butt and is pliable after wetting it.

If you decide to put a midsole, or use a piece to shape the waist between the insole and outsole I also recommend shoulder leather.
I use one that is about 2 mm thick.
For outsoles, you will use a similar kind to the insole leather with a thickness of 5-5.5 mm.
Lastly, there are rubber materials that usually require a machine or adhesive.
Buying these materials is up to you and you can find various sources on Etsy, Webstores or even physical leather stores.
1.1 Cork Filling
While not a leather, cork is one of the most important components of a good shoe.
It acts as a filler and moldable material that takes the shape of your foot after a while.

You can buy natural compressed cork, cork paste or even some tar materials.
2. Machinery
Technically you don’t need any machine to make shoes.
However if I recommend one, it would be a sewing machine for sewing the uppers of your shoes.
It can be quite an investment but there are affordable new and used options out there.

Companies like Pfaff or Singer produce some excellent machines.
Things that will also make your life easier include a bell skiver and a sanding machine.
The first one is related to upper making and is much quicker and efficient.
The latter on the other hand has multiple applications including the outsole, heel and finishing.
You do not need huge ones but it’s still an investment to consider for the future.
3. Shoemaking Tools
We are finally at the tool section and it is a rather large one!
So I will break it down into mini categories.
3.1 Hammers & Pliers
Essential tools for shoemaking include hammers and pliers.
I recommend getting a wide (15 mm) and narrower (8 mm) set of pliers.

This will help you grab more material during lasting when you need it and less when you work in tighter spaces.
It’s also important to get the orange cutting pliers which I use for removing and clipping nails.
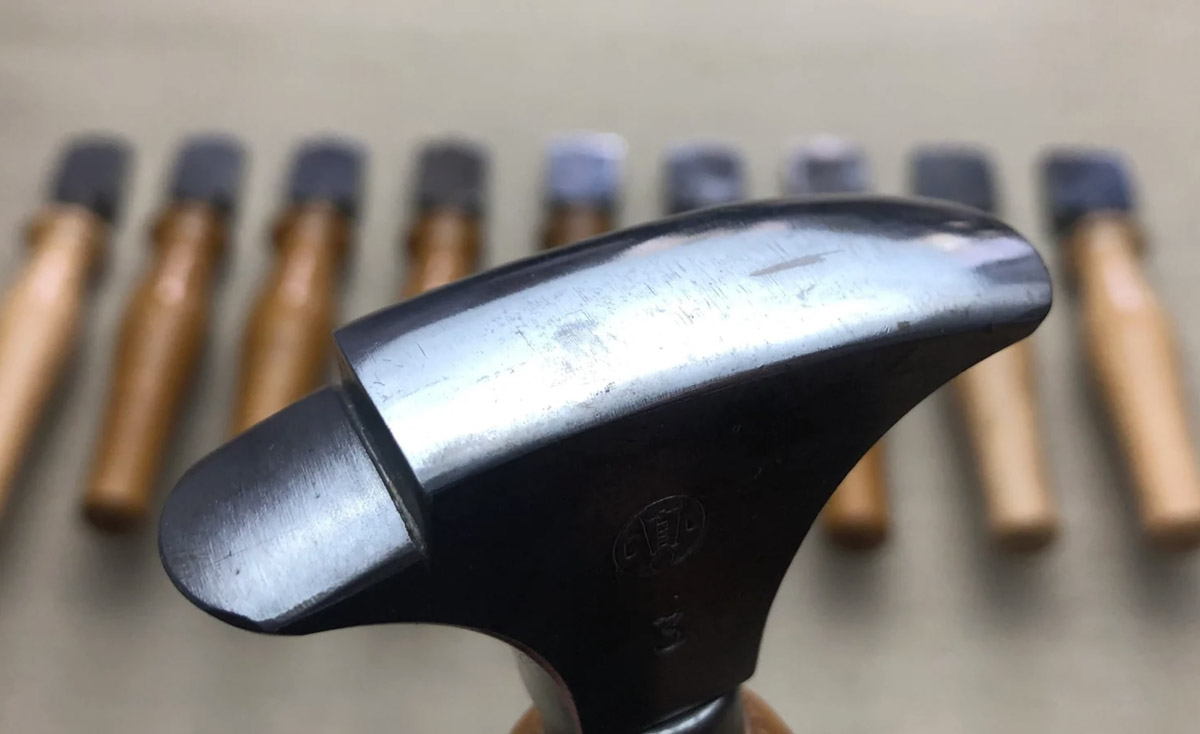
As for hammers, there are two that you will use most of the time.
The shoemaker’s hammer is indispensable for hammering and flattening areas of the shoe, the toe puff and even to use the wooden handle to burnish.
On the other hand, the slimmer, longer heel hammer has less uses and is not as important while starting.
I use it for narrow small spots that require precision but also to hammer the last nails on the insole after removing the last.
3.2 Scissors, Knives & Sharpening
A knife is indispensable for shoemaking.
It allows you to remove, shape and trim with precision once you master the movement.
There are the regular, long metal pointy types which are very flexible.
 But you can get a Japanese style knife with a handle which is the one I use now.
It took a while to get used to but I now rarely use anything else.
In fact, it was one of my most expensive purchases and doubles down as a skiving knife.

When it comes to scissors, as you can see I use a regular one for simple tasks.
But I recently bought a heavy duty one so I can cut thicker outsole and insole leathers with ease.
As my teacher said, “Sharp knives are 50% of shoemaking”.
So you better learn how to sharpen them yourself!
I recently bought some Diamond Sharpeners by Dia-Sharp.
Instead you can get something cheaper like a regular whetstone or just sandpaper.
Sandpaper is really important for certain stages and I recommend getting multiple grits.
I use 80, 120, 220, 320, 400, 800, 1000.
A piece of fleshy leather will also work well as a strop to finish that edge perfectly.
I attached mine on a simple block of wood.
3.3 Nails
Shoemakers use nails for lasting, securing and decorating.
The first one is vital as you will use it the most while attaching the uppers to the insole.

It is a 5×25 and has a copper color.
There are many more as you will see in the second image.
The longest (8×30) is for the last layer of the heel stack, just before the top lift.
Second is the one we input inside the shoe to secure the insole (12×20) after the removal of the last.
Third, is a type of nail I use as a tack and to secure the outsole to the insole.

Lastly, the brass small nail has a decorative function.
It is probably a good idea to mention two additional materials here.
The paraffin wax will not only help during preparation of the thread and inseaming, but can also coat the nails if you have trouble going through wood.
We also use talc powder to coat the last so the uppers glide smoother on it.
3.4 Thread & Sewing
Yet another key aspect of shoemaking is the thread.
In Bespoke shoemaking we often create our own thread with linen.

There is a 1 ply for welting, which you combine 5 times to make the final thread.
Then you have a 5 ply (or 7 ply) pre-twisted linen thread for sewing the outsole.
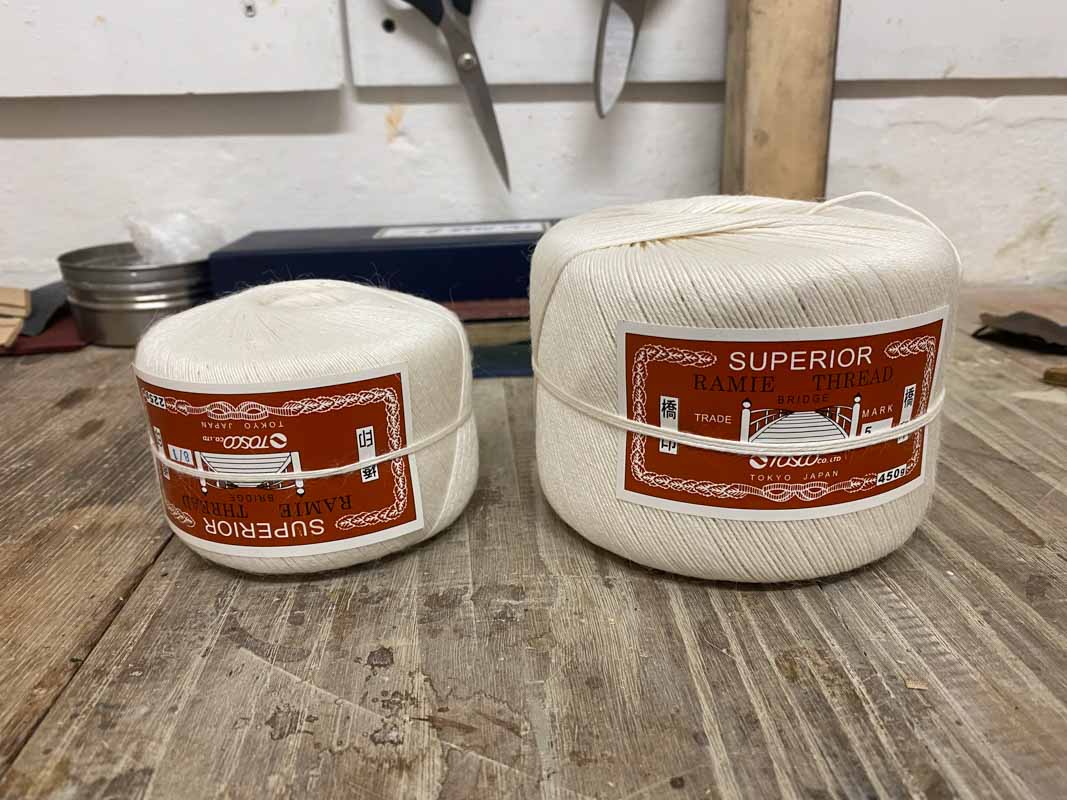
An easier alternative is to use a polyester pre-twisted, waxed thread that you can use for the welting as well.
For sewing we use steel bristles (75-100 mm) and another key component is the shoemaker’s pitch for bonding the threads.
You can actually produce your own pitch by combining resin, beeswax and tallow.
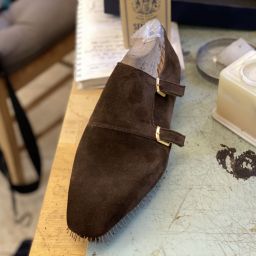
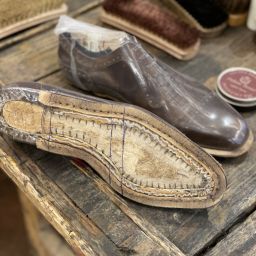
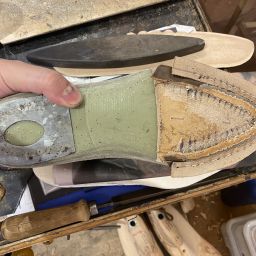
3.5 Welt, Stiffeners & Insoles
In the intro, I mentioned all you need from a leather perspective.
You can also use those leathers to create heel stiffeners, toe puffs, welts and insoles if you don’t want to buy premade ones.

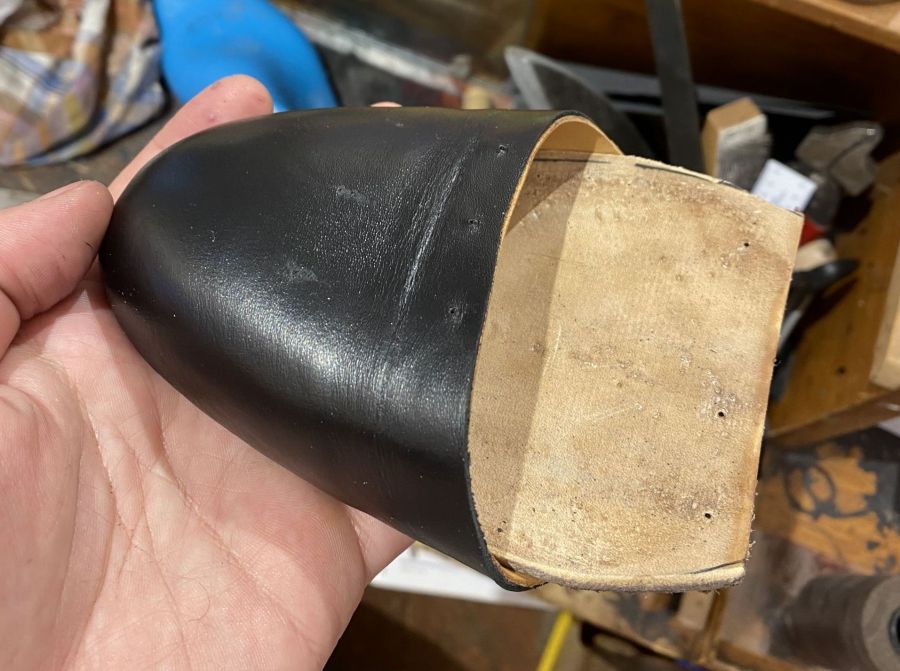
The stiffeners are important to give structure and firmness to certain parts of the shoe.
By insole, I actually refer to a sock liner that covers the actual insole and where your foot rests in the shoes.
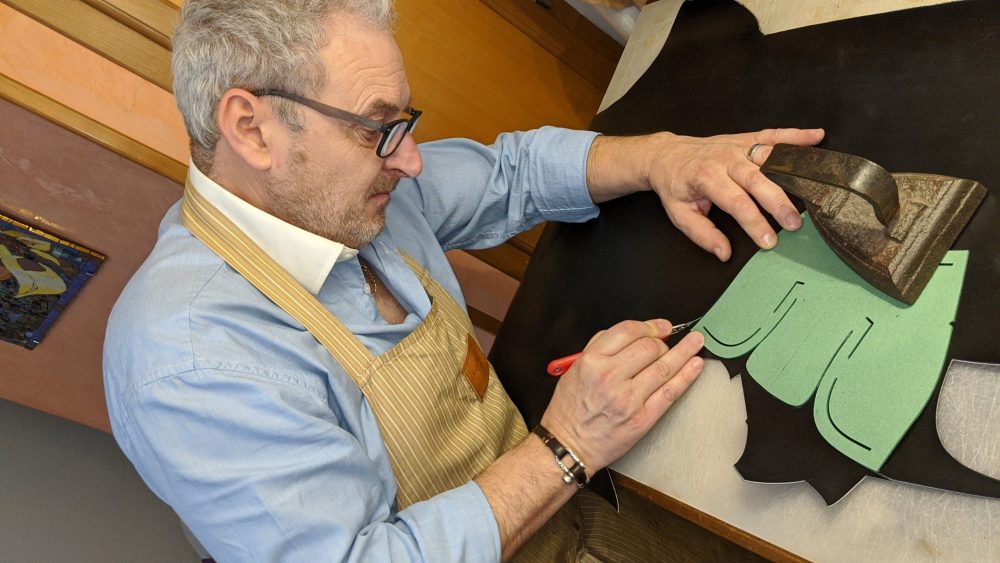
3.6 Scratching & Skiving
When you scratch a leather surface, it becomes easier to apply glue and bond pieces together.
This is why we have a leather roughing tool, or an awl for smaller pieces.
 The two other metal rasps serve the same function but in different areas.
In the middle you have the heel rasp, which we use to trim any excess leather and even the heel block at the top.
Next to it we find a common metal file, a rasp you will use anywhere you want to even out a surface before refining it.
Moving on to the welt knife that despite its name, we use for carving the inside of the holdfast or remove the lip from insoles.
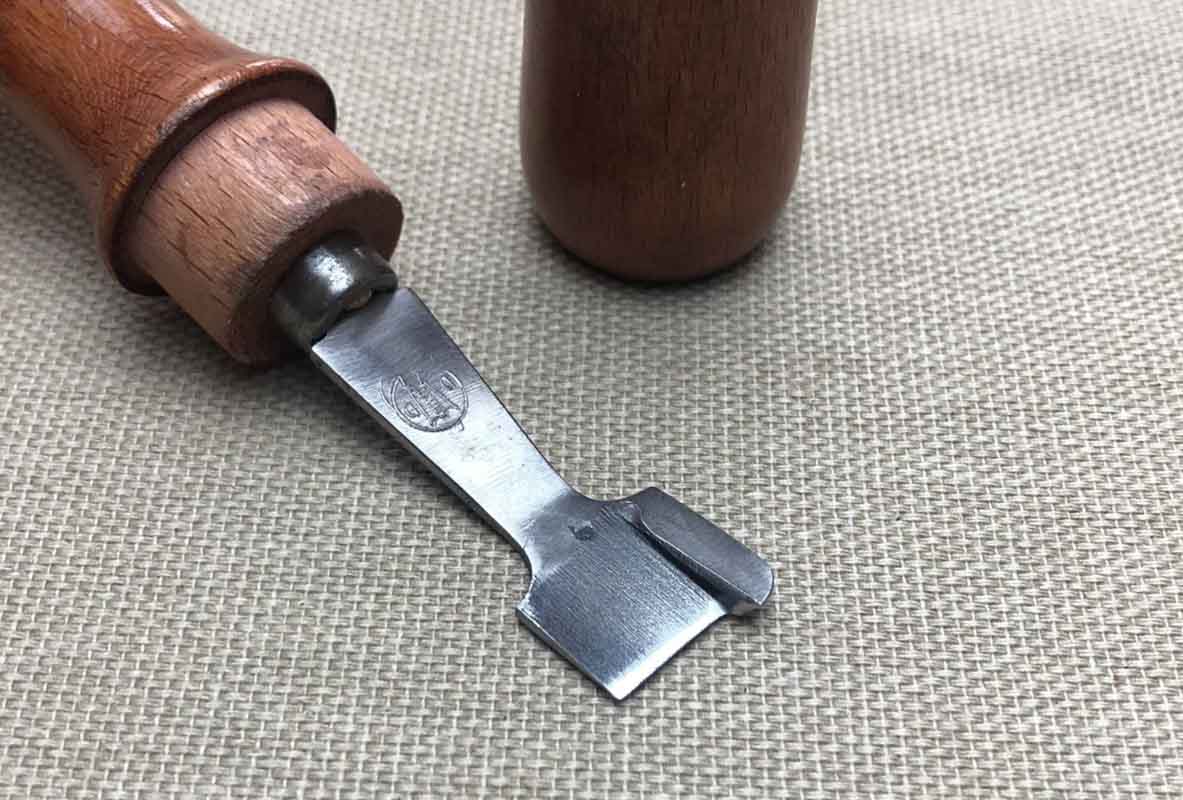
Lastly, the French skiver or feathering knife has the important task of removing equal amounts of leather and carving the outside of the holdfast.
The last two tools are not necessary as you can use a knife, but they are extremely helpful.
For skiving, you should find a tempered glass or marble surface.
Speaking of glass, it’s one of the unsung heroes of shoemaking as it allows you to shave leather slowly but consistently.
3.7 Measuring Tools
Things are much simpler here.
Masking tape protects our shoes from scratches, burns, cuts and stains.

You mostly use it right at the edge of the uppers where the welt and outsole meets them.
They even have a multi-functional use as you can use masking tape for pattern making.
In the bottom right you have reinforcement tape, commonly used to strengthen areas of the uppers.
A compass will make your life much easier when creating the holdfast, requiring precision and consistency or marking the stitching lines.
Get a small ruler as it always have a use for multiple things, but more importantly a shoemaker’s measuring tape.
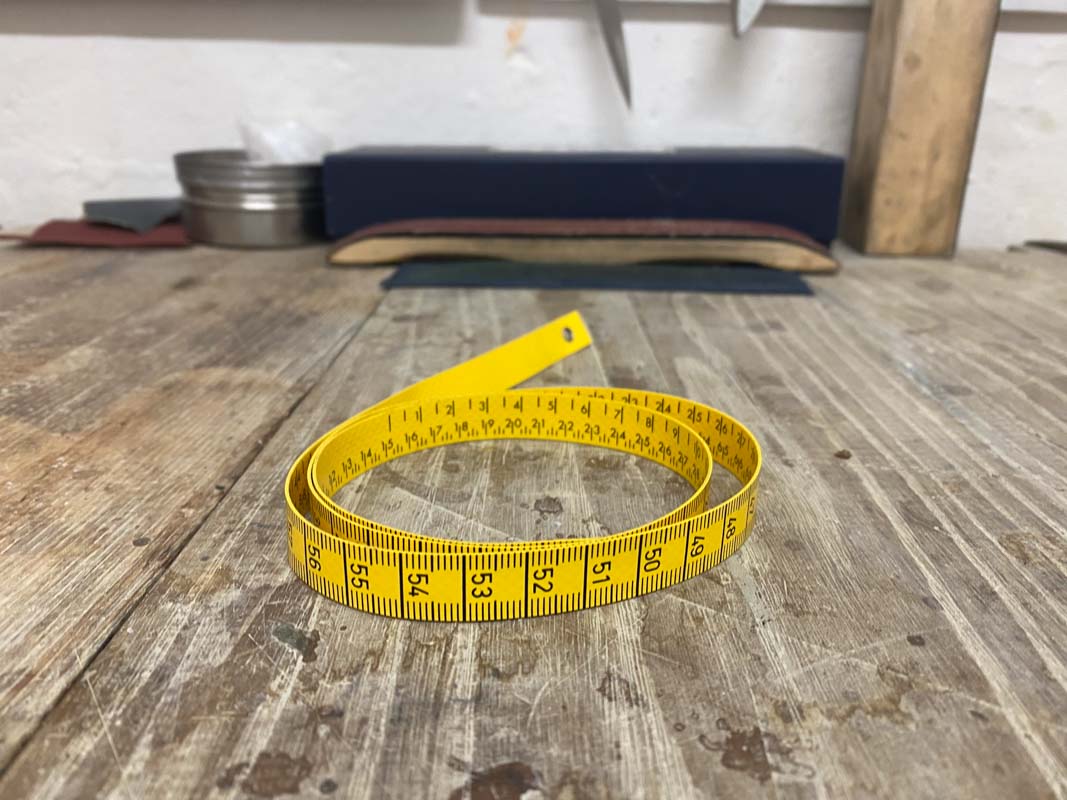
This one also has markings with the sizes of lasts and is pretty handy.
3.8 Pens & Brushes
I suggest getting a few different brushes for each use.
One for your glue, one for your paste, one for applying the dye and so on.

Another important item is a silver pen, which helps you non-intrusively make markings on the shoe parts.
We use water a lot so a waterproof pencil is also a great investment.
If you choose to use pens for marking other lines I recommend the simple ones rather than the ball-pens that can stain the leather deeply.
3.9 Dyes & Cloths
Despite what you might think, we use a lot of adhesive/glue in Bespoke shoemaking.
It keeps many things in place, is very durable and we reinforce it with proper stitching.
 You can keep the glue in a jar, or use those special little plastic containers with the blue cap.
It is important to keep your glue fresh otherwise it loses it’s potency.
For dying, there are too many ways of doing that so materials can vary.
Fiebing’s Leather Dye is excellent for applying a finish on the outsole for example.
At Stefano Bemer, we also used ammonia to seal the pores in-between applications.
Liquid wax is a finisher and the last layer before actual polish and goes on the welt and outsole.

Instead, you can hard wax for hand finishing, which you pass with a heated iron.
If you wish to polish and burnish edges, there’s burnishing gum and the regular shoe polish from brands such as Saphir.
Working with chemicals is always dangerous, so always use a rubber glove when you have to.
 To buff all those items you can just find an old cotton shirt or cloth.
Since I got them here, I recommend a folding bone and a lasting hook for removing the last at the end.
3.10 Paste
When we use stiffeners, we use a shoemaker’s paste that both glues and hardens them with time.
It gives you up to 2 hours so you have plenty of time to complete your lasting.
Often you can even remove the paste before it dries with water, in case you messed up.
Once you finish the sole, you also need to coat it with another type of material.
This type of gooey solvent gives a finishing glossy and uniform look to the outsole when you buff it with a cloth.
Unfortunately I am not sure what the word is in English, so if you do let me know in the comments!
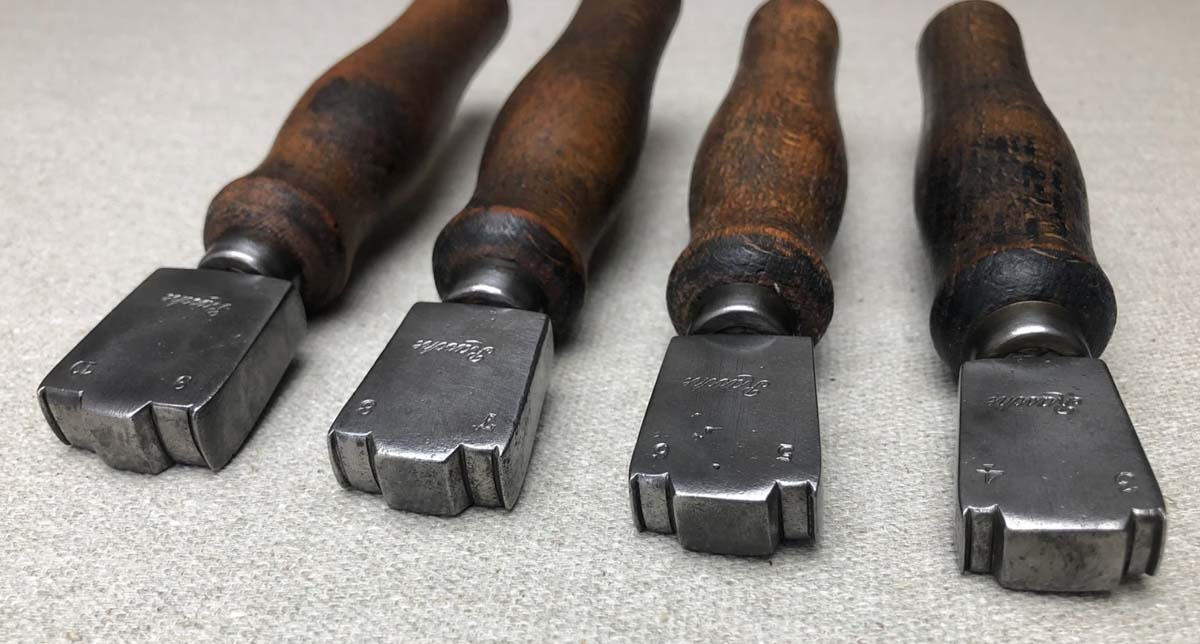
3.11 Irons
When you are at the last steps of a Bespoke shoe, you use irons to buff and spread the dye or waxes.
To do that, you need a few tools that you heat up in a metallic device called the Spirit Burner.

You fill it with alcohol or flammable material, light the fuse and heat your tools on it.
One of the tools is the fudge wheel, which has a spinning wheel with ridges.
You press this on the welt in a rotary motion to create grooves and markings that will serve as guides for the stitching of the sole.
Depending on the distance between these grooves, you get your stitches per inch.
A good way to start is with an 8 SPI wheel and move on to 10 SPI later.
Then you have an edge iron, a waist iron and a heel iron with self explanatory names.
Currently I only have a waist iron because I just opened my workshop, but I will complete the set in January.
They are not as necessary in the beginning, but as you refine your shoemaking it’s a must have.
3.12 Awls
Other than a regular awl, you can have a short awl or a channel opener for the same use.
Most importantly if you plan to hand-welt and hand-sew outsoles, you need the respective awl and handle.

Luckily most of these are interchangeable as you will probably break a few until you get the hang of it.
The outsole awls have a slimmer, shorter profile and are more fragile so correct use and movement is key.
You can see that I added even a piece of leather there.
Made from Kudu, you wrap this around your hand so you can pull and twist during welting.
3.13 Heels, Steps & Mischellaneous
If you really have the time, you can make heel blocks yourself out of the vegetable tanned leather.
Of course, you can buy pre-built or pre-cut ones.
I currently use heels from J.Rendenbach with a rubber piece underneath.

The steps that you see in the picture are vital to ensure the height of the heel and balance of the shoe.
In case you want to further protect your shoes you can buy some Triumph Toe Plates, that you install at the toe area after you finish.
Rubber bands from burst bike air chambers are also important before carving the insole!
4. Lasts
This one should probably be number 1 or 2.
To make shoes, you need a physical form called a last.

It is a 3d representation of a foot, whether it is yours, someone else’s or a generic one.
You can get them in plastic or wood but both serve the same function.
This is where you build your entire shoe on, starting with the insole.
You can buy lasts anywhere from Ebay, Etsy, Carreducker or Spring Line in the UK.
5. Extras
There’s a never ending supply of tools you need, want or don’t know about.
You could have a seat wheel for decorative markings, a fancy big cutting mat or a clicking knife for just pattern cutting.
In fact, I’ve probably forgotten quite a few!
But the list above is more than enough to get you started and keep going.
How Much Should I Pay?
This depends on your aspirations and budget.
For all the tools above, you can easily spend anywhere between $1000 and $4000 depending on the quality.
Starting with the basics and without any machinery I would expect to spend about $1000 for good quality shoemaking tools.
However, this doesn’t count leathers and raw materials.
If you buy used or lower quality tools, I would probably halve that cost.
Where Do You Buy Shoemaking Tools?
My current favorite stores for shoemaking tools and materials are:
- Shoemakerscraft (Germany)
- Carreducker (UK)
- Etsy (Worldwide)
- Starko Tools (Ukraine)
- Chartermade (South Africa)
The list could go on and on and if you can support local, why not.
Conclusions
Shoemaking is not a cheap hobby, but it is not inaccessible either.
With just a few basic tools, you can get started and slowly build your collection.
But nothing beats that sense of pride and achievement when you go out and wear something you made yourself!
I will be back soon with more shoemaking articles and guides.
In the meantime, let me know what you think and if I made any glaring omission and I will add it in!
See you next week!
Thank you for reading,
Kostas Mandilaris,
Misiu Academy


So can you help me get some tools from you?
I do not sell tools.
Hi
I’m interested in making shoes, at the moment I am buying from the supplier and selling to people but my challenge with the supplier is that he is pushing the quantity not quality and i always get mistakes on the shoes, sometimes the stitching is not properly done or it’s opening up where they put glue or the buckle us coming out. I always get complaints from my customers and it’s ruining my business so I have come to a decision to open my own factory but I don’t know which machines I will need and where can i get them. I will appreciate your assistance as you have been in the business for years.
Hi, Sorry but I cannot help you in an industrial level.
Sir,
Recently I bought a set of tools, probably dating from the 1930’s, that were used in a Milanese shoemaker’s workshop that closed down somewhere in the 1980’s. Among these tools is one tool that I cannot identify. That implies that I also d not know what it’s use might have been. I guess it is some sort of iron, but I am not sure. The link to a picture of this tool is https://drive.google.com/file/d/1Pj_Gj3RiqJl-YryngCUo8zA-jQW-avhr/view?usp=share_link. I am wondering if you recognize it and if you know it’s use.
Many thanks.
Hello,
Your link is a google drive link that requires access. I cannot see it and for safety will not click on it.
You can upload something on imgur or simply send me the picture on instagram and I will see if i can help!
[…] https://www.misiuacademy.com/shoemaking-tools-materials-guide/ […]