![High End Shoes]()
 Do You Know What’s In Your Shoes?
In today’s article we are going to talk about all the parts of a dress shoe.
Our shoes are not just leather and a sole and have multiple components you might (or might not) know about.
This general guide will help you understand all of them.
Let’s begin.
Preface
My recent Bespoke Shoemaking Journey as well as my visit to an industrial setting factory taught me a lot of things.
Our shoes have so many vital parts that are not visible to the eye since they hide under different layers.
And more often than not we do not understand their purpose.
Now that I’ve made shoes from absolutely nothing I will show everything to you.
We will not talk about tools as that requires an entirely separate article.
Some will tread both lines and if important I will discuss them.
The Last
To create a shoe you need a pattern and a last.
A Last is a 3D rendition and replica of a foot and one of the most important components of a shoe.
It is also the only one on this list that is not actually a part of the finished product.
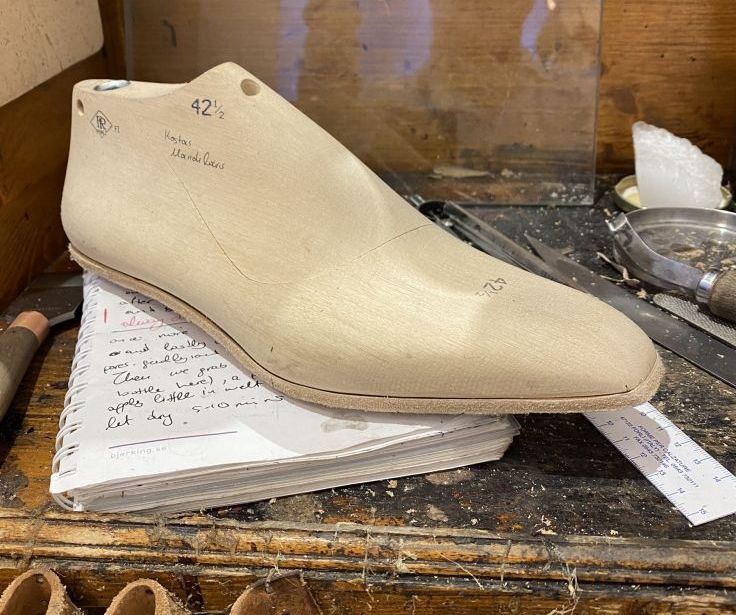
However from the beginning until its removal, the entire shoe is built on that last.
In Bespoke Shoes they use mostly Wooden Lasts and Plastic for more industrial productions.
The shape of your last will dictate heavily how your shoes will look in the end.
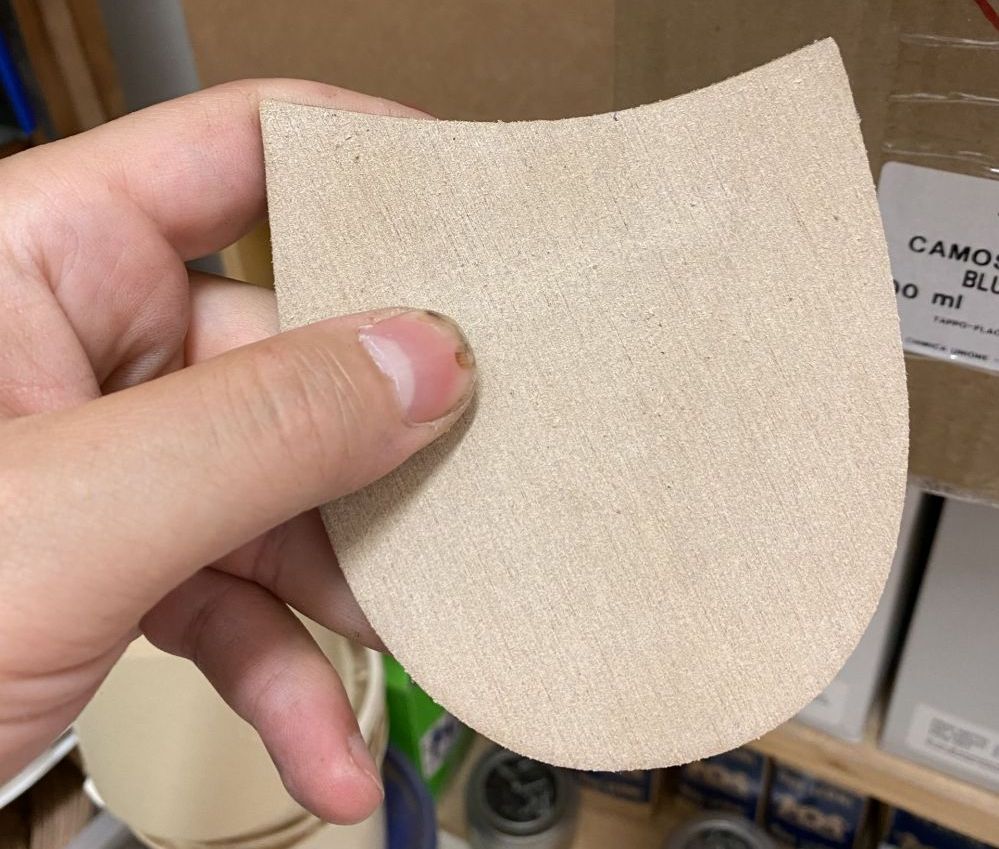
The Insole
Literally the first thing you put on the last is an insole.
A piece of leather that will be the basis of all attachments on the shoes.
It connects the top and bottom parts of the shoe and requires a lot of manual work in handmade shoes.
There is a “wall” call the holdfast that you need to carve by hand for example.
Goodyear Welt refers to using a machine to do this process fast and efficiently.
There is no holdfast rather than a canvas rib that functions similarly.
Depending on the constructions there are differences.
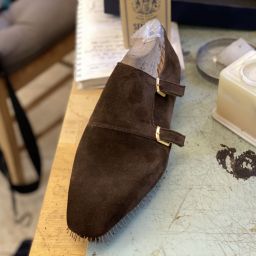
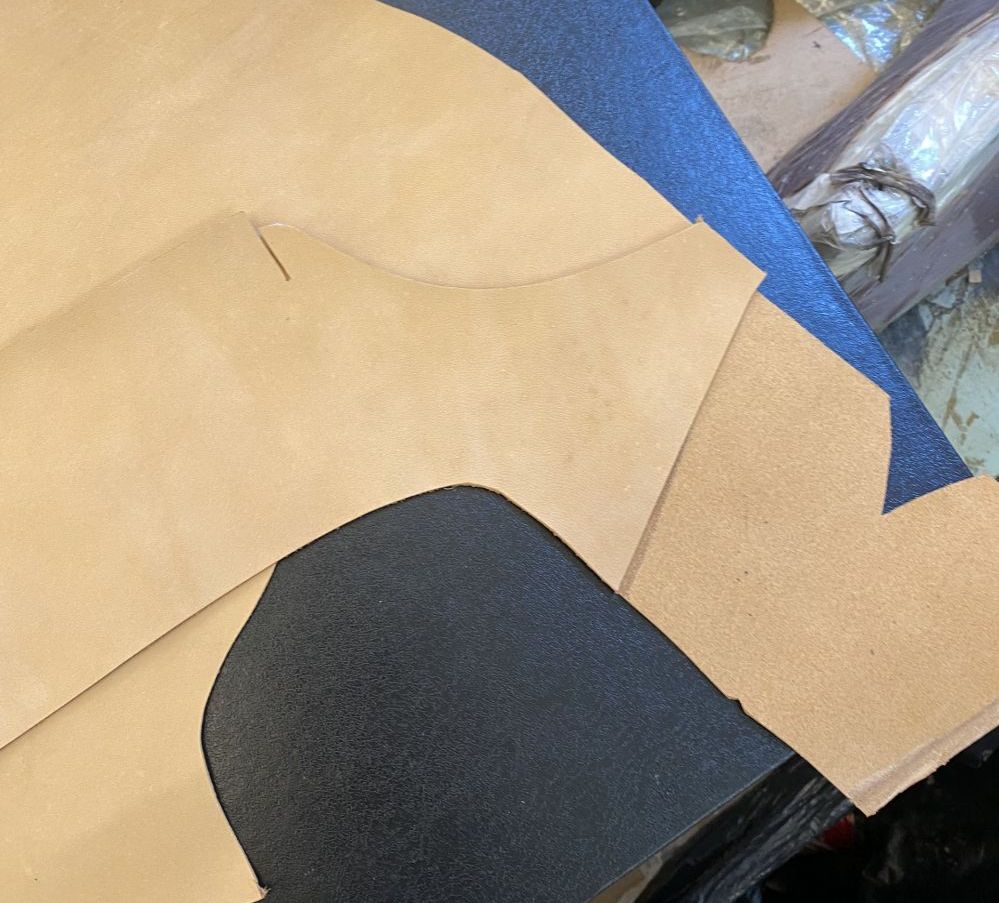
The “Uppers”
After cutting the pattern and sewing the leather together you have the closed uppers.
That is the entire leather that will cover the last and will be the exterior, visible parts of your shoes.
Everything you see when you look at the top and sides of your shoes is the uppers.

During sewing and closing they also sew together the inner lining, but since we are going layer by layer I will keep it separate.
You can make uppers from most materials but the most common one is calf leather.
Simply said, the uppers are the exterior visible leather of the shoe just like the top of our skin.
Tip: Learn more about the different types of shoe leather.
The Lining
This is a tricky one!
While most of the uppers have the lining underneath them, there are certain components that go in-between and I will discuss after.
The lining is another piece of leather with a stretchier, more supple nature and not suitable to be the exterior part of the shoe.
The fleshy side will not be visible in the final product, but the smoother side is what you will see on the heel, front and sides of your shoes.
Quite often at the heel counter we flip those upside down so the fleshy side touches our foot for grip.
In some occasions some shoes have little to no lining for an unstructured, lightweight feel.
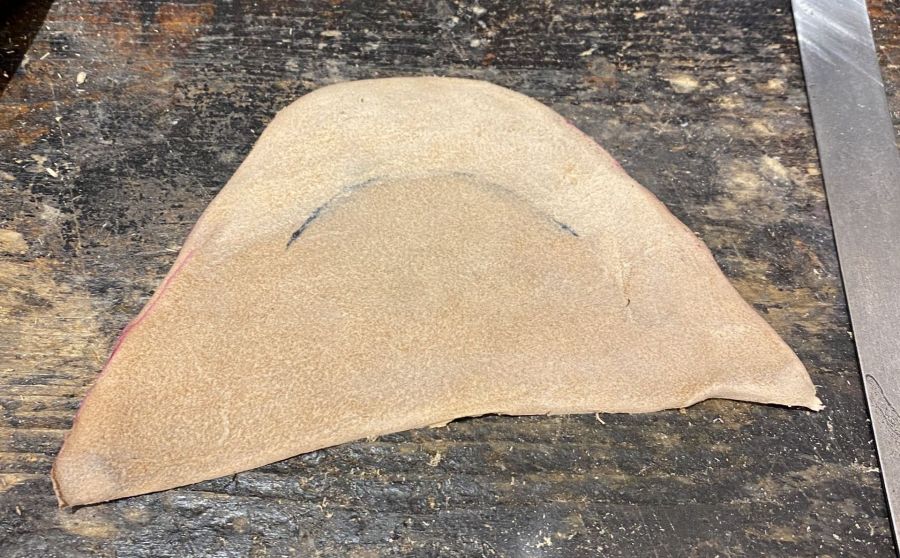
The Heel Stiffener
One of the pieces that sits between the lining and the uppers is the heel stiffener.
It is a piece of leather that you find on the heel point all the way to the sides of the shoe.
Actually, we always extend it a bit more towards the inside of the arch.

When you apply the heel stiffener, you use a form of glue that hardens it as it dries.
The goal is to create a stiffer point in the shoe and give strength and structure as it’s a key point.
It is a cost saving way to use lower quality materials or celastic to save money.
Some people say there is a difference, others not.
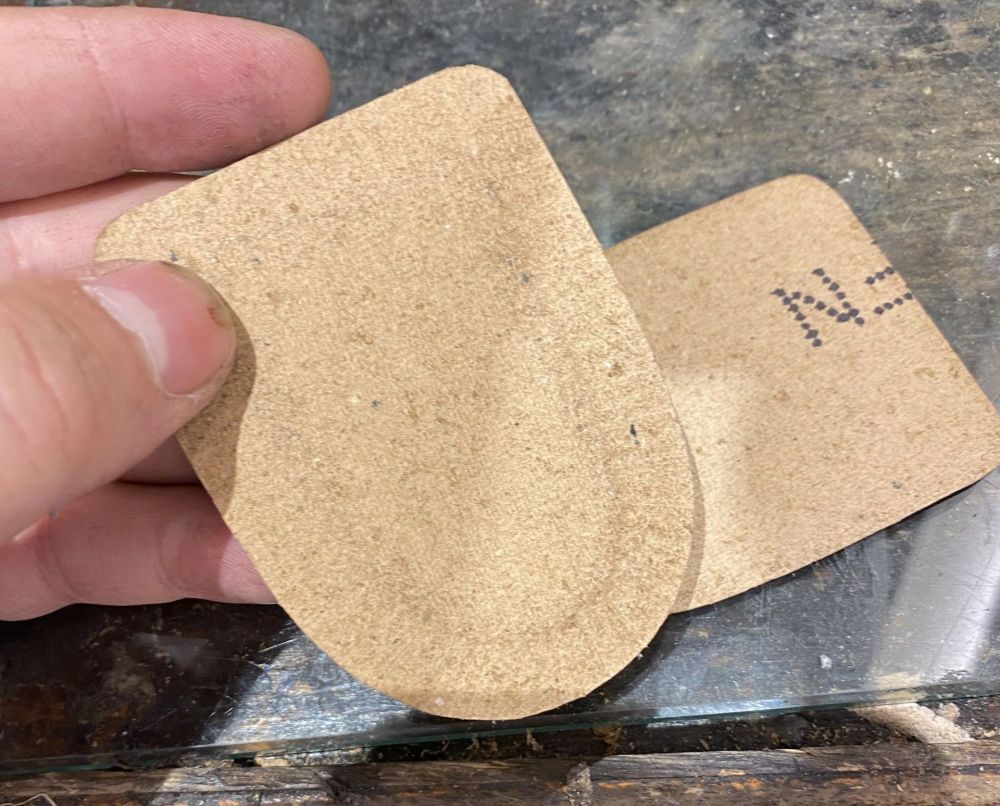
The Toe Puff
Similar to the above we have the toe puff between the uppers and the lining.
When you last the lining on the shoe, the next step is to last the toe puff.
Another piece of vegetable tanned leather that you wet, dry and mold to the toe.
You apply the same glue and harden it.
Next time you look at your shoes, try touching or pushing the toe area and you will notice how much harder and stiffer it is.
However, the toe puff is one of the most important parts of a shoe since it can make or break the shape.
Due to the extra density, it requires rigorous and meticulous hammering and shaping to give the right form.
You need to follow the last, otherwise even a square last can look round in the end.
Or if you fail to skive properly it might appear bumpy and bulbous on the top.
Many companies use celastic toe puffs just like the heel.
Edward Green for example uses a celastic toe puff while Paolo Scafora uses a leather one.
The Side Stiffeners
While the other stiffeners are vegetable tanned, for side stiffeners we use lining leather.
You attach these in between the lining, end of heel stiffener and uppers all the way to the front overlapping the toe puff.

You then glue, skive and harden a bit to give shape to the shoes.
This happens exactly after lasting and shaping the toe puff.
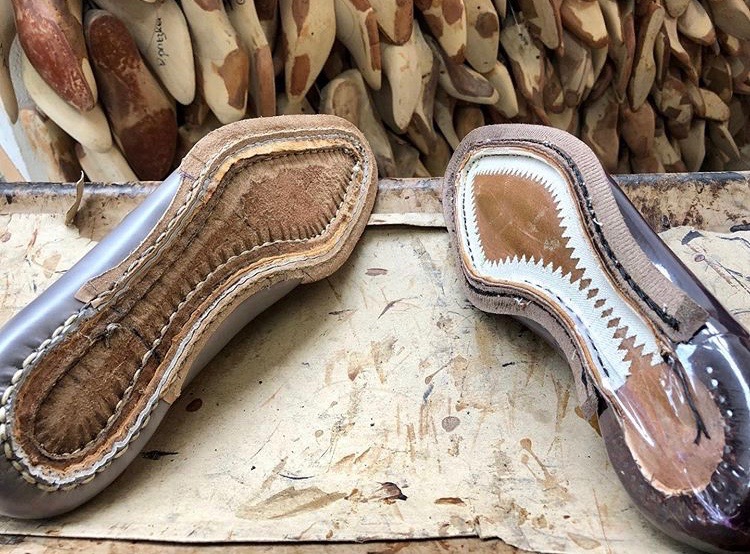
The Welt
Ah, the Welt.
But what is it, do you even know?
A welt is a strip of leather which is approximately 1 cm long with a groove on one side.
After lasting the different layers mentioned above, a shoemaker applies the welt.
This piece acts like an intermediary between the uppers and the outsole.

On one side it holds the insole and uppers with a separate stitch, while on the outside it connects to the outsole.
Now maybe you can understand why they are so easy to resole.
You simply remove the stitch and the old sole and put another one without compromising the rest of the shoe.

Please be careful as cheaper shoes (or differently constructed shoes) don’t have a welt.
Cemented shoes for example imitate a faux welt and stitching purely for aesthetic reasons.
The Shank
The shank is a piece of wood, plastic or metal that sits right under the lower ball line all the way to the heel.
It is a vital unseen component since it offers support and structure on the parts of the shoe that receive the most pressure.

If there is no shank there is a high chance of collapsing.
Think about it as a car.
If you remove the roof trying to make a convertible there is no structure at the top anymore.
Which is why you reinforce the bottom middle part to make sure it doesn’t split in half.
A very important piece that many forget.
The Cork Filling
Before attaching the sole and closing the shoes, you need to fill the extra space.
In most cases they use natural cork or cork paste though I’ve heard some use foam or similar.
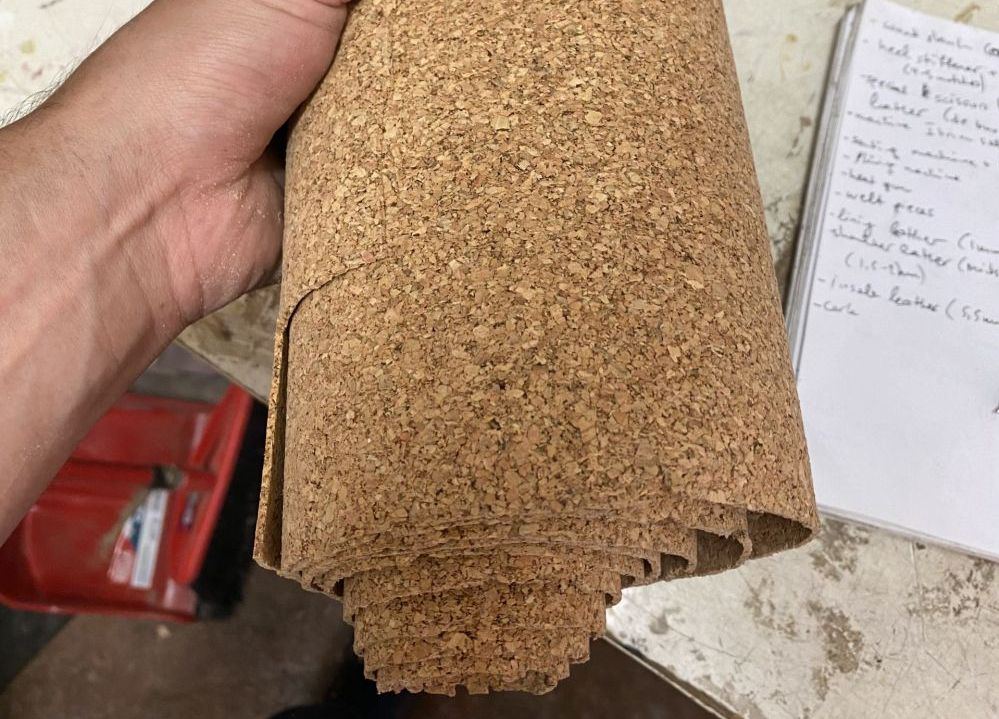
Cork is easy to work with, fills space and eventually takes the shape of your foot providing comfort in future wears.
In Bespoke Shoemaking we also use a layer of shoulder leather sitting at the ball all the way to the heel.
It is a compressed stiffer leather for support and allows you to shape the waist the way you want.
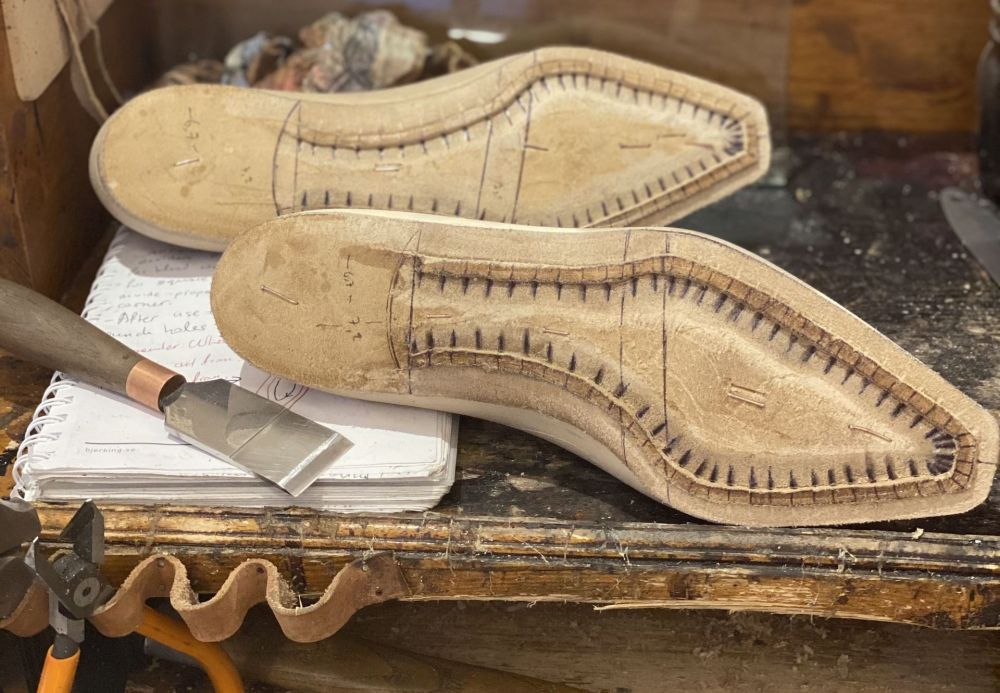
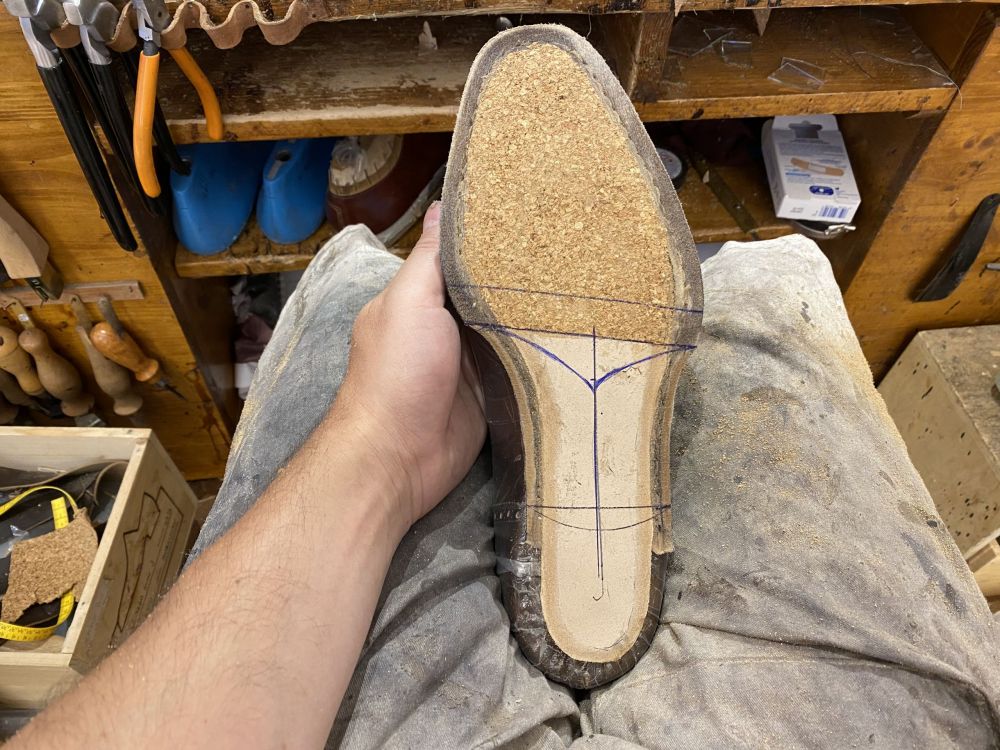
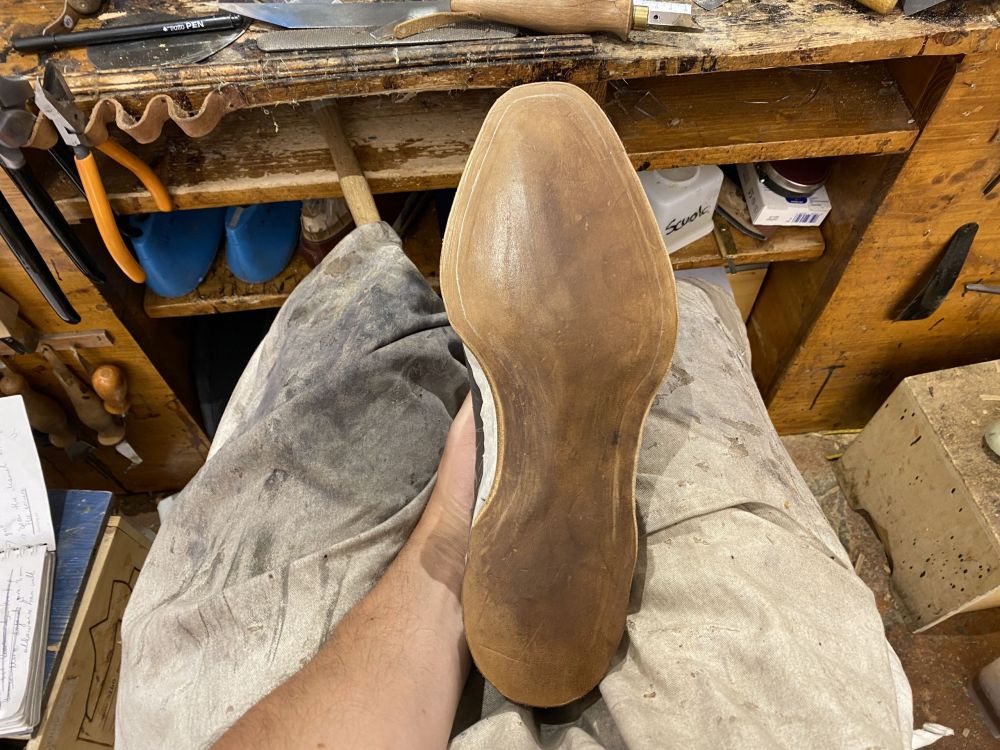
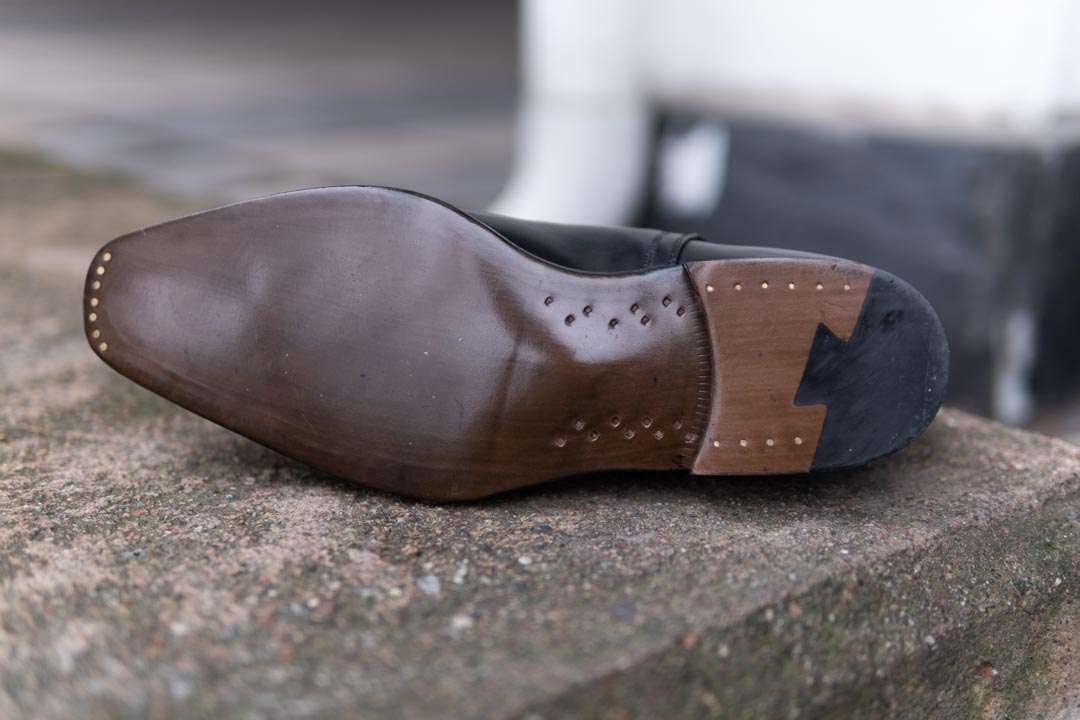
The Outsole
Wow, it actually looks like a shoe now!
After filling the shoe just like making stuffed vegetables we need to close them.
It is now the time to attach the sole which can be leather or rubber.
There are multitudes of different leather and rubber soles so I won’t get into that.
It is important for you to know however that one cannot (well it is extremely hard) sew a rubber sole by hand.
The holes simply disappear immediately.
A common leather sole is between 5-6 mm in width but there are double or triple ones out there.

In simple terms, the outsole is what you see on the bottom of your shoes and the piece that you step on the ground.
The Heel Block
Is the heel block a separate entity or part of the outsole?
I consider it a separate part of a shoe since a sole doesn’t come with the heel pre-attached.
A heel block can be rubber, a combination of rubber and leather and most commonly leather.
The material also varies at it can be compressed leatherboard or actual vegetable tanned leather.
Most companies will understandably cut a corner and use the former in combination with a pre-built heel stack.
In true handmade shoemaking however each heel stack consists of a separate layer that is skived, leveled, trimmed and glued individually.

The last layer is what we call the “Top Lift” and has a piece of rubber insert for grip and increased lifespan where your foot presses the most.
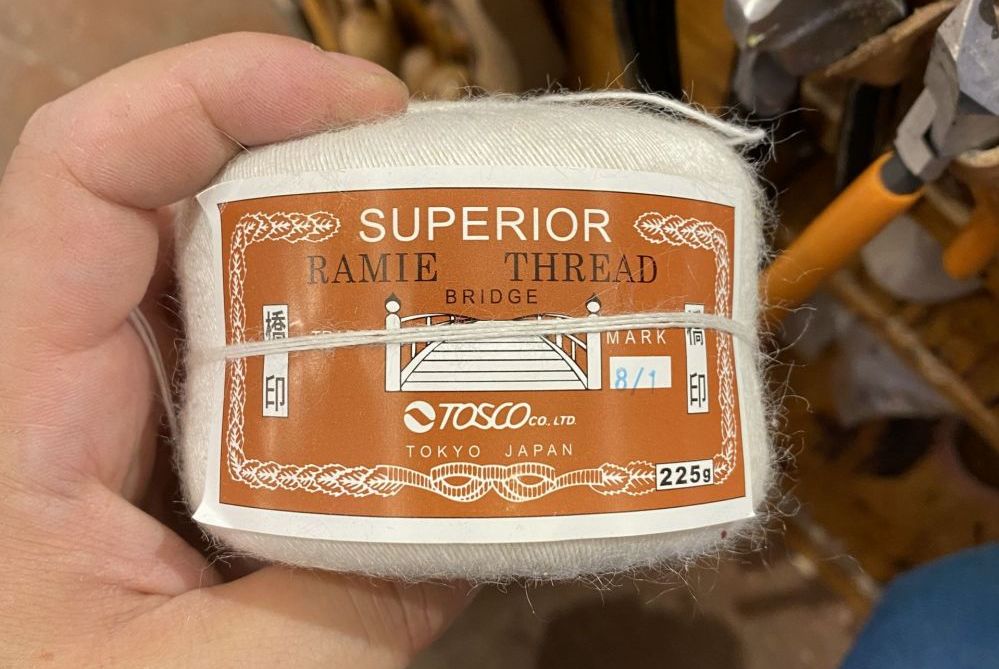
Sewing Thread
Ha, maybe you forgot about that one!
Without the actual thread to hold the pieces together you have nothing.
Thread can be synthetic (usually polyester) or natural linen threads.

The former is generally stronger and easier to use and a good choice even in handmade shoes for the welting.
Linen threads on the other hand require more work and manual twisting, waxing and threading.
There are too many variables and versions to discuss but these are the 2 predominant choices.
Nails
Most visible nails are decorative and often found on the toe and top-lift.
However there are vital nails and tacks that keep the heel block and insole together.
The first layer of tacks goes into the back of the heel during lasting.
Those tacks remain there only if the last has a metal backplate.

Next you have the first insole tacks that connect both those pieces.
Moving on you have a bit longer nails that go on the last layer of a heel block just before the top-lift.
Lastly, the last one to go in are special twisted nails in the insole (inside the shoe).
Industrial setting shoes have slight differences too technical to discuss here.
I should also mention that the number of nails varies from company to company.
Insole COver
The last thing that goes into the shoe is the insole lining that covers the bottom (fully or half).
Often made from the lining material, it also has a heel rest for your foot.
Simple but easy to forget!
Bonus #1: Wood Pegs
In certain constructions there is a wood pegged waist, using wooden “nails” to keep everything together.
Septieme Largeur, Passus and Saint Crispin’s do this for example.
It’s an older construction and considered a bit cheaper for high end shoes in my opinion.
Bonus #2: Piping
At least in high end shoes, they use piping in between certain parts of the uppers and the lining to give a more refined look and give structure.
That and some reinforcement tape of course.

A cheaper, easier and faster way to do it is with folded edges.
Essentially piping is some extra folded material!
Are These All The Parts Of Dress Shoes?
Essentially yes!
I am mostly speaking from a handmade Bespoke shoe perspective.
As aforementioned there are many variables such as construction, brand identity, materials and shoemaking schools.

But in essence what you have is this:
- Exterior Leather
- Reinforcements (Heel, Sides, Toe)
- Lining Leather
- Insole
- Welt (Depends on Construction)
- Shank
- Cork Filler/Shoulder Leather Filler
- Outsole
- Heel Stack
- Sewing Thread (Welt & Sole)
Quite a lot of things huh?!
Final Thoughts
This brings us to the end of the “Parts of Dress Shoes” Guide.
Hopefully you learned a bit more about what goes into your shoes and where.
Maybe you even started to understand how much effort it takes to produce a proper shoe.
Doing the Bespoke Shoemaking School and visiting various factories certainly opened my eyes to a lot of things.
Expect a lot from me and The Noble Shoe in the near future!
Let me know what you think in the comments and I will see you next week!
Thank you for reading,
Kostas Mandilaris,
Misiu Academy