![bespoke shoes]()
 My Second Bespoke Pair
Welcome to Part 12 of my “Becoming a Bespoke Shoemaker” Series.
In this article I will finish my beautiful Bespoke Stefano Bemer Double Monks in Suede.
Well, one of them at least!
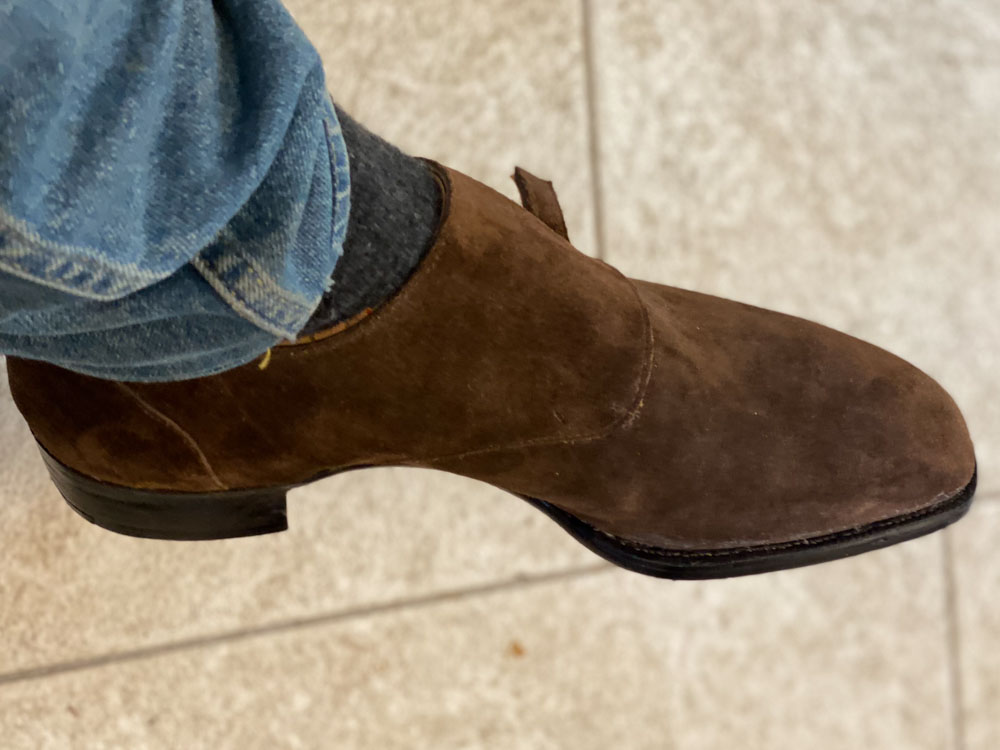
Let’s see what the shoes look like!
Previous Weeks Recap
If you want to follow the journey from the beginning here are the other articles:
- Learning How To Last (Part 1)
- Preparing & Lasting The Toe Puff (Part 2)
- Learning To Hand-Welt (Part 3)
- Cork Filling & Hand-Sewing A Leather Sole (Part 4)
- Edge Coloring Leather Soles (Part 5)
- Making A Blind Waist (Part 6)
- Starting My First Bespoke Pair (Part 7)
- Cork, Fiddleback & Sole (Part 8)
- Bespoke Adelaide Oxfords (Part 9)
- Cutting, Sewing, Closing Uppers (Part 10)
- Bespoke Suede Monks Lasting & Welting (Part 11)
Picking up from Part 11, we are at the point where both shoes are fully lasted and welted.
What is left?
But of course, to do the filler, shank and outsole stitching and finishing.
Creating A Sharper fiddleback Waist
One of the key areas that I wanted to improve during my second pair of shoes was the waist.
Last time I was quite satisfied with my fiddleback waist.
However I wanted to experiment with another technique I saw from Japanese Shoemakers.
As you might (or not) know, after welting the shoe you have a lot of empty space on the bottom of the shoe.
It is the area where you put the shank and fill it with enough cork to make it level.
In the bottom, we often also use shoulder leather that fills the space under the ball all the way to the heel.

Then by skiving and glassing you can create a strong curved shape that becomes the base of your fiddleback.
What I wanted to try and had seen before was using an additional layer of cork over that.
It occupies more volume and as you shape it with your raps it takes a more “aggressive” waistline.
Improvements?
Another key area I wanted to improve was to use the filler in an efficient way and most importantly, flat.
I would say I managed that and especially after rasping and covering it was my best yet.
The additional layer of cork worked out really well overall giving a nice, defined fiddleback that was easier to adjust.

Lastly, it was easier to produce a more stable, level shoe at the ball that didn’t wiggle.
That part would be key for the final form of the shoe.
Challenges – Fiddleback Waist
I would say the only challenge in this part was not “over-shaping” the extra cork.
If your cork layer is thinner or more fragile or not compact enough it is really easy to take chunks of with your rasp.

That way you can expose the layer underneath and you will need to do small adjustments.
Additionally, if your glue is not fresh or you don’t apply it properly it is equally easy to ruin it.
My end goal is to either yous a second layer of shoulder leather (more work) or experiment with different cork.
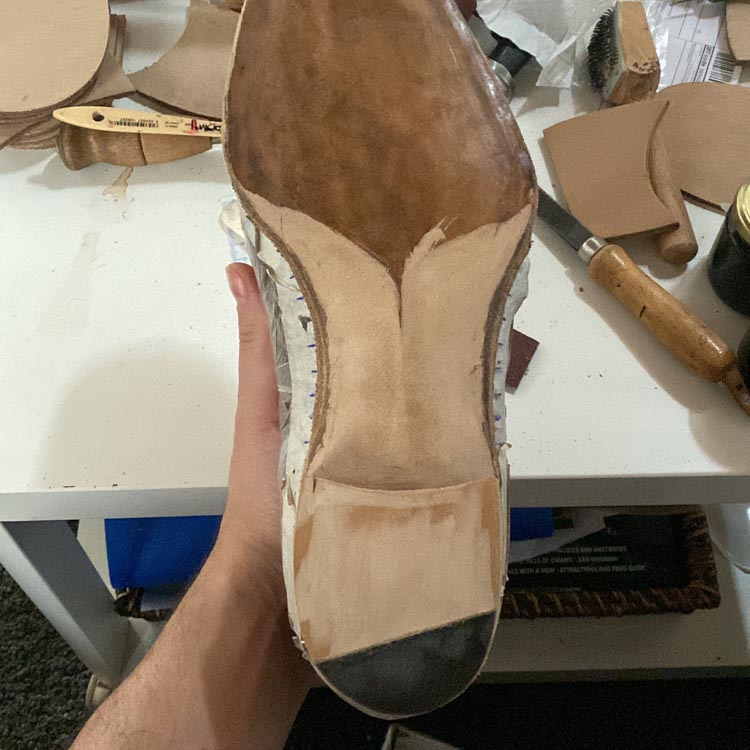
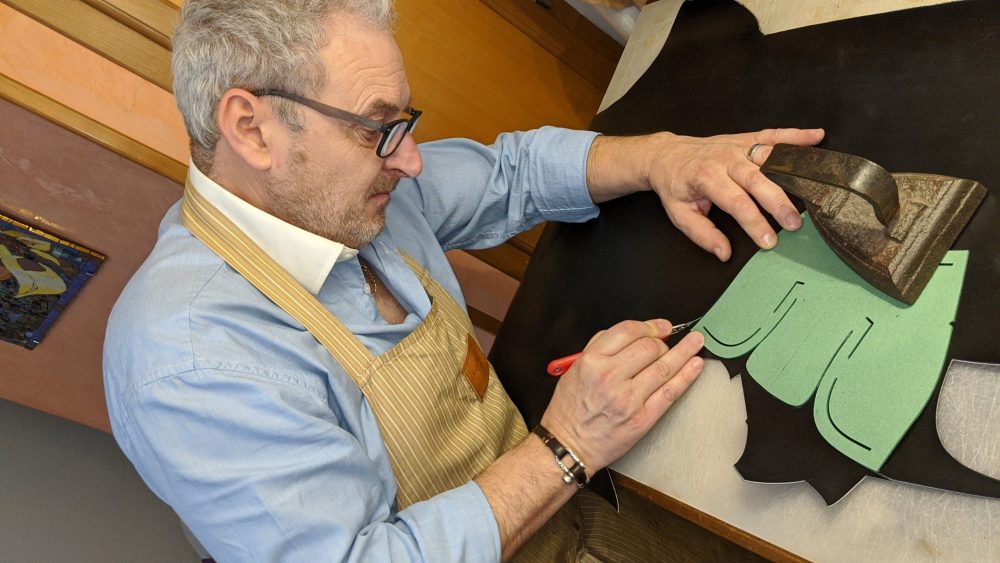
Preparation Of The Sole
The next step was to prepare my outsoles for attachment and stitching.
This of course meant soaking them at least for a full day to become pliable and flexible.
After outlining the shape of the shoe I began shaping the waist area.

Shaping and thinning the waist is important if you want your outsole to truly receive the fiddleback shape.
With some advice and recommendation I also cut a very thin 1 mm line at the arches of the fiddleback from the inside.
I also spent much more time shaping the waist area and making it as even as possible.
Challenges – Outsole
The main challenge of my outsole was how close I initially trimmed the welt.
It was way too close and that meant my outsole stitching was bound to be an issue.
My advice to everyone and most importantly myself is to leave the welt wider as you can always shorten it later.

Overall I was very happy with the execution and preparation.
However a challenge to myself will be to try and cut the channel of the outsole before attaching it to the shoe.
Sole Stitching
Good grief that was a hard one.
One of my biggest struggles in general is to cut the channel for the hidden stitching in one go without slipping.
I did quite ok this time but I can do so much better.
I would say that it’s 50% technique and 50% a sharp consistent knife.
Since I cut the welt so close the markings for the stitching were harder to do as well.
 While my channel cut went overall well, it is still bumpy enough that I don’t feel satisfied.
Definitely a key area where I want (and need) to improve.
The true challenge however was to actually stitch the outsole.
For the first time I broke a total of 3 awls and managed it in about 3 hours, far longer than my first shoe.
It will be a key area of improvement for me.
Closing The Channel & Shaping The Sole
After everything was in place and the stitching is done, I closed the channel.
That went quite smooth but I left the channel dry and open for too long, causing some slight visible issues later.
This is a note to myself to be efficient, quick and focused when I do this process.

I would say from the beginning of the outsole until the channel closure you should dedicate the correct time for them.
I also spent a lot of time shaping the outsole to follow the last and be as even as possible.
Of course that means I was even more careful glassing both the waist and heel bottom.
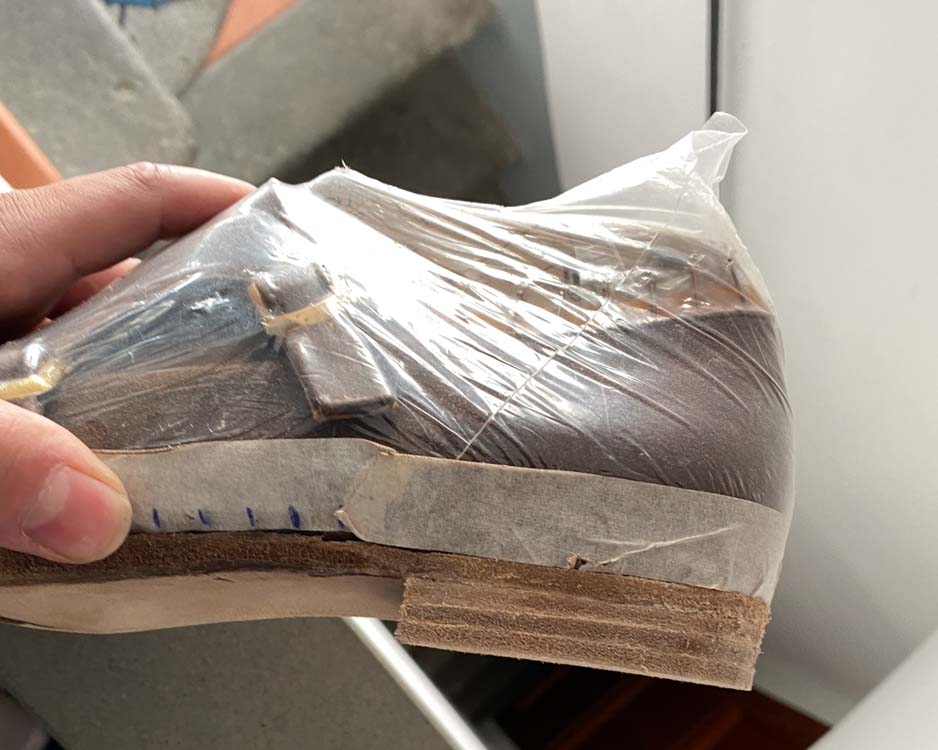
Making The Heel Block
For the first time ever my heel block experience was smooth enough to feel a success.
Other than shaping the heel to the appropriate shape, I managed to level the first 2 layers faster and with more success.
It really is a process that needs patience with rasping, shaving and glassing the entire thing.
But if you get the second layer of the heel to be level you have a solid easy base for the rest.
In the end, I managed to get my desired height of 2.8 cm making the heel block looking good!
Finishing The Outsole
We are truly at the finish line here.
When I finished the heel block, it was time to trim everything to the correct shape and prepare for the color application.
I shaved and glassed the heel block to the best I could and then the sandpaper marathon began.
 As always, you begin with a rougher grit (80-120) and go all the way to 1000-2000.
In between applications you pass dye, ammonia and irons to create a progressively smoother experience.
Once everything is done, the last step is of course to apply liquid wax and let dry for 10-15 minutes.
To completely finish the outsole you can polish the side dressing but most importantly seal the sole.
I glassed the entire bottom trying not to leave cuts and passed my 220 grit sandpaper.
The areas where I cut the channel improperly were and issue and so are areas where the sole might not be completely flat.

I must admit I was too quick in this stage as I was impatient to finish the shoes.
It is a mental note to myself to do even better here next time.
Of course at the end I passed the special sole cream, brushed vigorously and finished up!
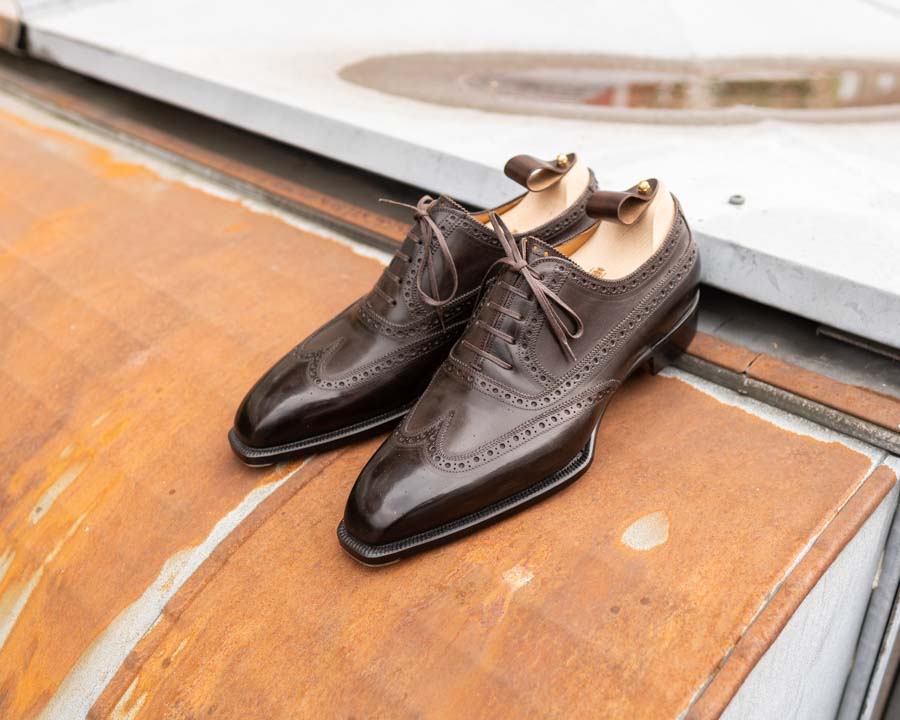
The Final Shoe
As you will see the final shoe is ready for action but a few details.
I need to cut the insole lining for aesthetic reasons but also for the insole lift.
It has a much better shape in both the heel, heel block and last compared to the first one.
Especially the shape of the S Last actually resembles the Stefano Bemer version.

What made a heap of difference was the way I worked on the toe puff.
I would say that up to the welting, I am extremely comfortable with the basics of shoemaking.
My next goal is consistency and improvement in those key areas I mentioned in the article.
Namely that is sole stitching, channel cutting and outsole finishing.
Conclusion
This brings us to the end of Part 12 of my “Becoming a Bespoke Shoemaker” Series.
It was a long journey with quite a few new steps for me, namely the cutting, closing and stitching of the uppers.
Also my first ever pair of monk straps, working with suede leather and making small adjustments.
The hardest part was finding the motivation to keep going in my house as I don’t have a workshop yet.
However this is something I am working on and I should have private space in Florence soon.
Until then, thank you all for following this journey and I hope you enjoy this series and my progress!
There are also some great things coming up at The Noble Shoe so check out the website!
Thank you for reading,
Kostas Mandilaris,
Misiu Academy


Hi Kostas,
Love the journey you’re taking. I hope to learn how to craft shoes as well one day. I’ve read in comments on other posts that you plan on opening your own company one day, would this be in the same vein as J. Fitzpatrick who makes his shoes in a reputable country or something more bespoke where you make the shoes yourself? Do you have an article about your vision for the future for what you want to create? Love the Noble Shoe btw, you’ve helped me out with shoe sizing tremendously.
Best,
Martin
Hi,
My planned shoe line will be made in a reputable European Factory yes.
More news next year!